DataStax Studio
Overview
DataStax Studio is an interactive developer tool for CQL (Cassandra Query Language), Spark SQL, and DSE Graph. Developers and analysts collaborate by mixing code, documentation, query results, and visualizations in self-documenting notebooks.
Prerequisites
DataStax Studio Prerequisites
- You should have a supported browser
- You should have a supported version of Java
- Recommended: OpenJDK 8
- Supported: Oracle Java SE 8 (JRE or JDK)
Astra Prerequisites
- You should have an Astra account
- You should Create an Astra Database
- You should Have an Astra Token
Installation and Setup
As mentioned in the Prerequisites above, you must have DataStax Studio already installed. You can follow the quick installation steps here. Once you have successfully installed DataStax Studio, you may proceed to the following steps.
- Start up DataStax Studio by running the Studio Server shell script:
- Linux:
- Windows: Once Studio is running, your output should look something similar to this:
-
You may now use the
localhostURL provided in your terminal or command line to navigate to the DataStax Studio UI. This should look something like this: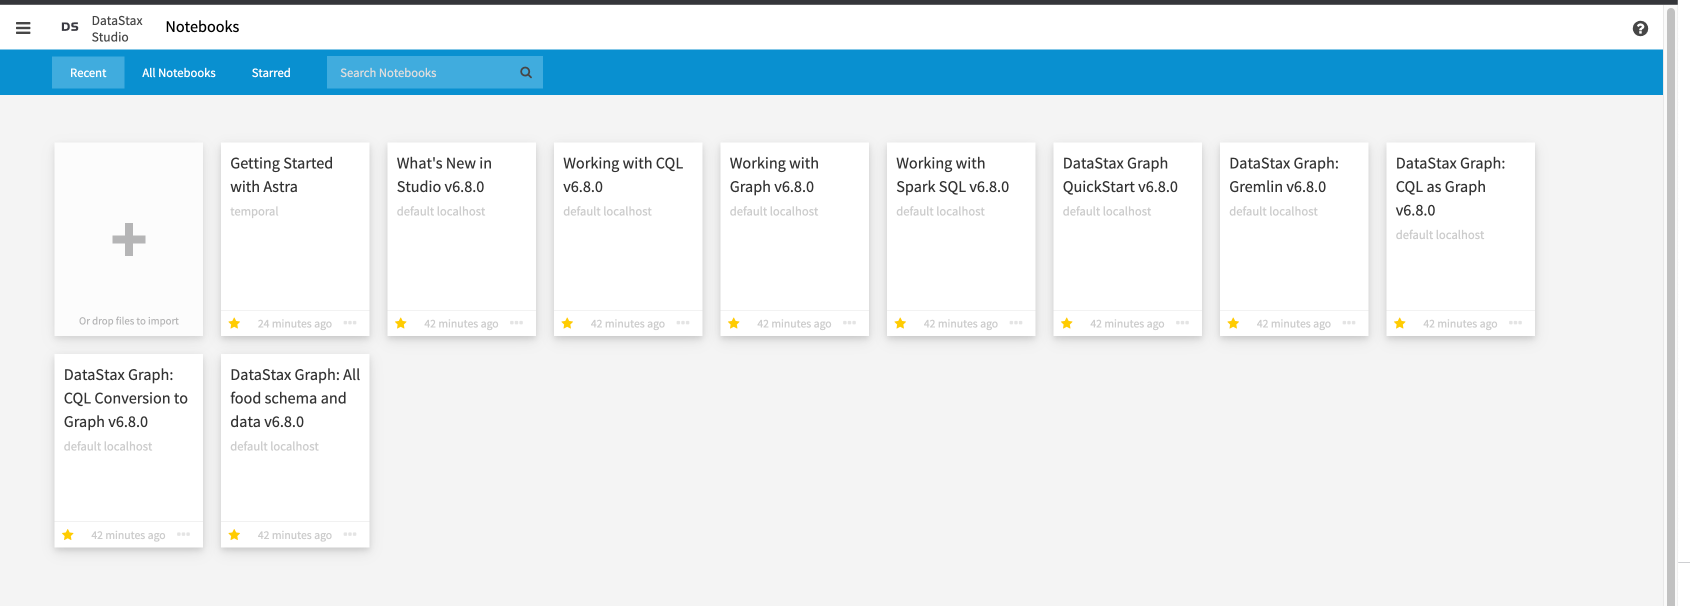
-
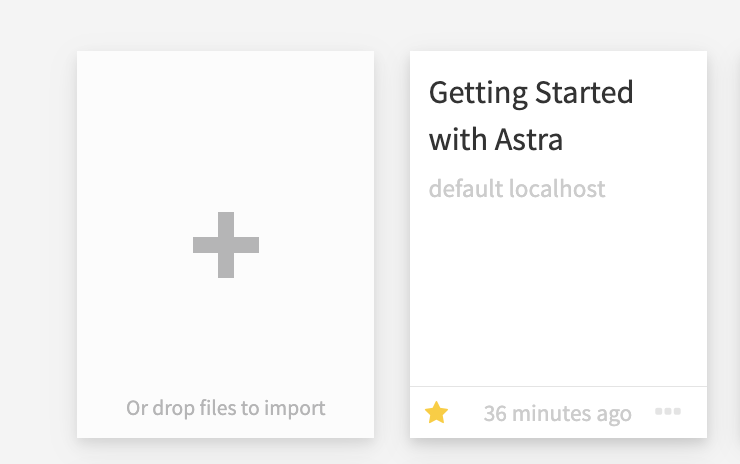
For this example, we will use the Getting Started with Astra notebook. A notebook is essentially a workspace used to visualize queries from your database, test and run different commands, and more.
-
On the top right corner of the notebook, click
default localhostand thenAdd Connectionto configure a new connection for the notebook.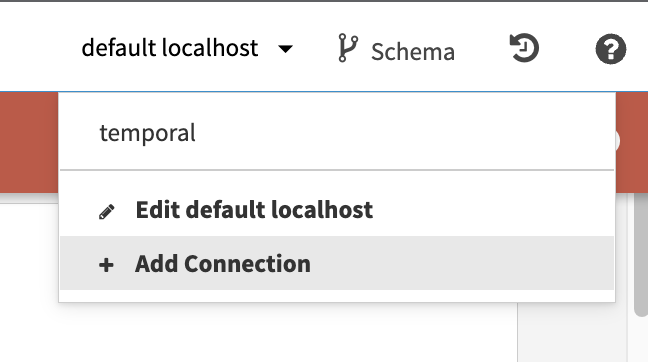
-
A screen should appear with the options
Standard ConnectionandAstra Connection. For this example, you will selectAstra Connection.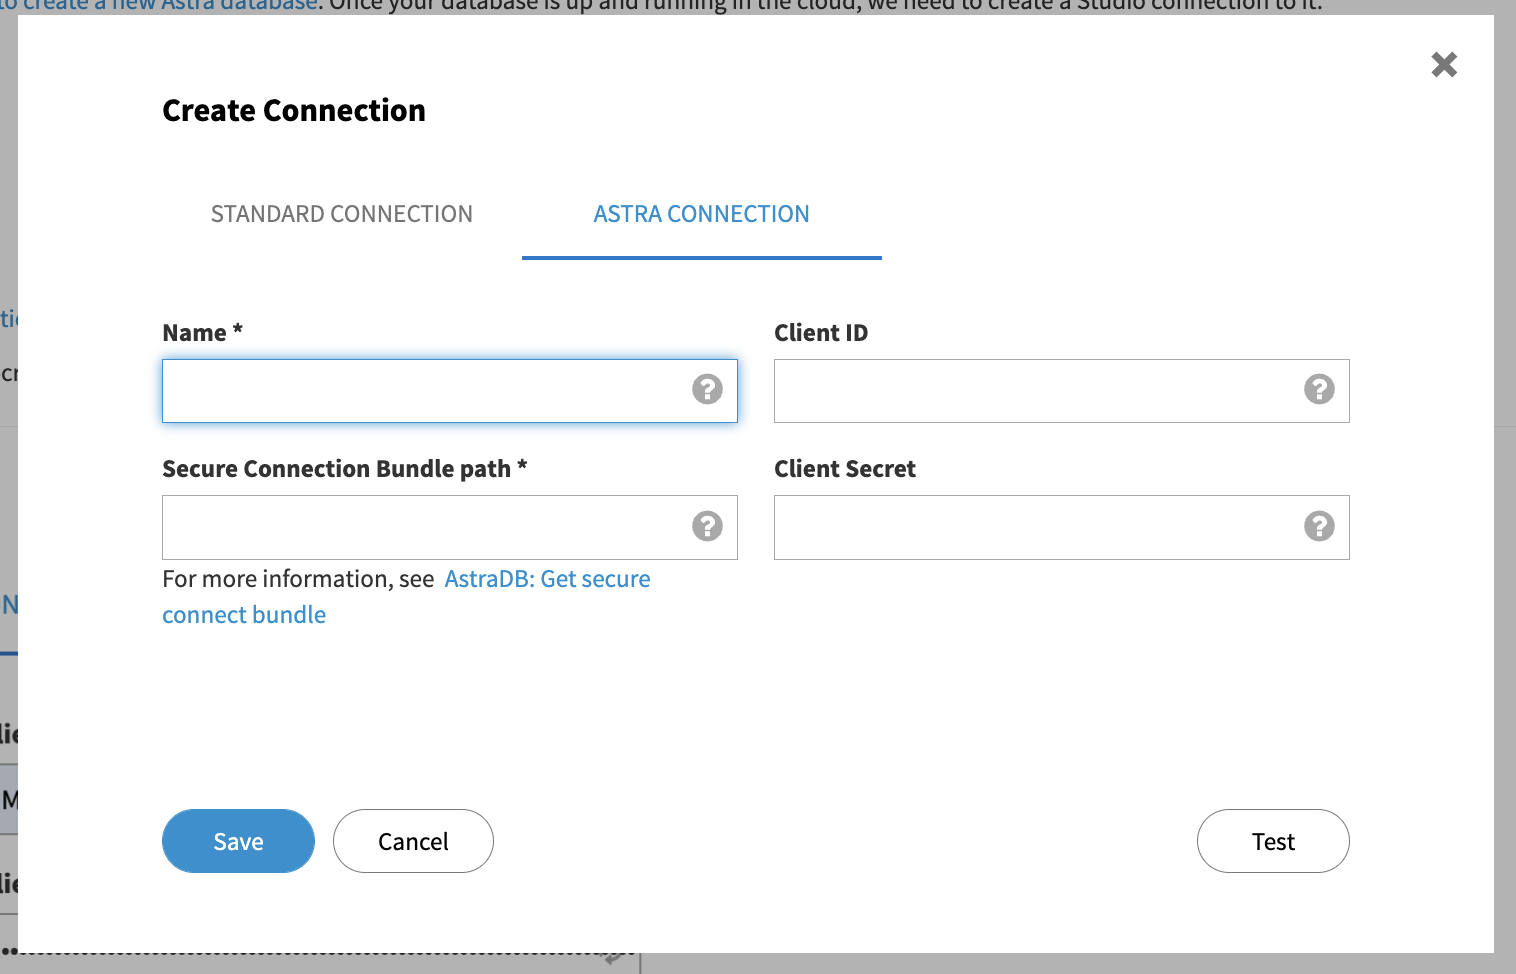
-
Here, you will need the credentials that you gathered in the Astra Prerequisites.
Name: <Your Database Name>
Secure Connection Bundle path: <The path to your SCB locally>
Client ID: <Your Client ID>
Client Secret: <Your Client Secret>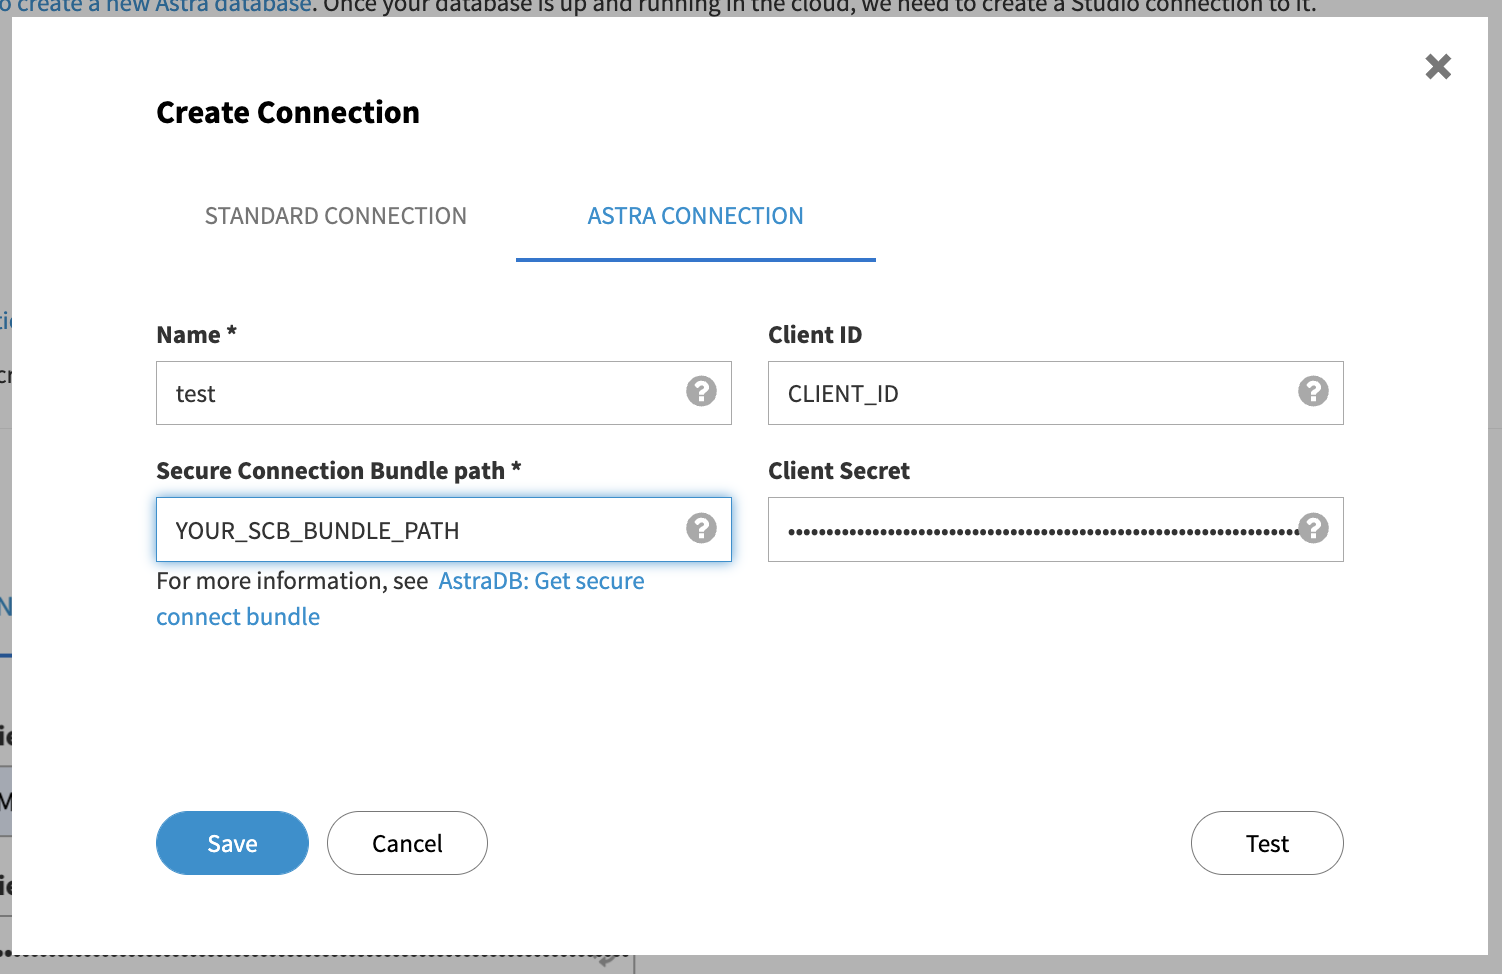
-
Once you have filled this information out, you can select Test in the bottom right corner. If this is successful, you should see a message that says
CQL connected successfully. Once this is completed, click Save. -
In the upper right hand corner, you should be able to switch the connection to the name of the database you just configured.
Test and Validate
Finally, we will test and validate once more that the connection is validated by submitting a couple test queries.
-
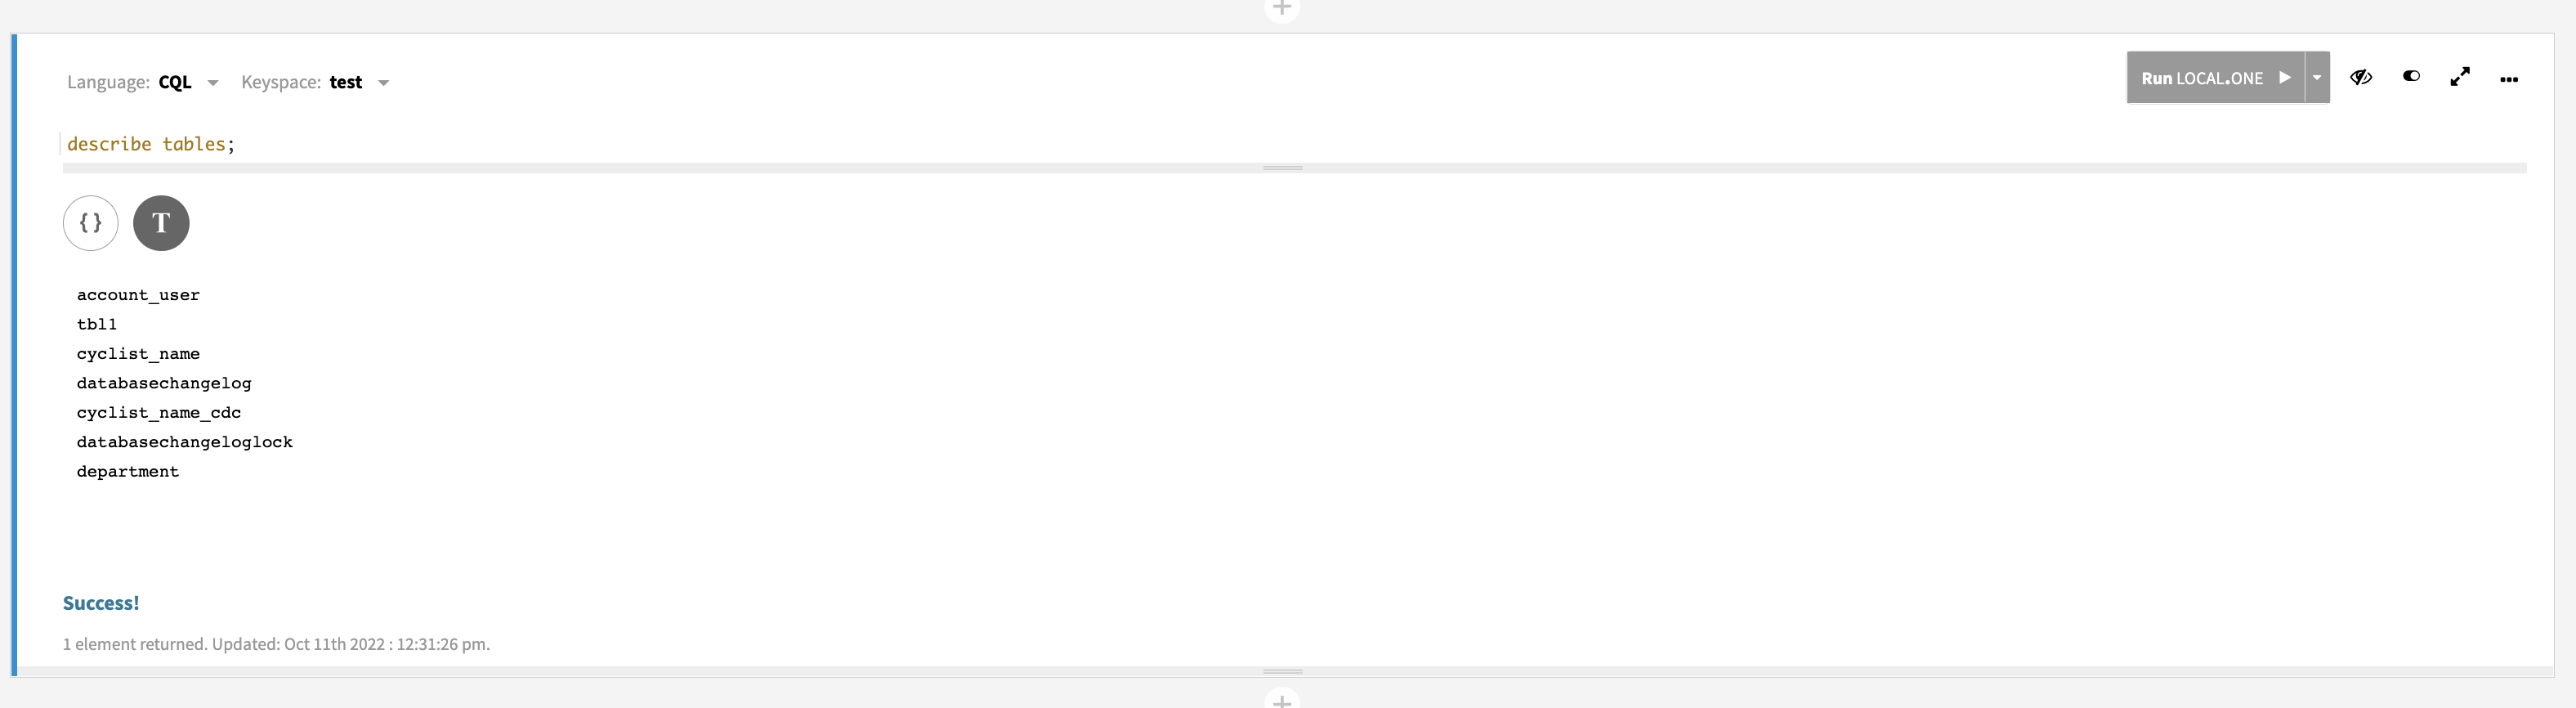
Click the + symbol in the top-middle of the screen to add a new cell.

-
In the cell, you can select which Keyspace that you want to query from.
-
Run the following queries to confirm that the connection to your Astra Database is successful.
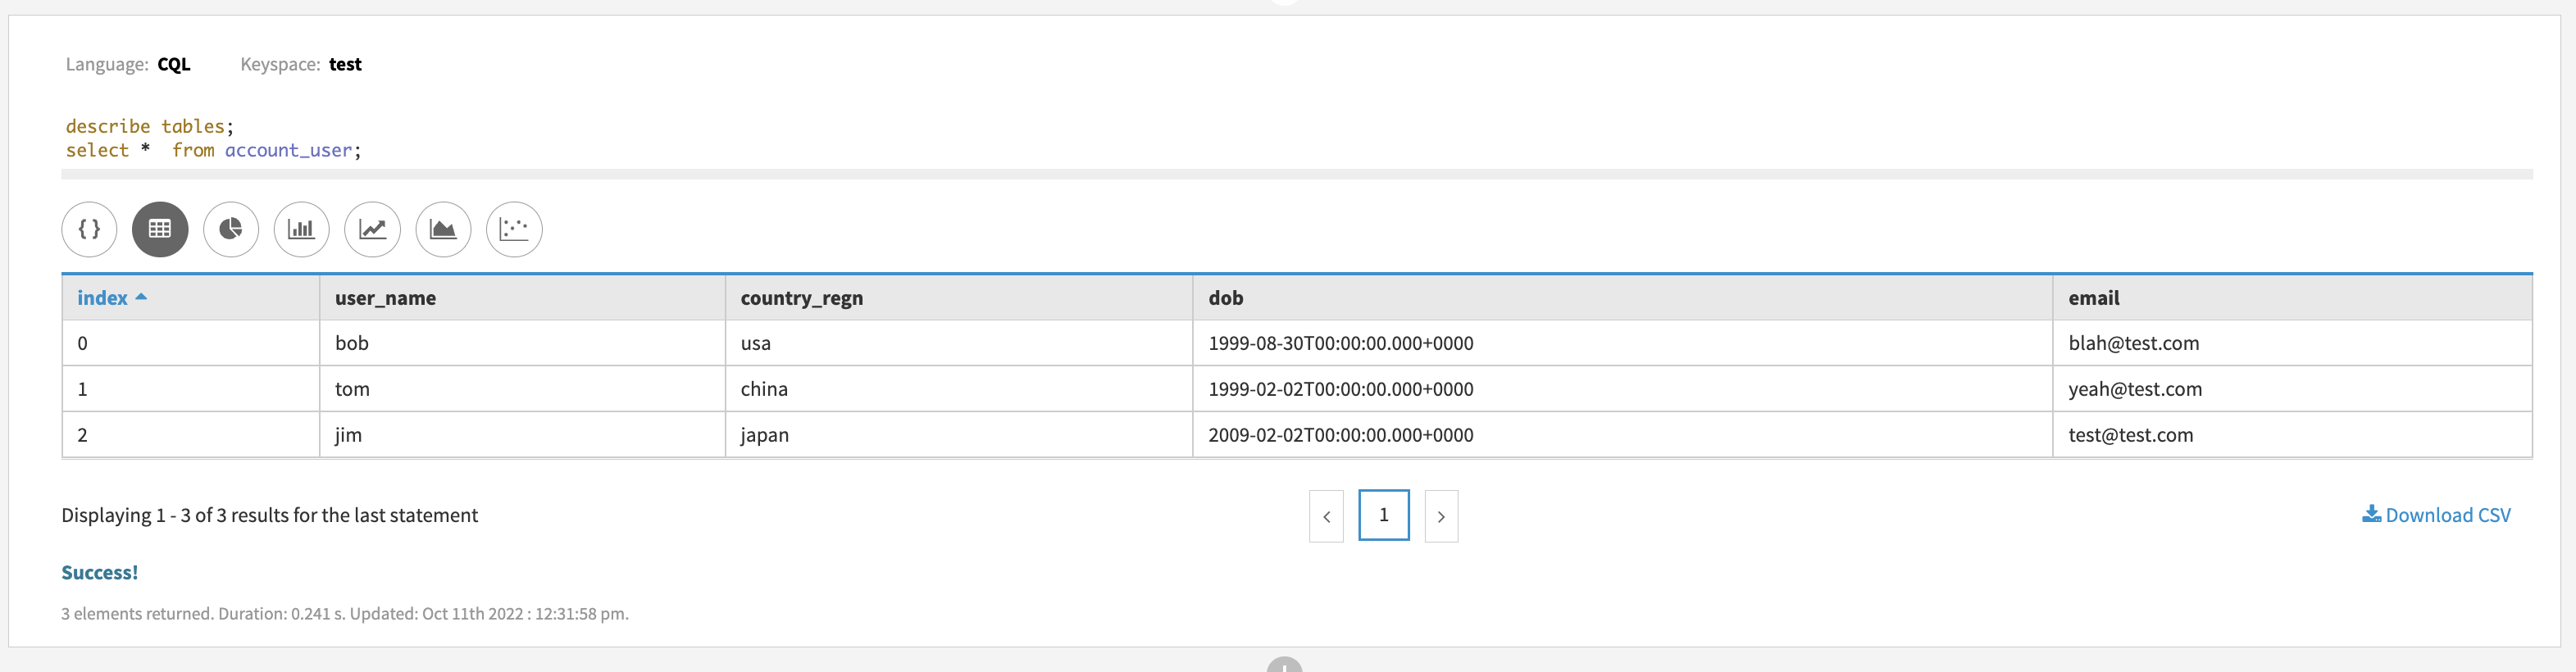
Once you have received the correct results back, that's it! You have successfully connected DataStax Studio to Astra DB and can use this as a tool to help model your queries. You may also scroll down within the Getting Started with Astra notebook for more examples and recommendations.