HashiCorp Vault

Overview
The purpose of this document is to guide you through the process using Astra DB as the storage configuration for your HashiCorp Vault instance. In this tutorial, you will install Vault and edit the configuration file to point to Astra DB.
Prerequisites
- You should have an Astra account
- You should Create an Astra Database
- You should Have an Astra Token
- You should Download your Secure Bundle
- You should Install Vault
- Clone this repository to use to set up CQL-Proxy which is a sidecar that enables unsupported CQL drivers to work with DataStax Astra
- You need your Astra Token and Astra Database ID to use CQL-Proxy
- Follow the steps in the repo to spin up CQL-Proxy using Terminal/Command Line. Once successfully running, you should see the following output:
{"level":"info","ts":1651012815.176512,"caller":"proxy/proxy.go:222","msg":"proxy is listening","address":"[::]:9042"}
Installation and Setup
- In the Astra UI, create a keyspace called vault.
- Navigate to your CQL Console in the Astra UI. Issue the following statement to create a table called entries
- Navigate to your terminal. Create a Vault configuration file
config.hclin your local directory. - Edit your
config.hclfile. Copy and paste the following to your configuration file:
storage "cassandra" {
  hosts            = "localhost"
  consistency      = "LOCAL_QUORUM"
  protocol_version = 3
}

listener "tcp" {
  address     = "127.0.0.1:8200"
  tls_disable = "true"
}

api_addr = "http://127.0.0.1:8200"
cluster_addr = "https://127.0.0.1:8201"
ui = true
vault server -config=config.hcl
Successful output should look like this:
==> Vault server configuration:

             Api Address: http://127.0.0.1:8200
                     Cgo: disabled
         Cluster Address: https://127.0.0.1:8201
              Go Version: go1.17.9
              Listener 1: tcp (addr: "127.0.0.1:8200", cluster address: "127.0.0.1:8201", max_request_duration: "1m30s", max_request_size: "33554432", tls: "disabled")
               Log Level: info
                   Mlock: supported: false, enabled: false
           Recovery Mode: false
                 Storage: cassandra
                 Version: Vault v1.10.2
             Version Sha: 94325865b12662cb72efa3003d6aaa4f5ae57f3a

==> Vault server started! Log data will stream in below:
Note
If you get a warning message about mlock not being supported, that is okay. However, for maximum security you should run Vault on a system that supports mlock.
Test and Validate
- Once you see the above message that you successfully started Vault server, open a new terminal window.
- Run
vault operator init. This will give you 5 Unseal Keys and a Root Token. Vault needs 3 Unseal Keys to properly unseal.
Note
You may get an error that looks like this: Error initializing: Put "https://127.0.0.1:8200/v1/sys/init": http: server gave HTTP response to HTTPS client
This is because Vault runs on localhost, but the default address is HTTPS. Instead, you might need to specify the explicit address with the follow command: vault operator init -address=http://127.0.0.1:8200
Once Vault is initialized, it should give you an output of your Unseal Keys:
% vault operator init
Unseal Key 1: rVRPym...
Unseal Key 2: 71tY5X...
Unseal Key 3: ETYWDf...
Unseal Key 4: 4mDtrr...
Unseal Key 5: o9X46m...

Initial Root Token: hvs.gF14F...

Vault initialized with 5 key shares and a key threshold of 3. Please securely
distribute the key shares printed above. When the Vault is re-sealed,
restarted, or stopped, you must supply at least 3 of these keys to unseal it
before it can start servicing requests.

Vault does not store the generated root key. Without at least 3 keys to
reconstruct the root key, Vault will remain permanently sealed!
Note
Make sure to save these keys somewhere safe. This is the only time that Vault will generate these keys.
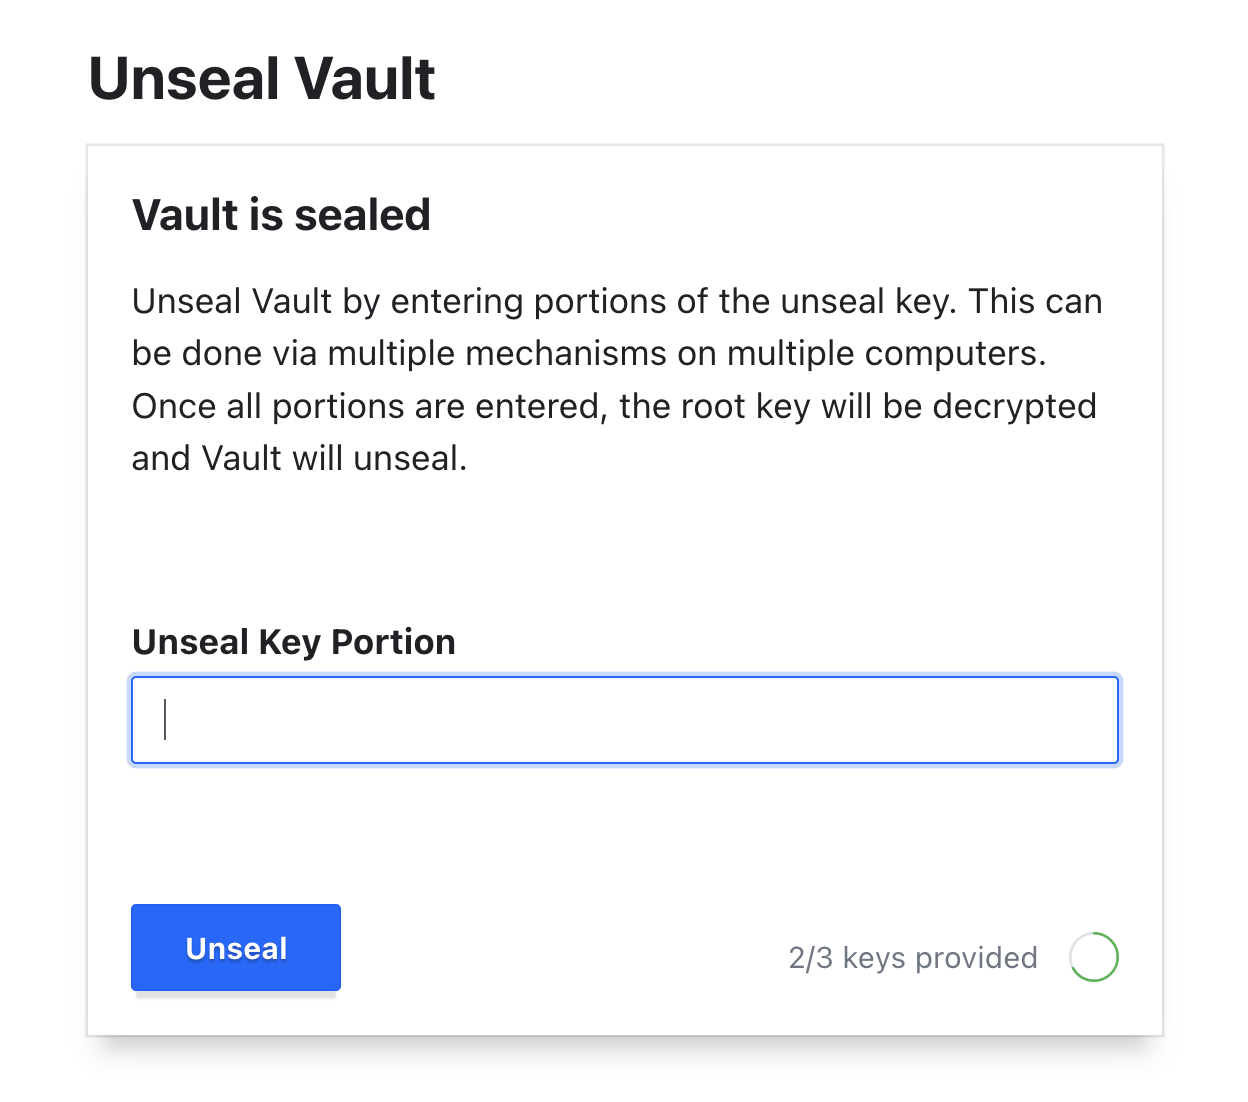
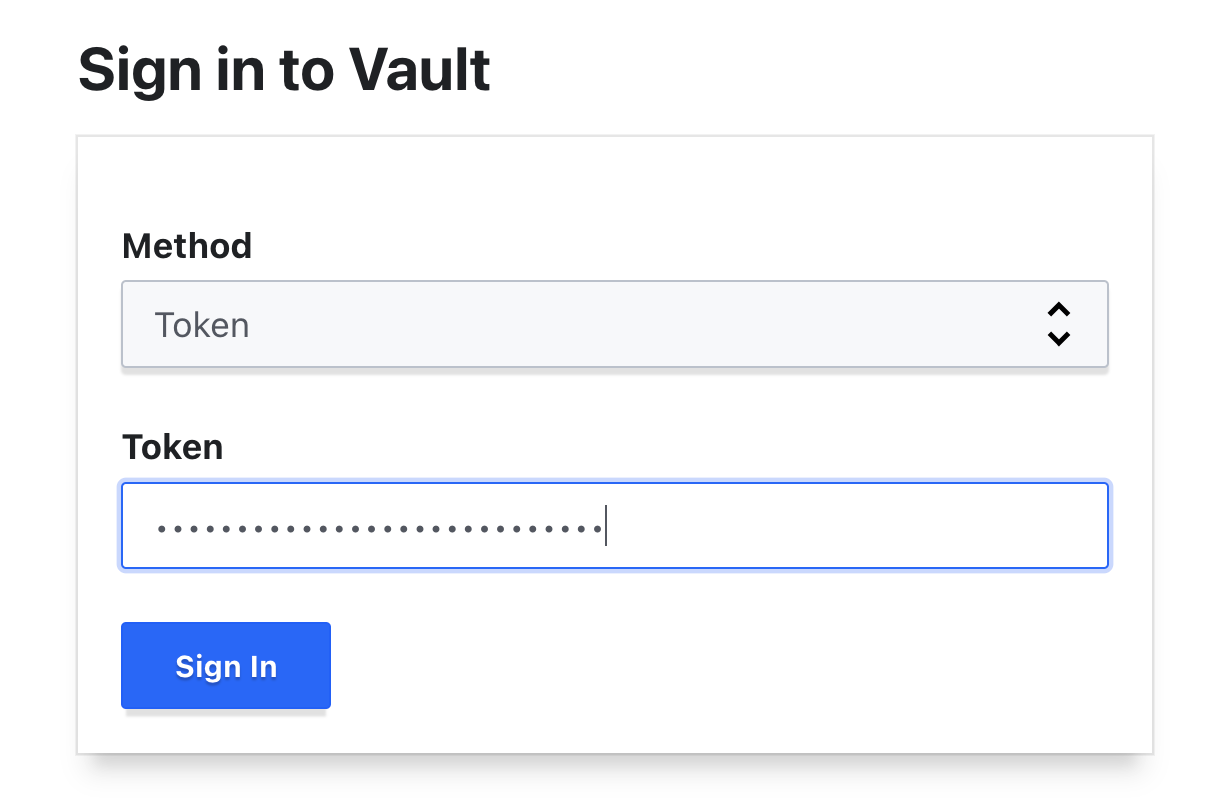
- Run the Vault UI at http://127.0.0.1:8200
- Enter your Unseal Keys and Root Token
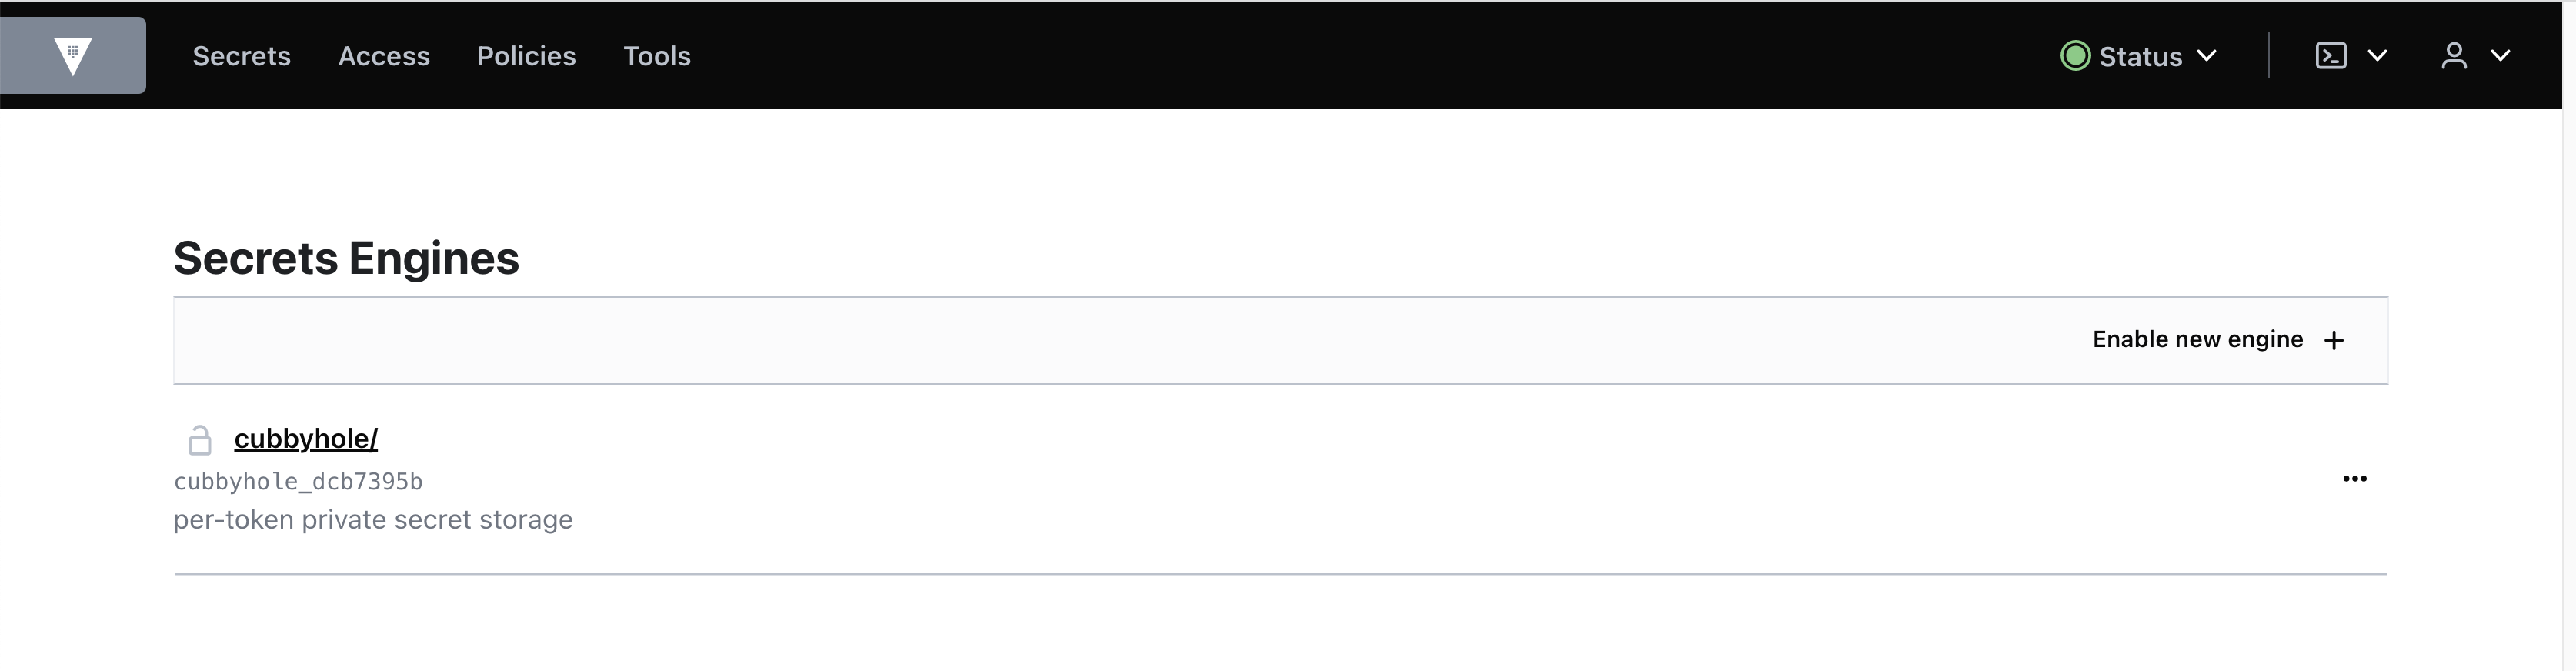
- You should now be able to access the Vault UI as well as cross-reference your CQL Console to make sure the requests are properly being written to your entries table!
Note: When querying from the entries table, you must use double-quotes as entries is a reserved word for CQL.
token@cqlsh:vault> use vault;                           //Switches to Vault keyspace
token@cqlsh:vault> expand on;                           //Prints output in readable format
token@cqlsh:vault> select * from "entries" limit 1;     //Select statement from "entries" table

@ Row 1
--------+----------------------------------------------------------------------------------------------------------------------------------------------------------------------------------------------------
 bucket | logical/59ca7834-32f6-a70a-8a61-53dce6dd9c18/oidc_provider/provider
 key    | logical/59ca7834-32f6-a70a-8a61-53dce6dd9c18/oidc_provider/provider/default
 value  | 0x0000000102002d31867373d44b1ae2412b4a1a2bd895c3eec2b2db671ec6a8e323e69539cf6d5e1b43e2e11fabc9cc76ad3c77a722caac47cc3f877013df200e4e6d268e6dbff10ba4007cef042643721101e669ae35ff08842e2d1f70e19de2

(1 rows)