Pentaho Data Integration
This article was originally written by Erick Ramirez on community.datastax.com
![]()
Overview
Pentaho Data Integration (PDI) provides the Extract, Transform, and Load (ETL) capabilities that facilitate the process of capturing, cleansing, and storing data using a uniform and consistent format that is accessible and relevant to end users and IoT technologies.
Prerequisites
- You should have an Astra account
- You should Create an Astra Database
- You should Have an Astra Token
- You should Download your Secure bundle
- You should Download and install PDI
This article was written for version 9.1 on MacOS but it should also work for the Windows version.
Installation and Setup
✅ Step 1: Download JDBC Driver
Download the JDBC driver from the DataStax website:
- Go to https://downloads.datastax.com/#odbc-jdbc-drivers.
- Select Simba JDBC Driver for Apache Cassandra.
- Select JDBC 4.2.
- Read the license terms and accept it (click the checkbox).
- Hit the blue Download button.
- Once the download completes, unzip the downloaded file.
✅ Step 2: Import Driver JAR in Pentaho
Deploy the Simba driver to Pentaho servers using the distribution tool:
-
On your laptop or PC, copy the Simba JAR to the JDBC distribution directory:
-
Run the distribution tool (
distribute-files.baton Windows) -
Verify that the JAR has been copied to the PDI library:
- Expected output:
- Expected output:
-
Restart Pentaho on your workstation for the Simba driver to be loaded.
✅ Step 3: Define a connection in Pentaho
In this section we assume that your database in Astra is called
pentahoand as such the download secure bundle is calledsecure-connect-pentaho.zip
- Create a new Transformation.
- Open a new Database Connection dialog box.
- In the Connection name field, give your DB connection a name.
- Under Connection type, select Generic database.
-
Set the Custom connection URL. (Note that you will need to specify the full path to your secure bundle and adapt to your database name)
-
In the Username field, enter the string
token. - In the Password field, paste the value of the token you created in the Prerequisites section above. The token looks like
AstraCS:AbC...XYz:123...edf0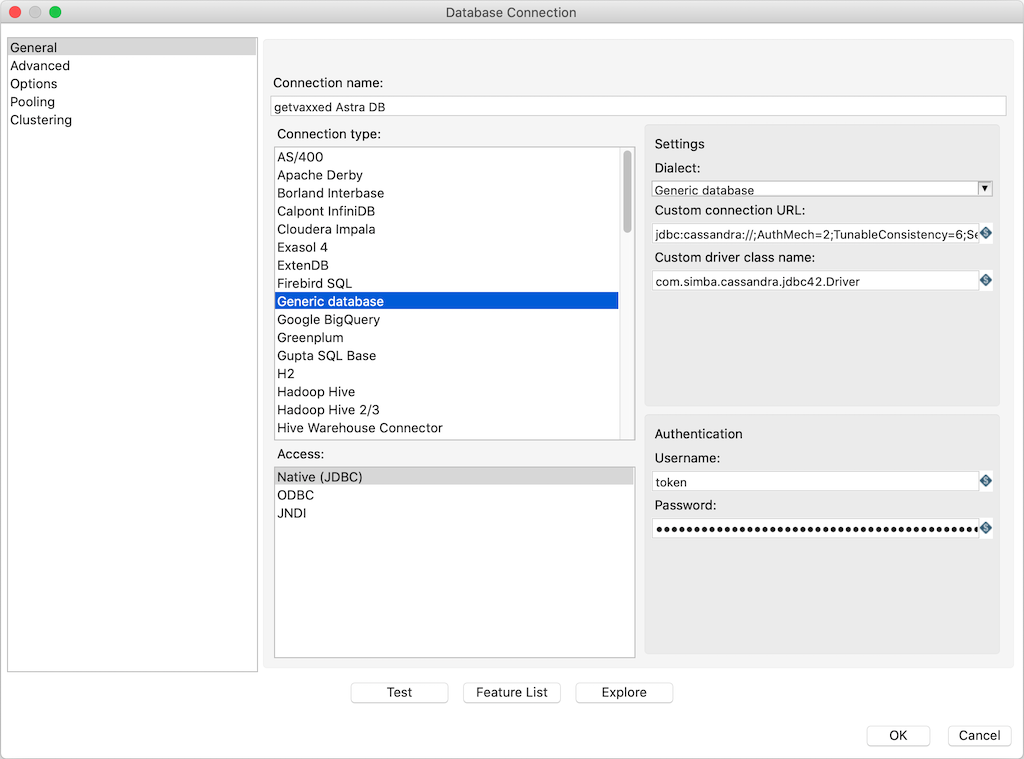
- Click on the Test Connection button to confirm that the driver configuration is working:

- Click on the OK button to save the connection settings.
✅ Step 4: Final Test
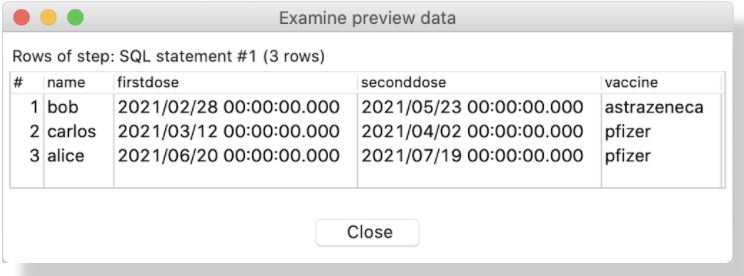
Connect to your Astra DB by launching the SQL Editor in Pentaho and run a simple CQL statement. For example:
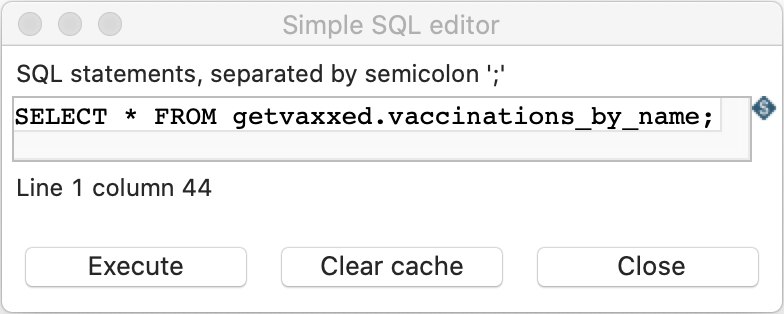
Here's an example output:
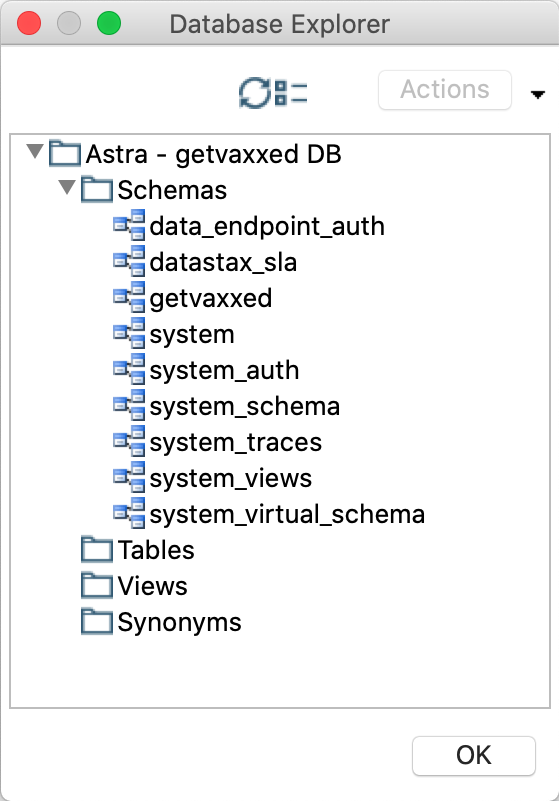
You should also be able to browse the keyspaces in your Astra DB using the DataBase Explorer. Here's an example output: