DataStation
![]()
Overview
DataStation is an open-source data IDE for developers. It allows you to easily build graphs and tables with data pulled from SQL databases, logging databases, metrics databases, HTTP servers, and all kinds of text and binary files. Need to join or munge data? Write embedded scripts as needed in languages like Python, JavaScript, R or SQL. All in one application. This tutorial will show you step-by-step how to connect your Astra DB with DataStation.
Prerequisites
- You should Install DataStation
- You should have an Astra account
- You should Create an Astra Database
- You should Have an Astra Token
- Clone this repository to use to set up CQL-Proxy which is a sidecar that enables unsupported CQL drivers to work with DataStax Astra
- You need your Astra Token and Astra Database ID to use CQL-Proxy
- Follow the steps in the repo to spin up CQL-Proxy using Terminal/Command Line. Once successfully running, you should see the following output:
Installation and Setup
Once you have completed all of the Prerequisites and confirmed CQL Proxy is running, you are now able to move on to setting up your Astra DB with DataStation IDE.
-
First, launch your DataStation IDE.
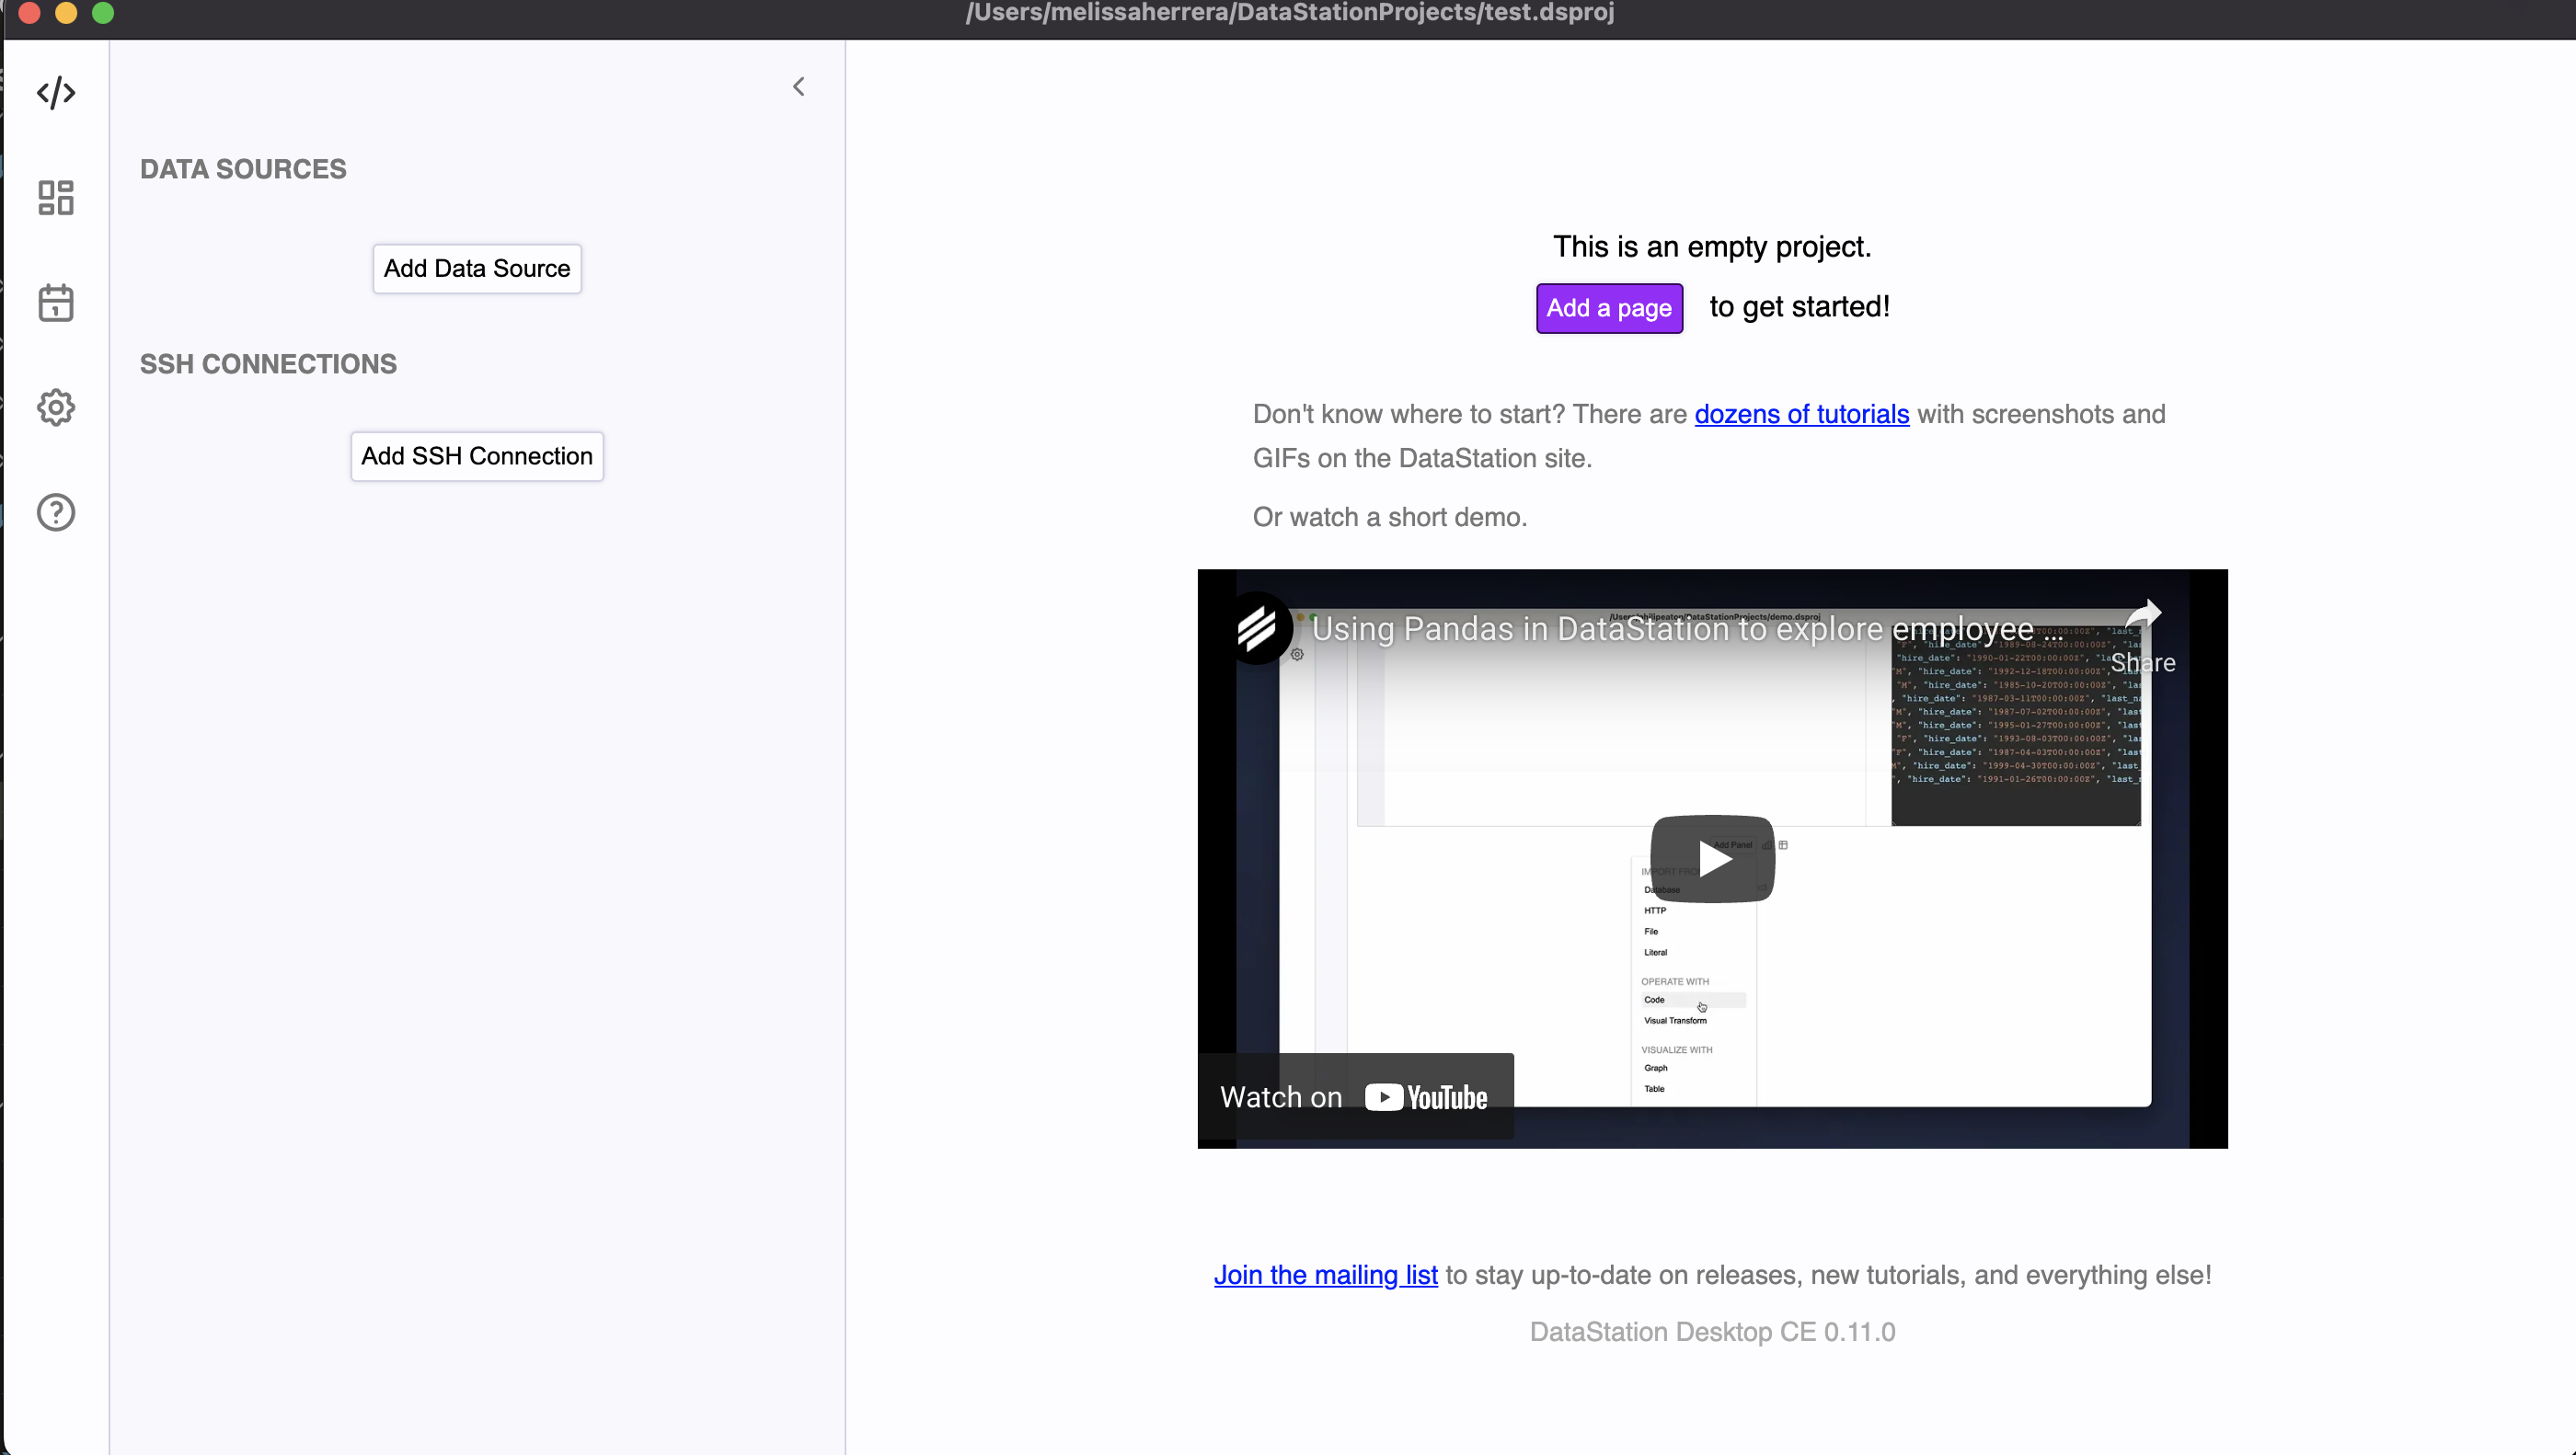
-
Click Add Data Source and select Cassandra
-
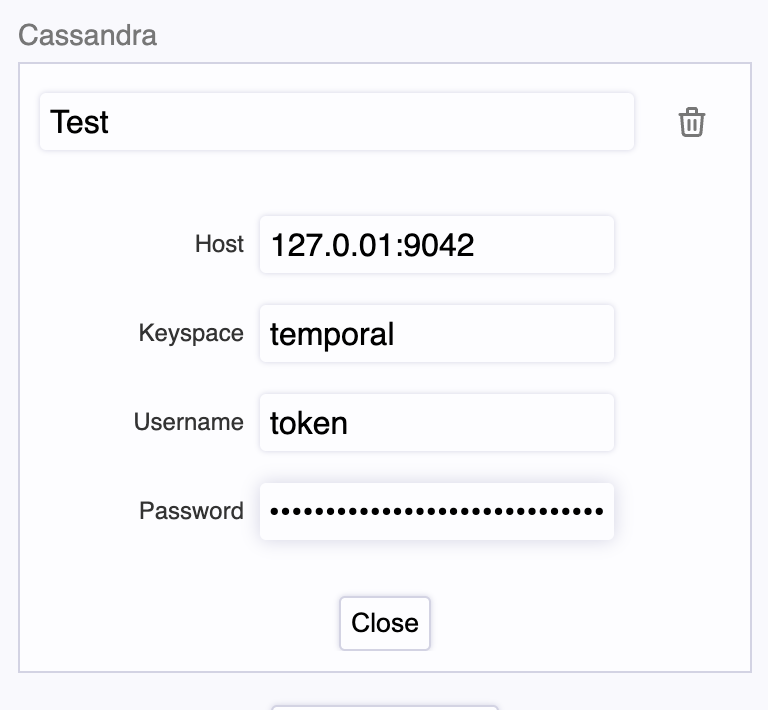
A dialog will appear that will prompt you to name this connection (in this example I used Test) and your Cassandra credentials:
- Host - Use
localhost:9042or127.0.0.1:9042 - Keyspace - Enter the name of the keyspace that you want to use from your Astra DB.
- Username - Use
token -
Password - From your Astra Token creation in the Prerequisites, find your Token.
- Ex.
AstraCS:BWsdjhdf...
- Ex.
- Host - Use
-
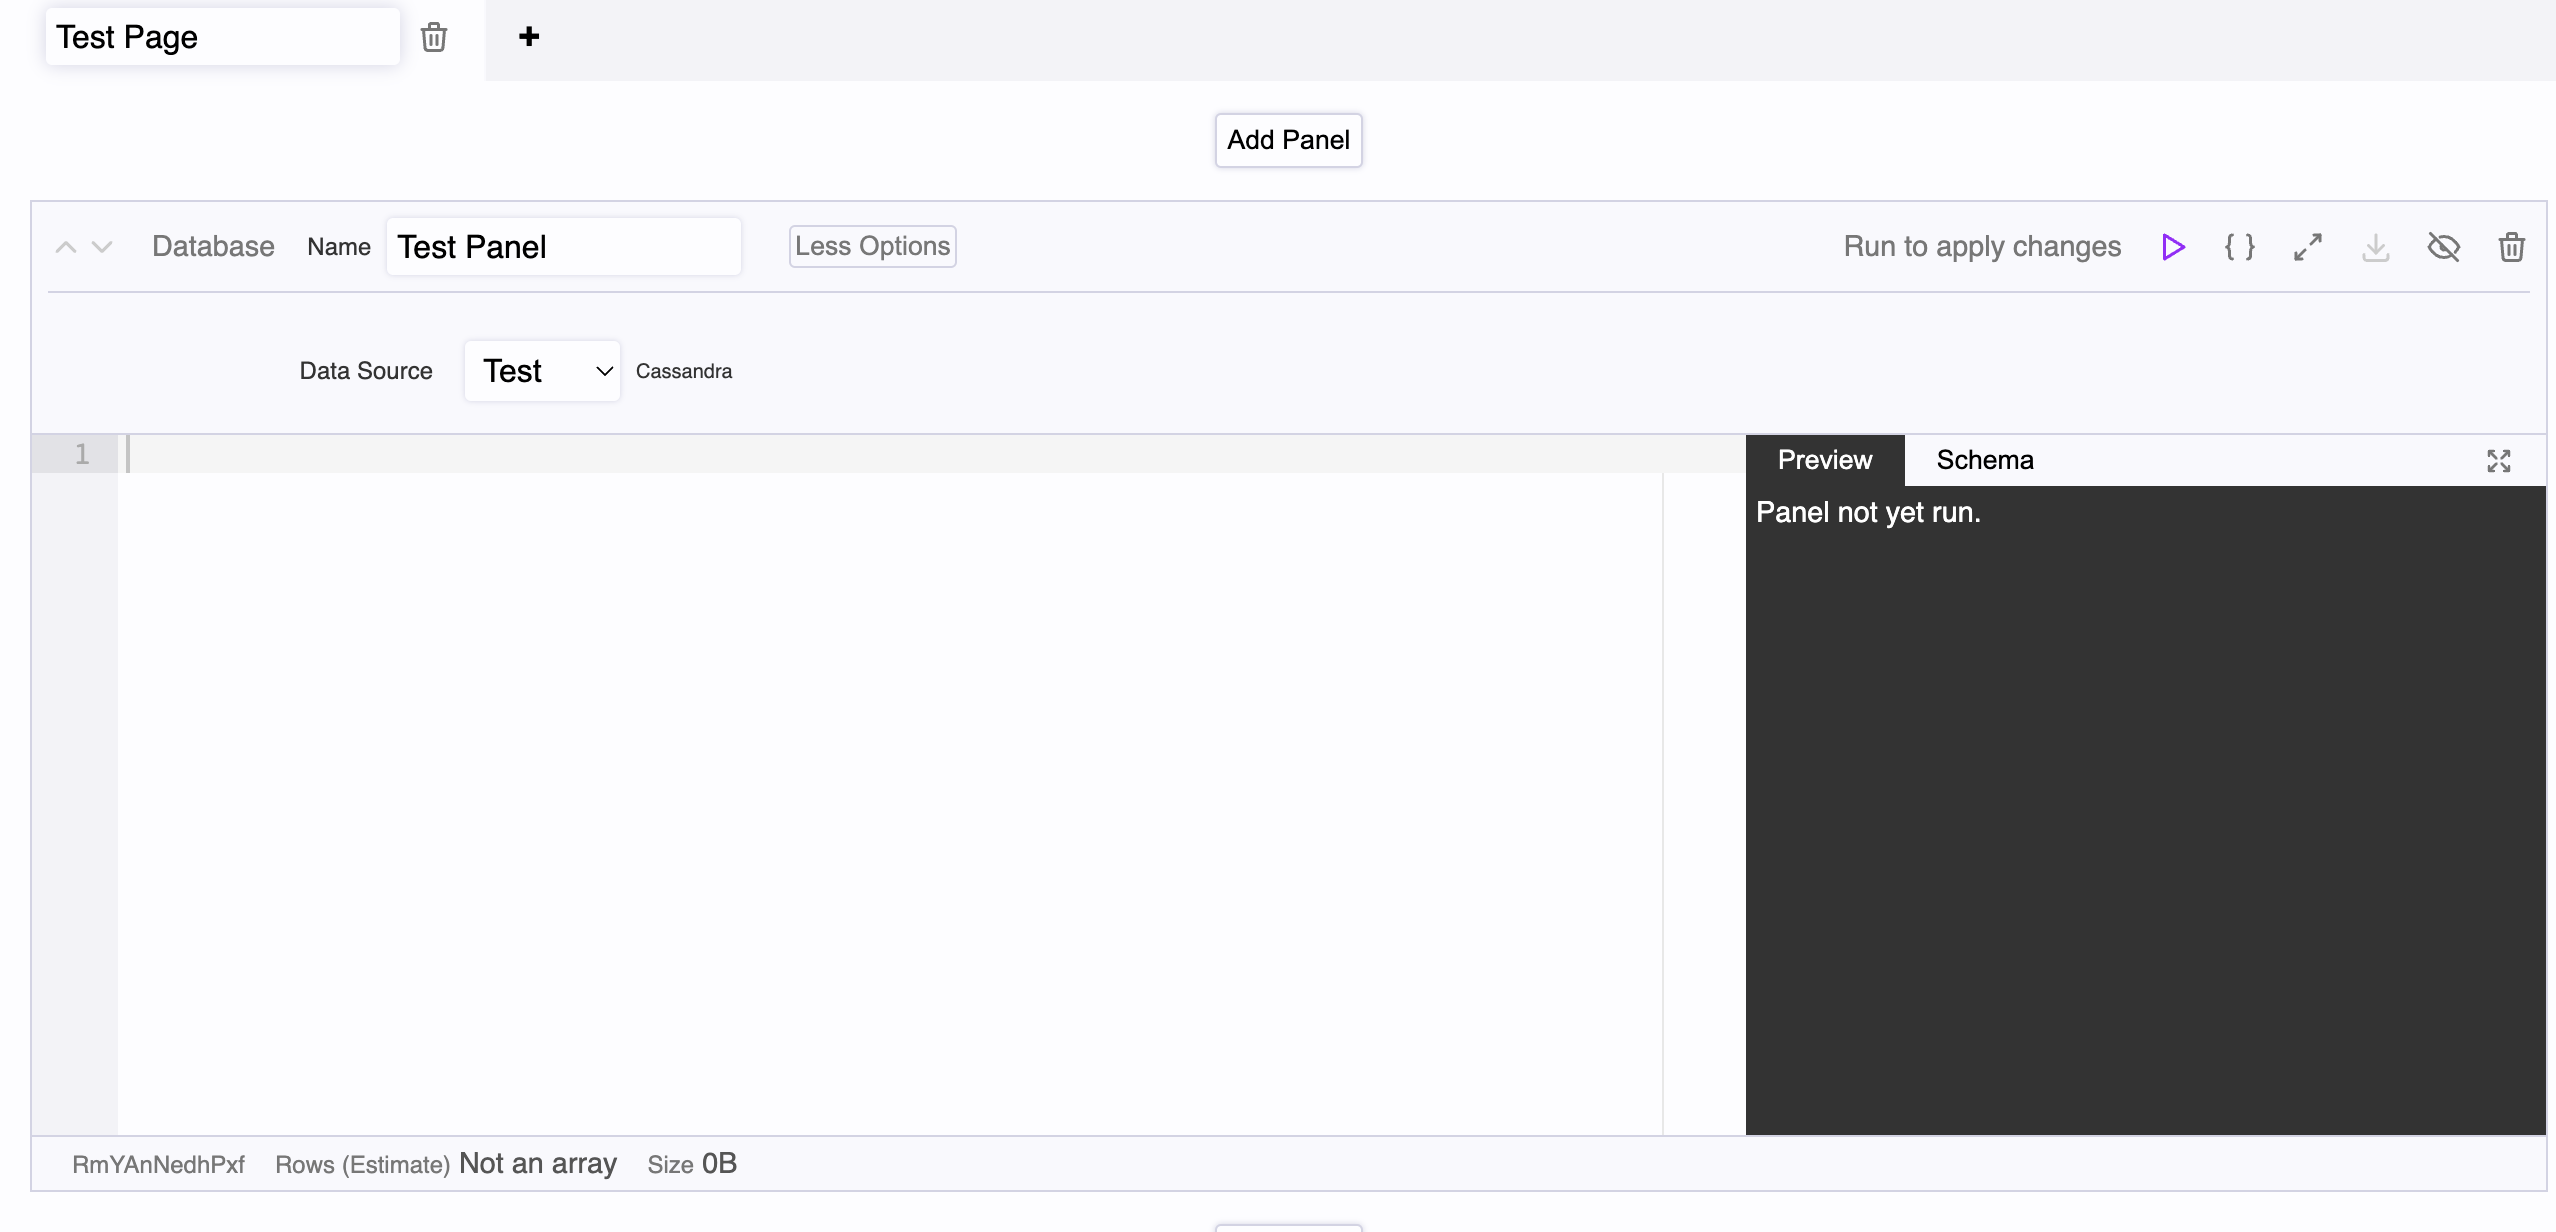
Once you've entered your credentials, click Add Panel and select Database under IMPORT FROM. This will allow DataStation to connect with the database you are trying to view through the credentials you had just entered in the previous step.
Note
DataStation IDE currently doesn't show a success message after the credentials have been entered. The Password field will also show up blank once you've minimized the credentials panel on the sidebar, but this does not necessarily mean you have to re-enter your password.
- You will know your database has been added once your display looks like this. You can name this Panel what you'd like. In this example, it is titled Test Panel.
- To test and validate, you can run a quick query to one of the tables that are present in the Keyspace that you provided in Step 3.
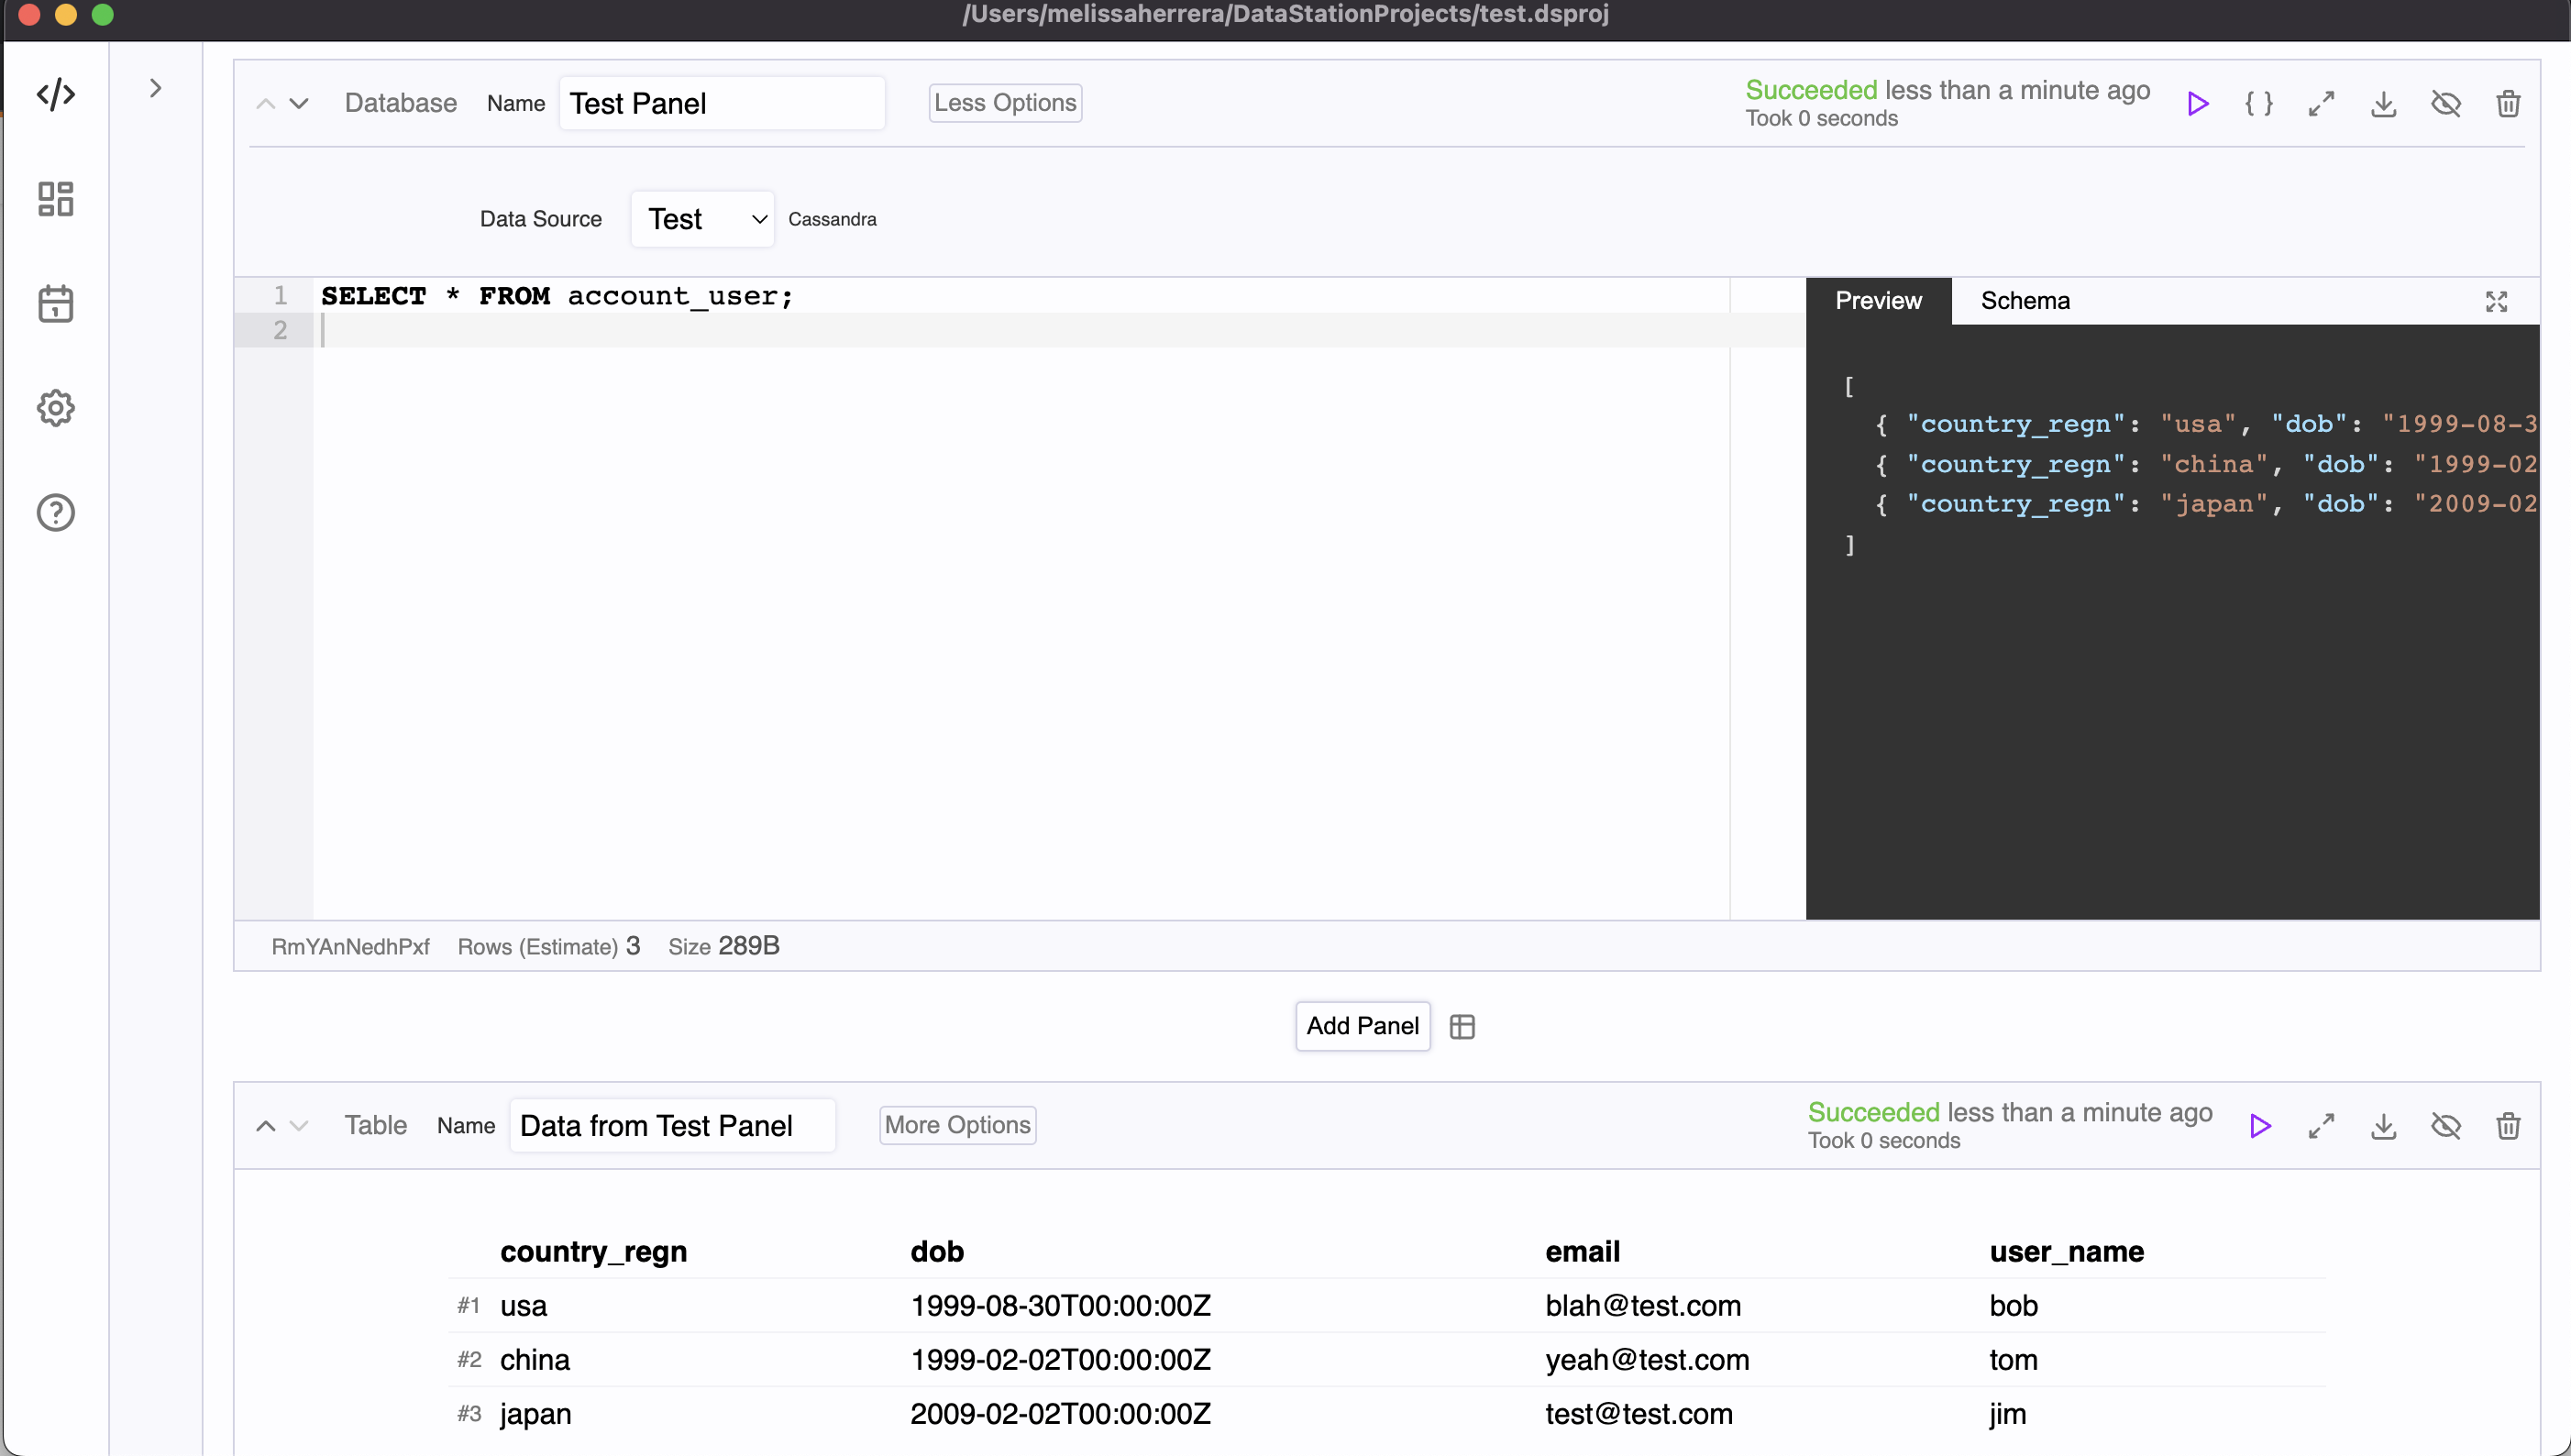
...and you're done! This tutorial quickly shows you how you can easily integrate your Astra DB with the DataStation IDE to run queries, build tables, and further enhance how you interact with your data.