AWS GameSparks
Notice
This tutorial is currently in Beta. Feel free to contact us if you run into any issues or need additional help with completing the tutorial.
Overview
In this tutorial, we will be creating a simple app that connects to Astra Block using AWS GameSparks, AWS Lambda, and Unity.
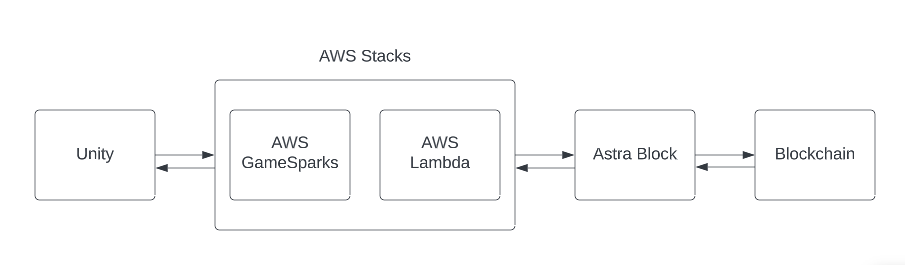
AWS GameSparks is a fully managed AWS service that provides a multi-service backend for game developers. GameSparks works together with AWS Lambda which connects directly to our Astra DB Database and Astra Block.
Prerequisites
- You should have an Astra account
- You should Create an Astra Database
- Request for access to Astra Block.
- You should Have an Astra Token
- You should Download your Secure Connect Bundle
- Have Unity Hub installed.
- Have 2020.3 Unity version installed (This project uses 3.4.1).
Step 1: AWS Lambda
This section of the tutorial will be referencing a majority of the AWS Lambda tutorial with some minor adjustments.
-
First, choose one of the four options available: Python Driver, Python SDK, Java Driver, Java gRPC. This tutorial uses Python Driver.
-
In Step 2 of the AWS Lambda integration tutorial, you are asked to create file
lambda_function.pywith the function source code. Use the following code for thelambda_handlerfunction.This queries thedef lambda_handler(event, context): num1 = event['num1'] num2 = event['num2'] row = session.execute("select * from krypton_dev.sorted_nfts where block_number_hour=" + str(num1) + " and block_number=" + str(num2) + " limit 1;").one() print(type(row[5])) return { "result": row[5] }sorted_nftstable then returns the name of the NFT at the givenblock_numberandblock_number_hour. -
Create the deployment package and AWS Lambda function as stated in the tutorial.
-
Test the function by navigating to the Test tab. Scroll down to the Event JSON section and update the values with the following values:
- Click the Test button and observe the output. It should have returned the NFT name
Banksy Culture.
Step 2: AWS GameSparks
This section of the tutorial will focus on setting up AWS GameSparks as a backend and connect it to the AWS Lambda function that you just created.
Create a game backend
-
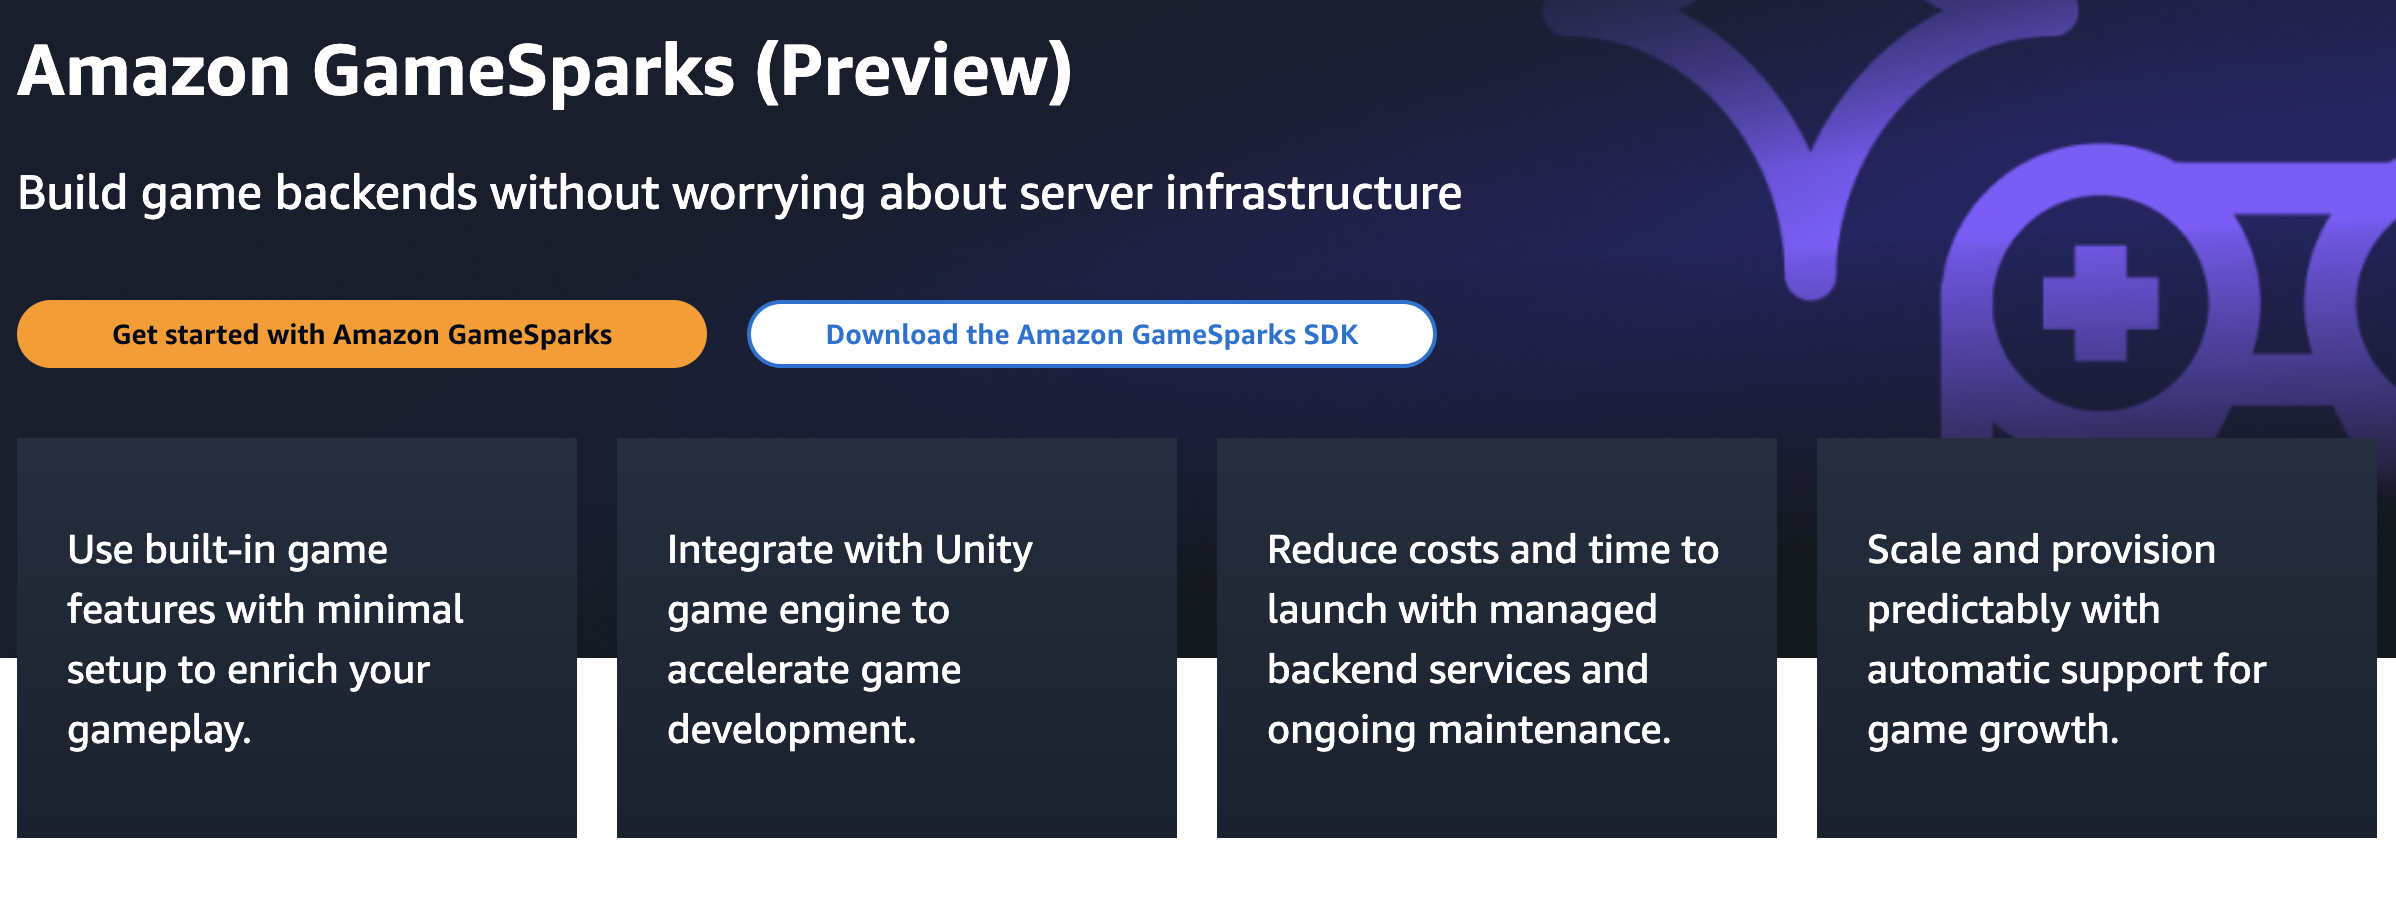
Firstly, open the Amazon GameSparks Console and click on Create game to create a game and start developing your game backend:

-
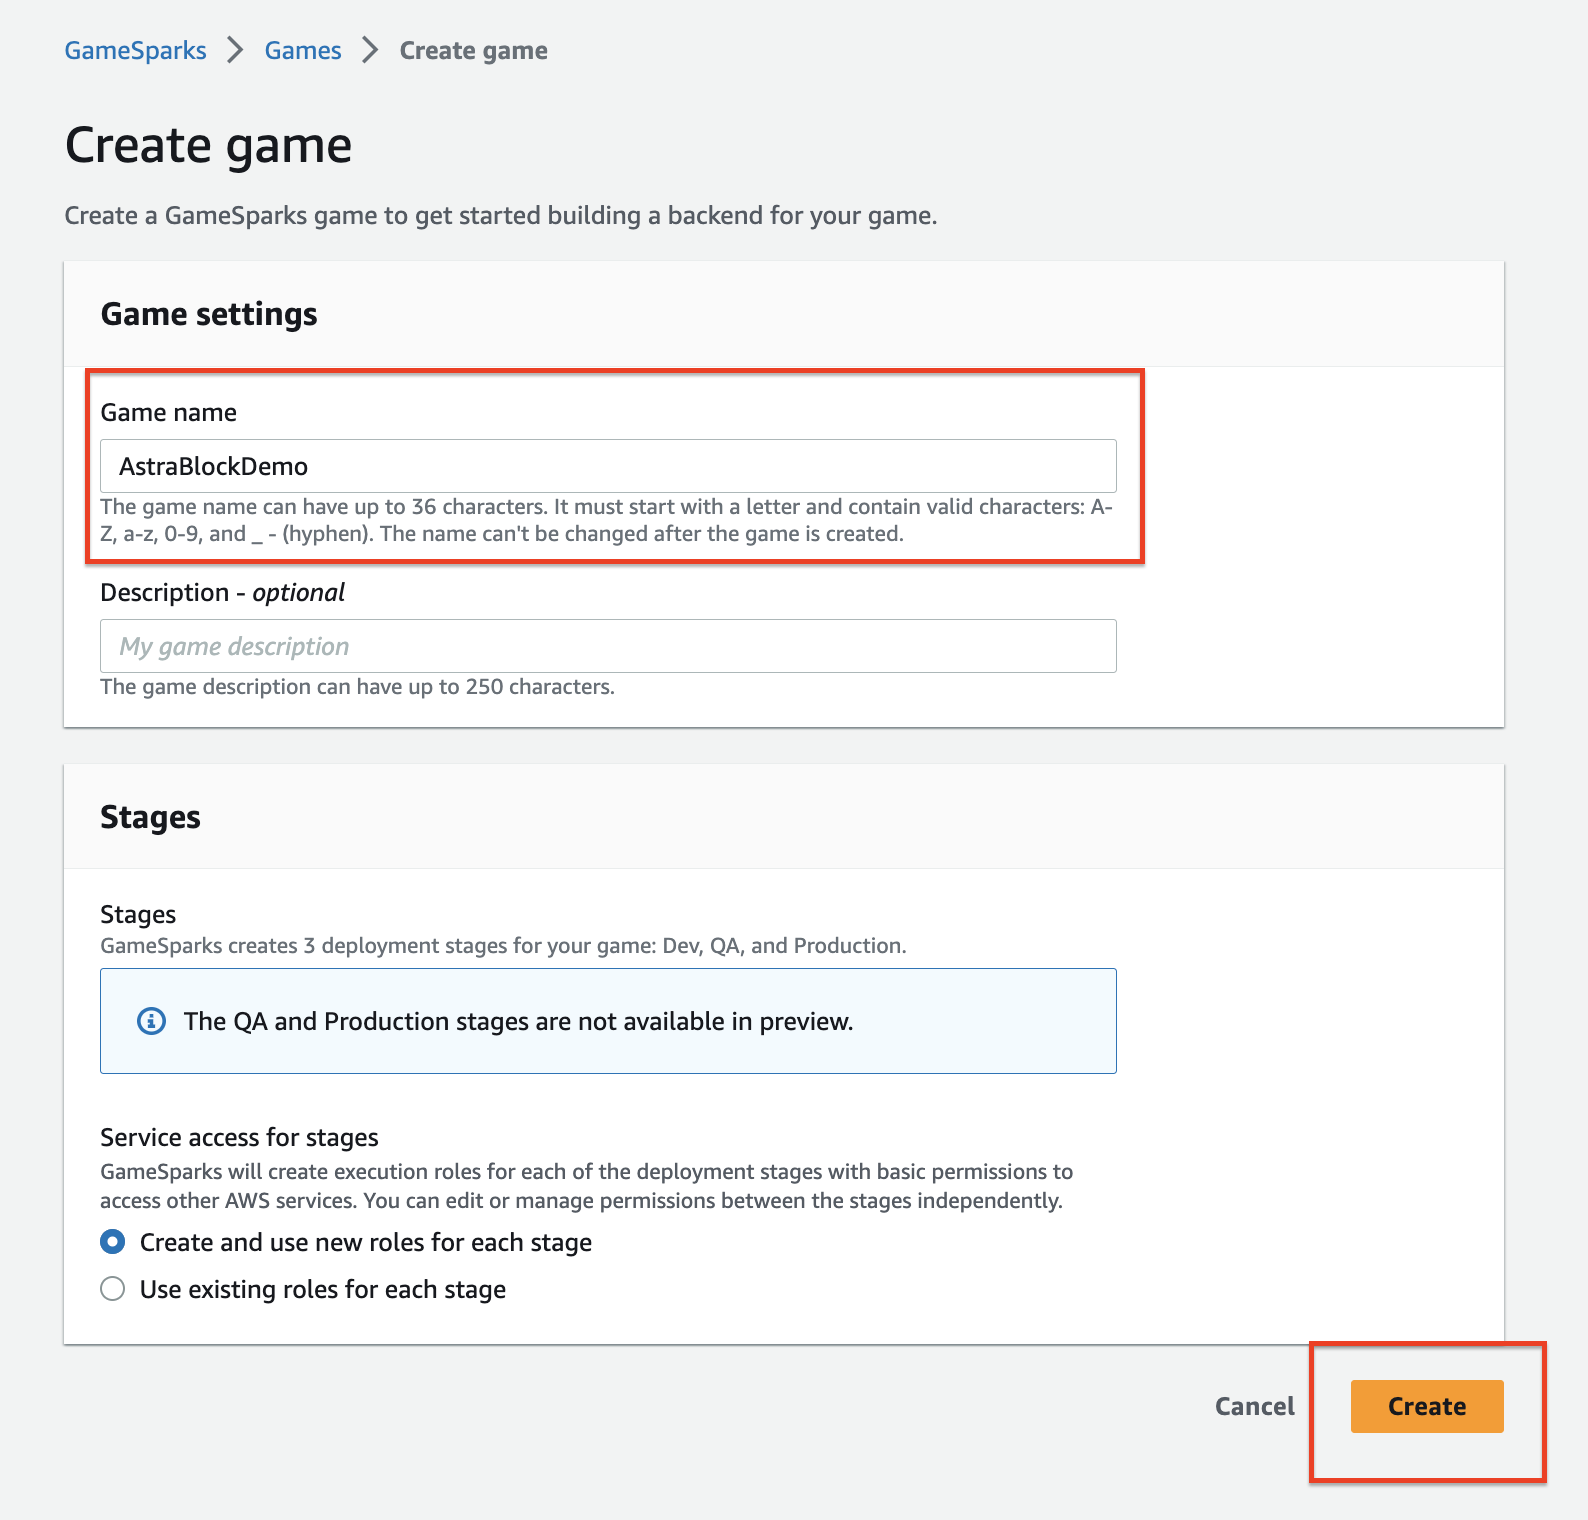
Set a name for your Game and click Create
You have now created your AWS GameSparks backend ready to be configured to your game and AWS Lambda.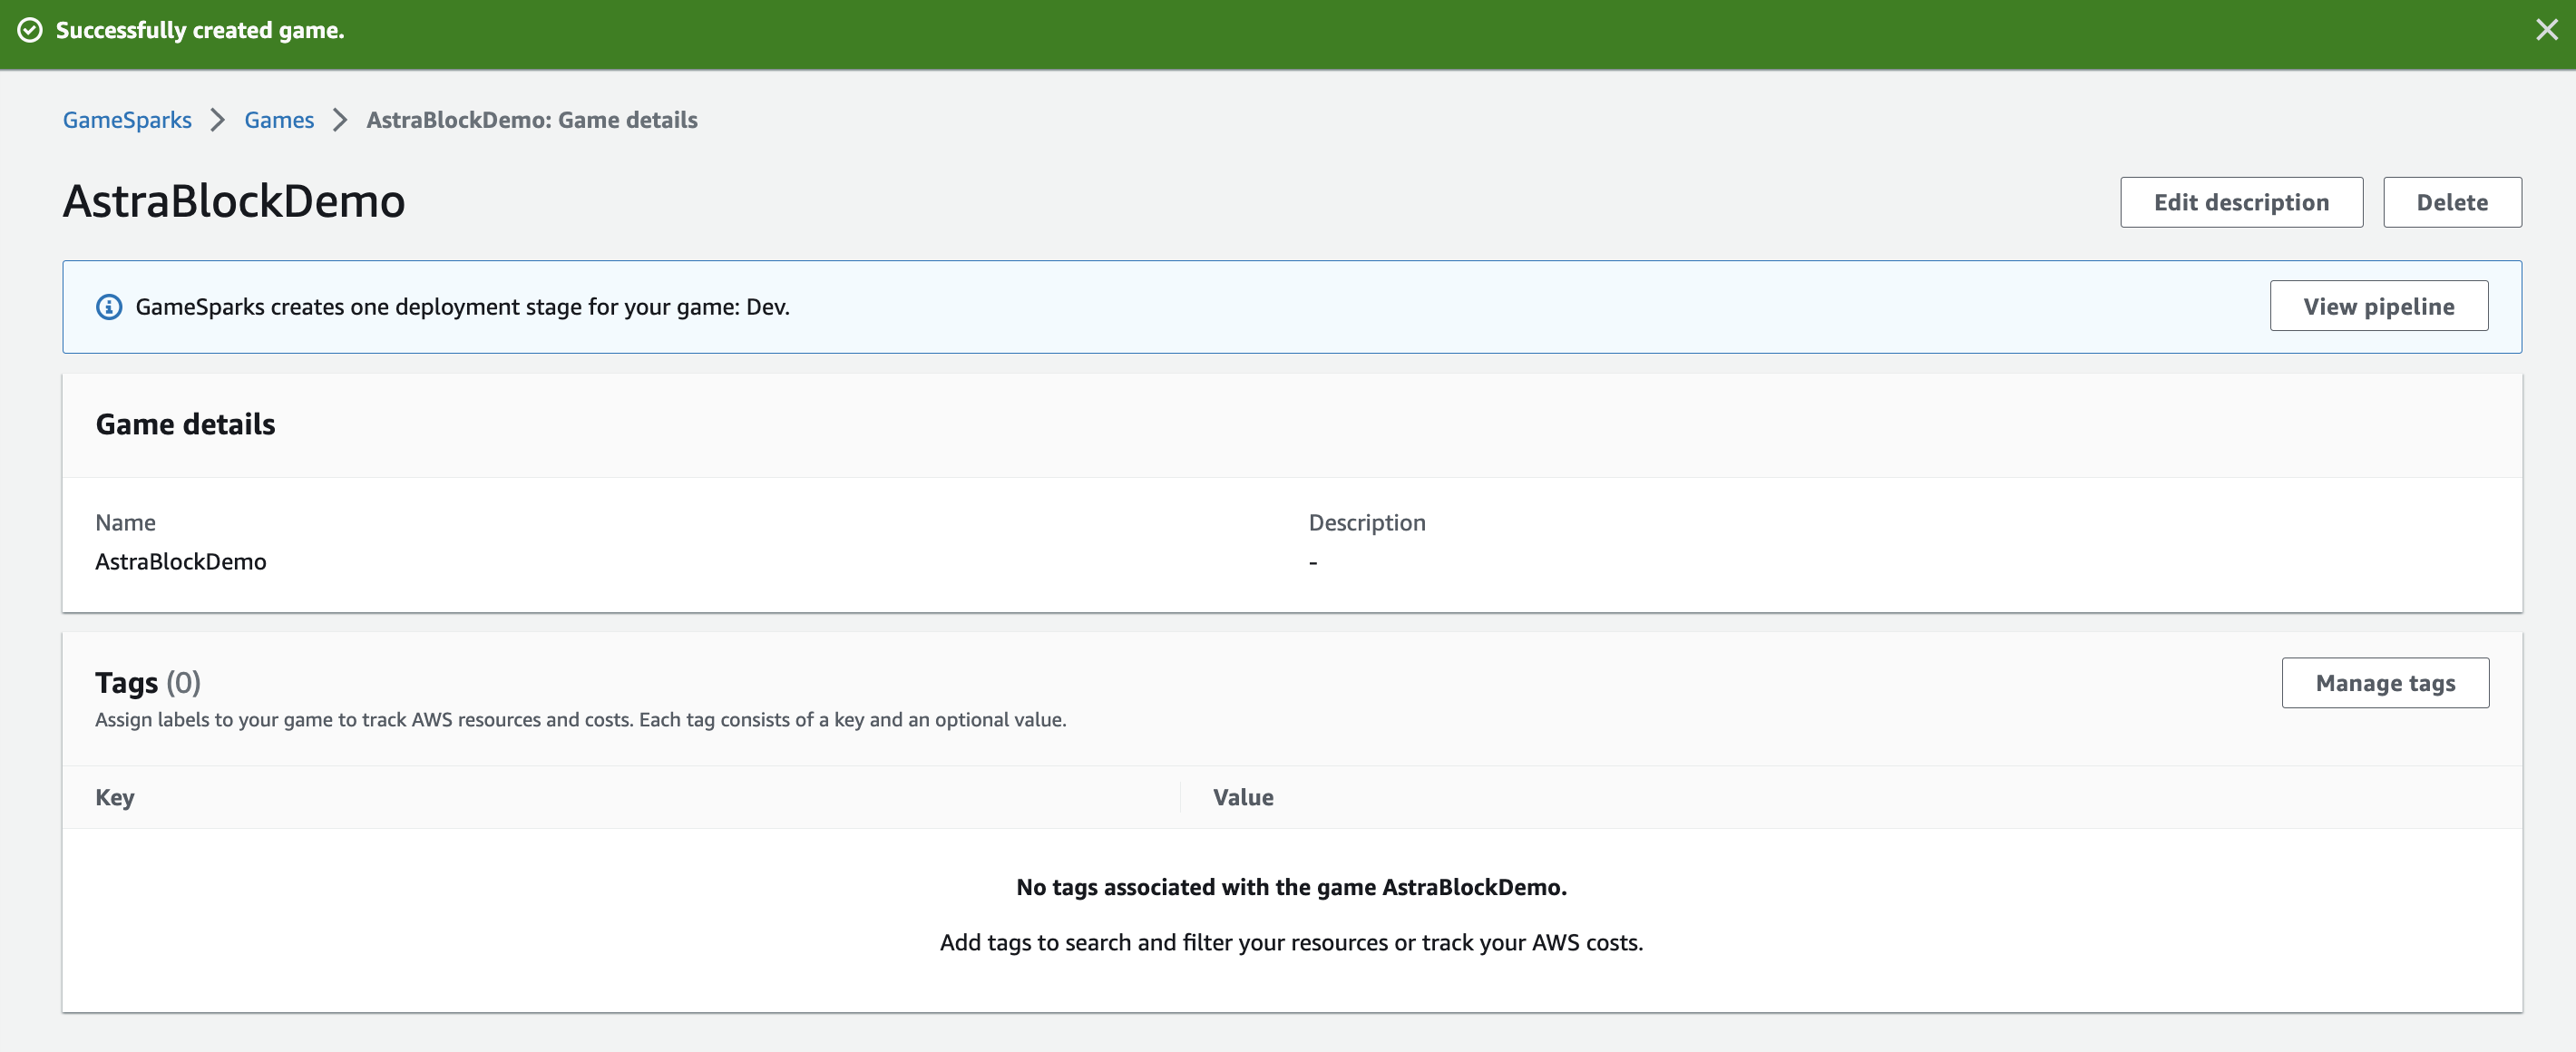
Deployment
Prior to any major development, we are first going to deploy a fresh new snapshot of the game backend. A snapshot allows you to store data representing a certain point of progress in a game.
-
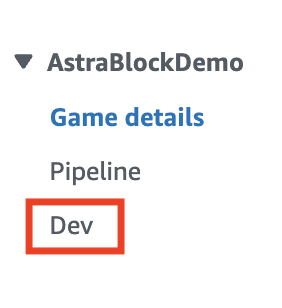
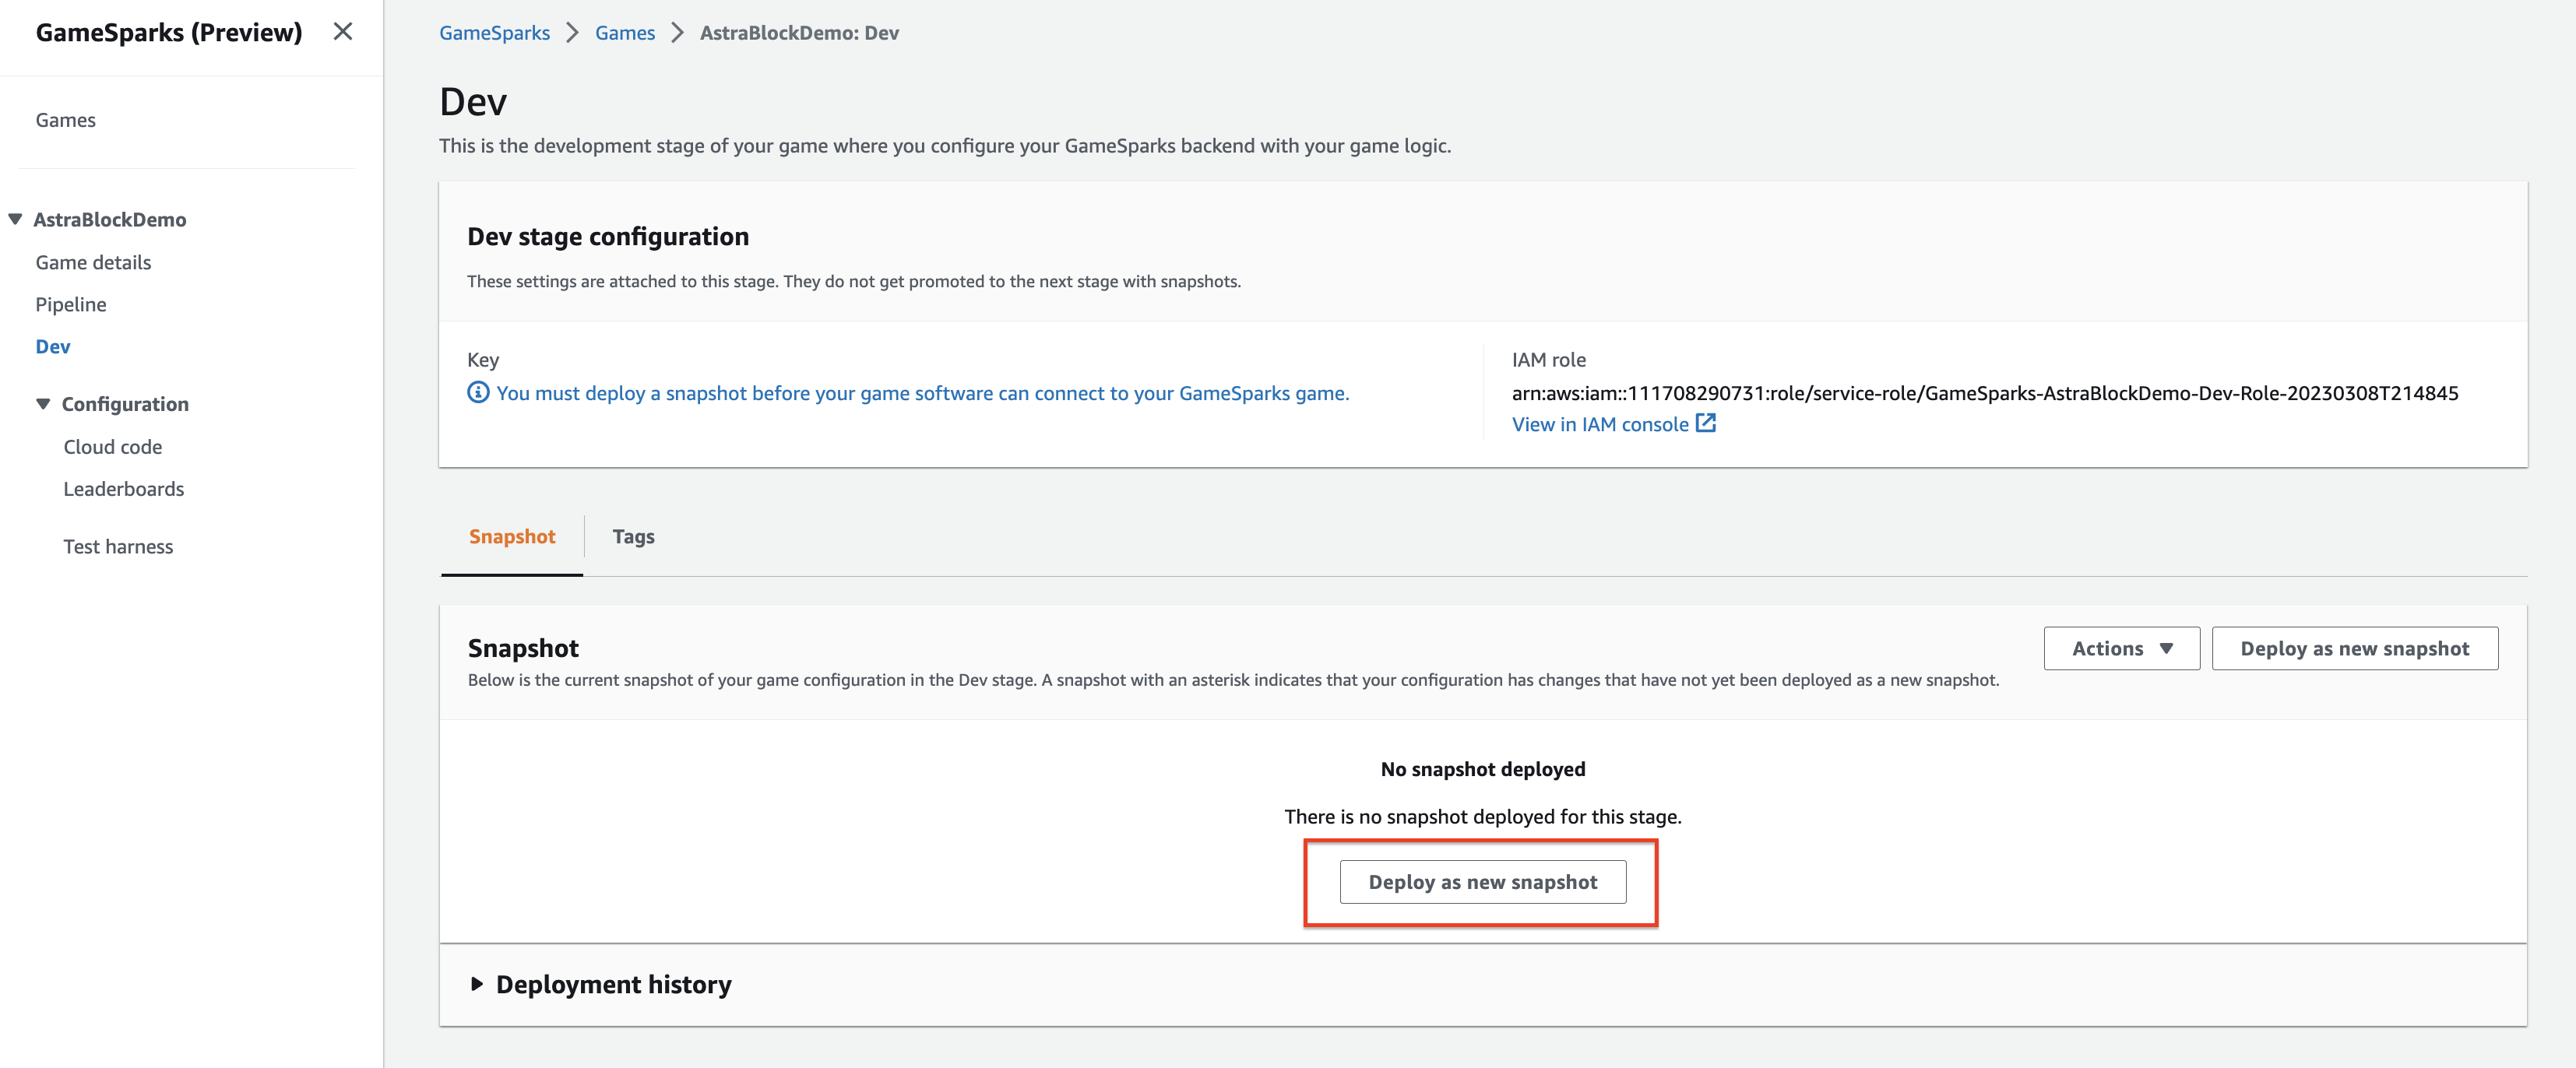
From the Dev page, click Deploy as new snapshot.
-
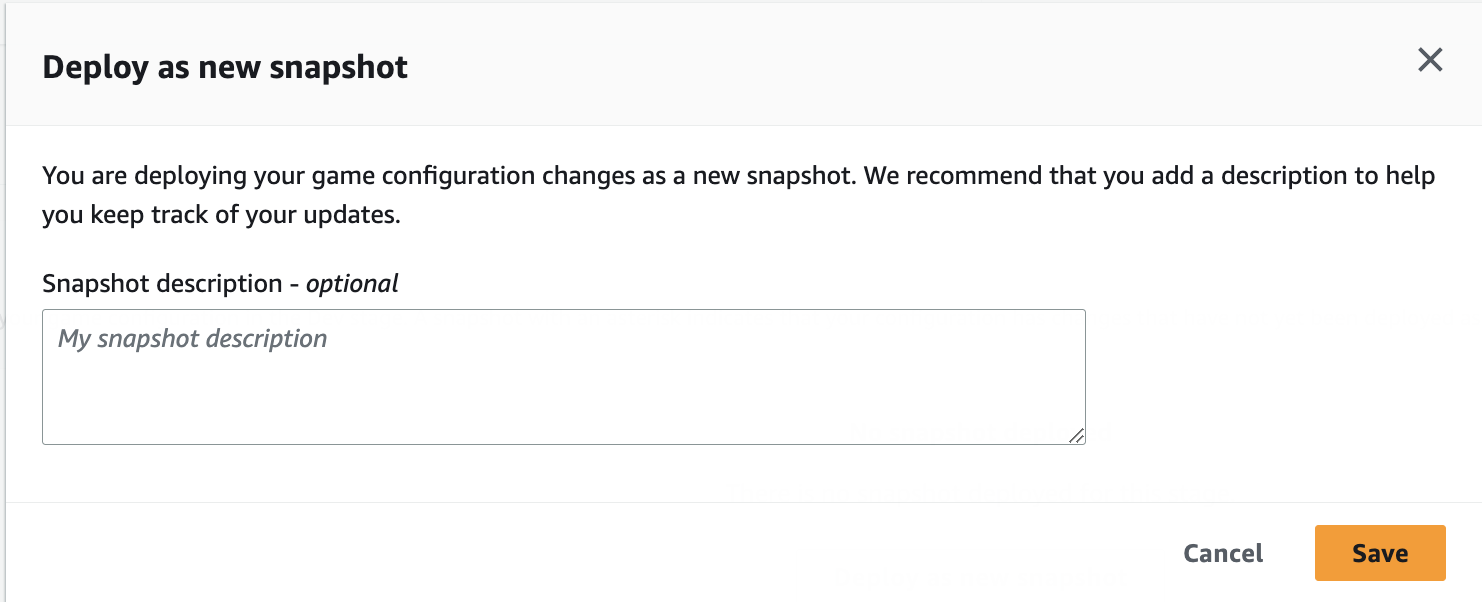
Here, you can enter an optional description and click Save to continue.
-
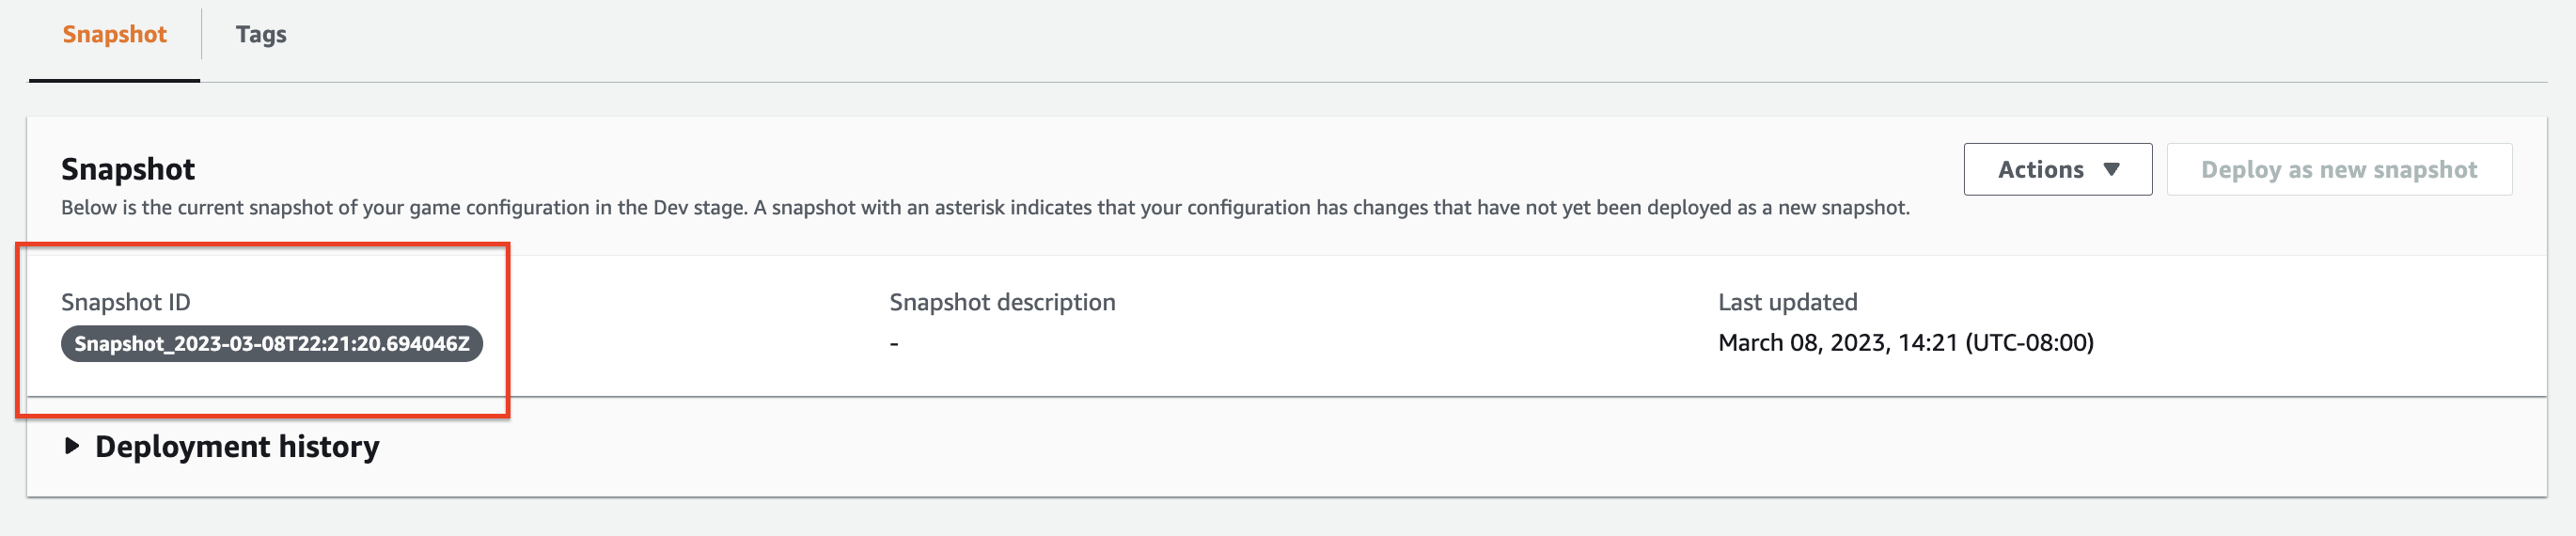
In a few minutes, you should see that the snapshot and game backend has now been deployed. Note: Everytime a new feature is added to the game, a new snapshot will also have to be deployed.

Give your GameSparks backend permission to access Lambda
Now that the game backend is deployed, we must give it permission to access the AWS Lambda function that we set up previously in Step 1. This will allow the two entities to communicate with each other, send/receive requests to the game backend, and more. Firstly, we will have to grant permissions by creating an IAM Policy.
Create Policy
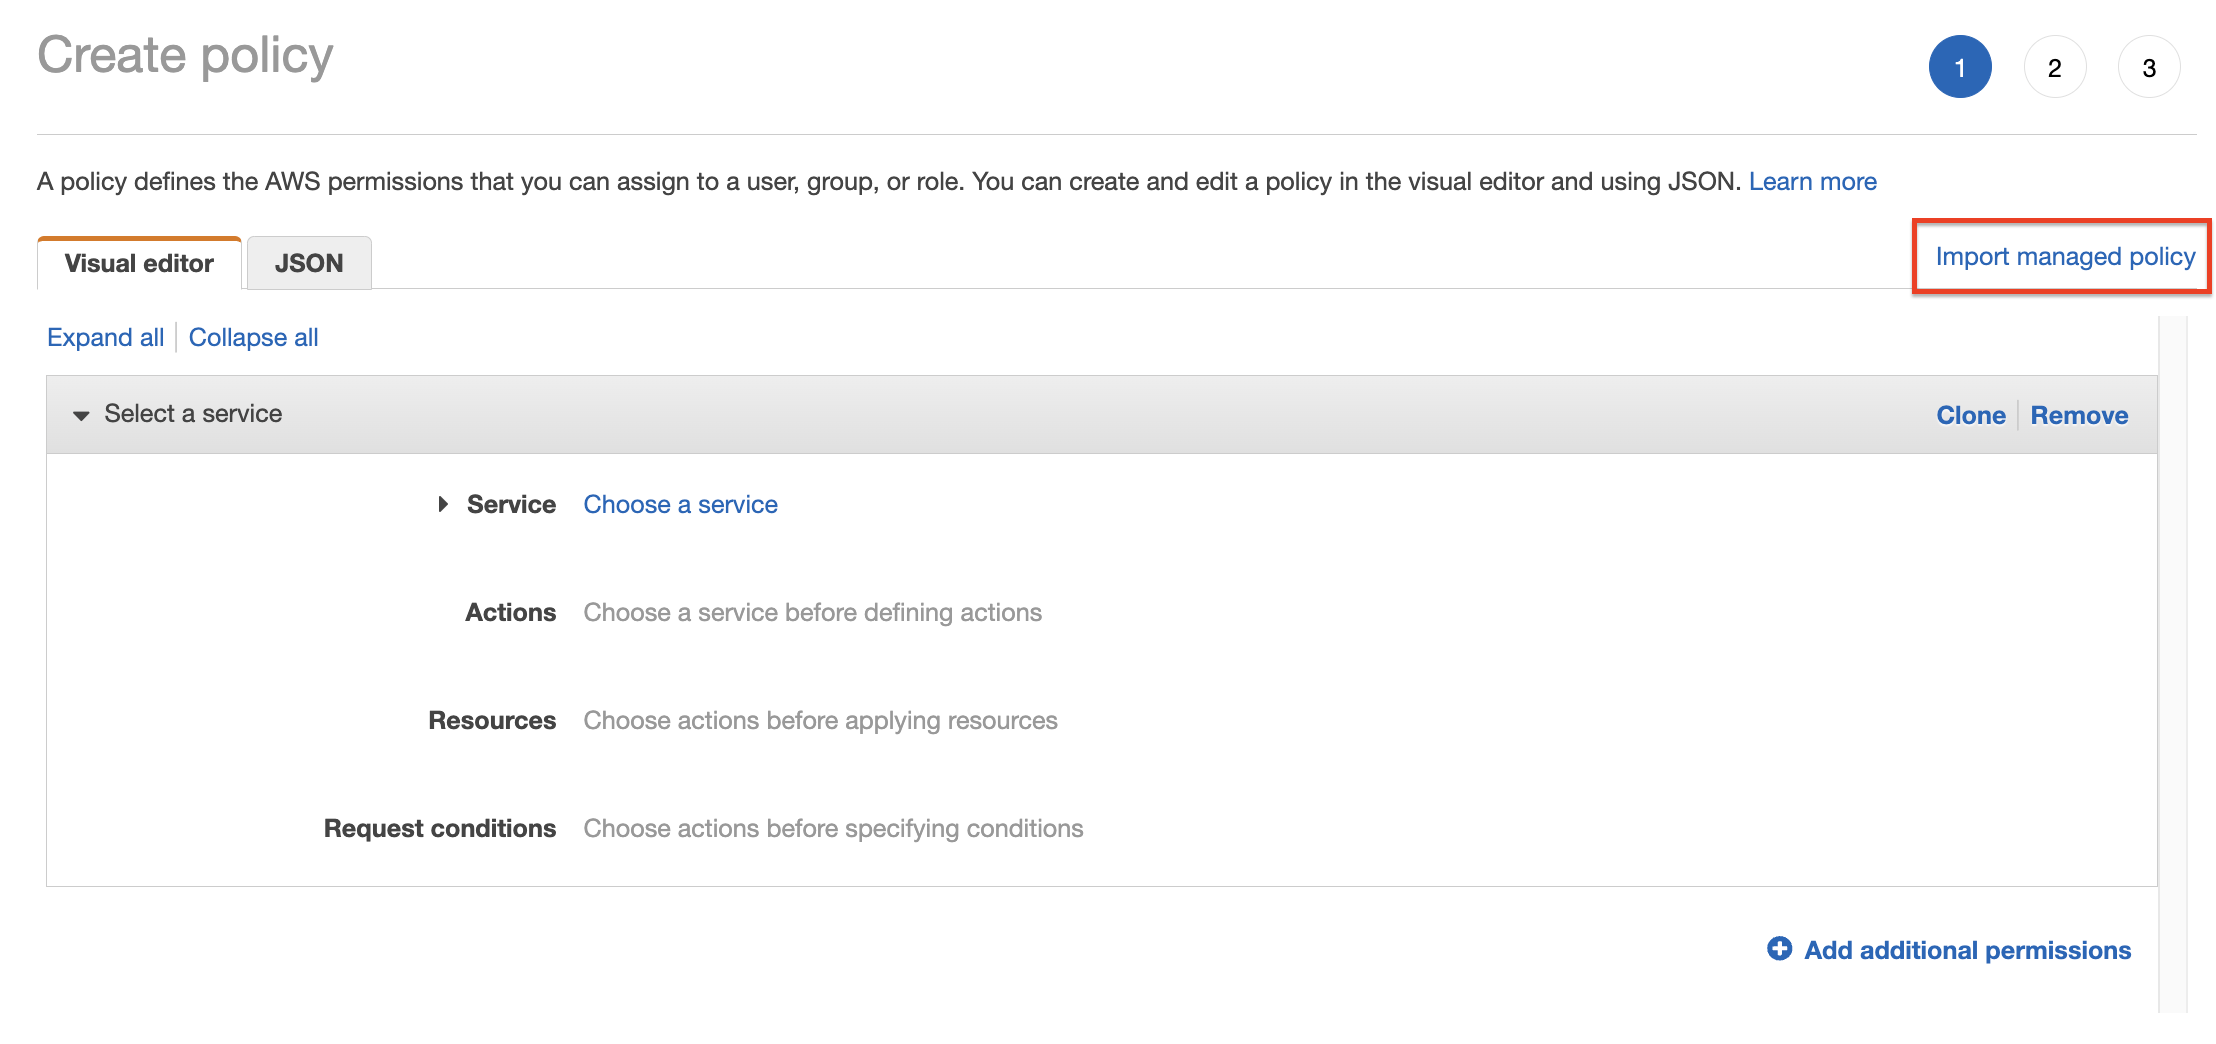
-
Go to the IAM Create policy page and click Import managed policy. This will allow you import a role with specific permissions to Lambda.
-
Filter the policies by searching for LambdaRole in the search bar. Choose AWSLambdaRole. Then select Import.

-
AWSLambdaRole policy will allow you to invoke any Lambda function that we deploy. However, you also have the option to specify a specific function that you would like to invoke. Do this by going to the JSON tab, and navigating to where it says
"Resource". Replace the"*"with the ARN from your Lambda Function to invoke a specific function. For this tutorial, you can leave it as"*".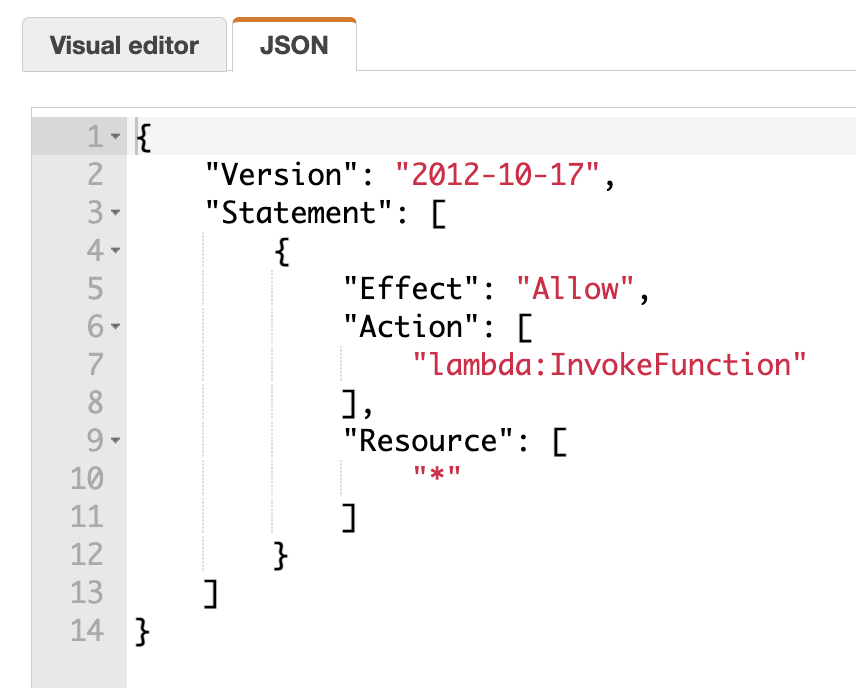
-
Choose Next:Tags then Next:Review.
-
In Review, give your policy a name such as
AllowLambdaInvokeAlland finish by choosing Create Policy.
Attach policy
Next, we are going to the attach the policy we just created to our GameSparks backend IAM role.
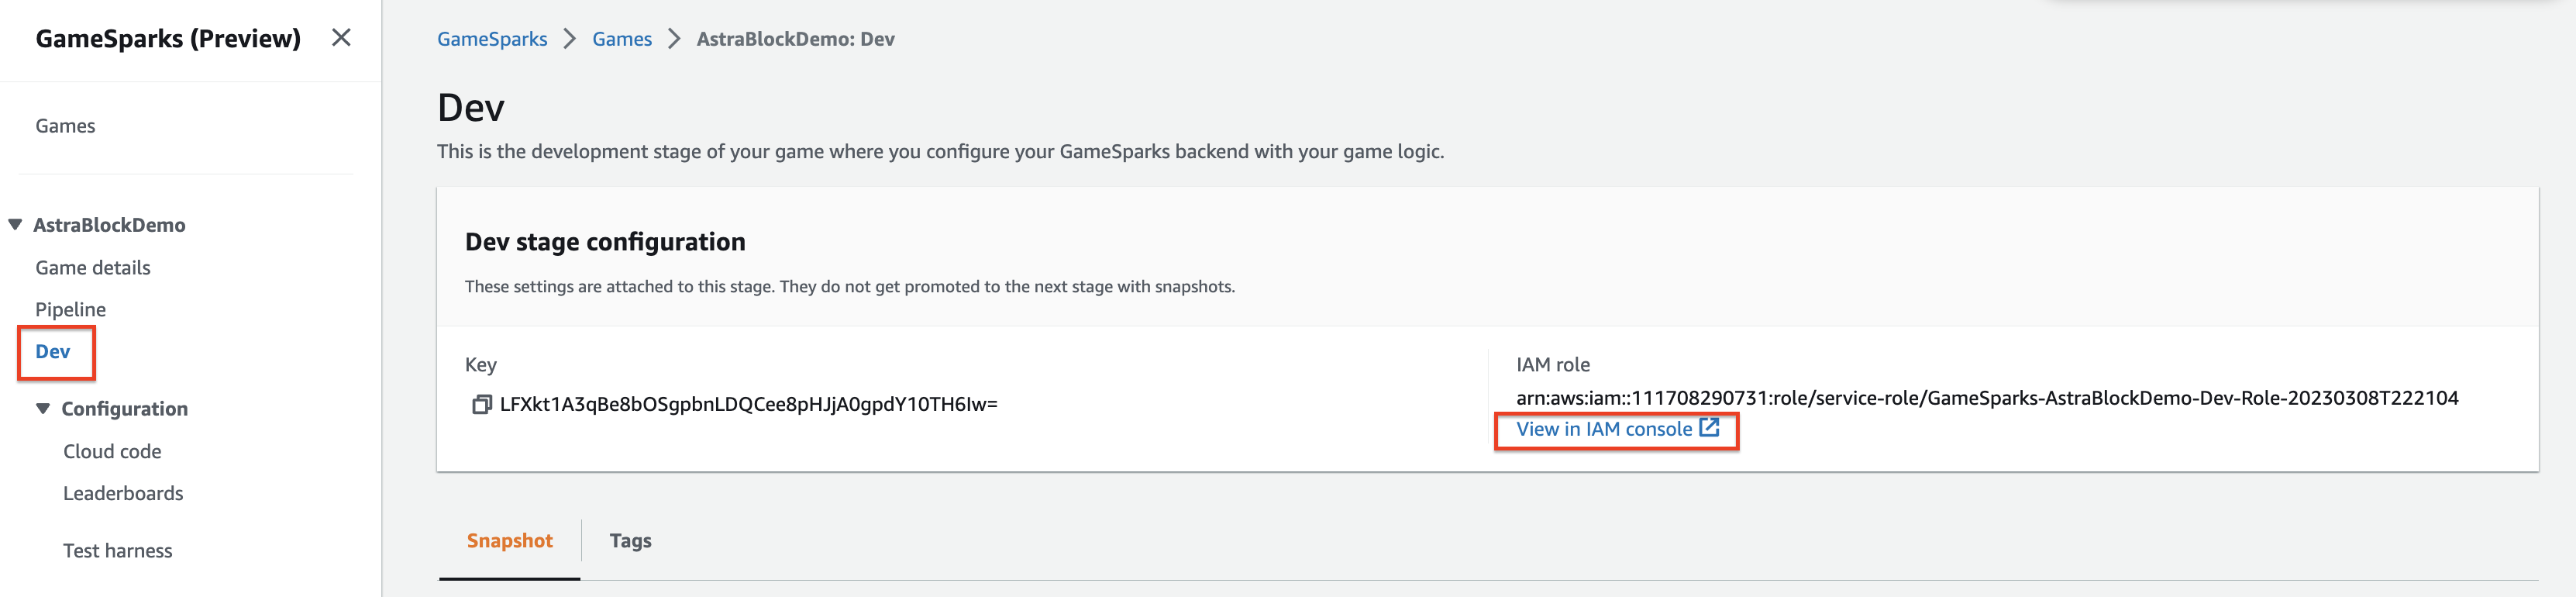
-
Go back to your Amazon GameSparks Console, select your game, and go to the Dev section in your navigation bar. Under Dev, go to Configuration and choose "View in IAM console".
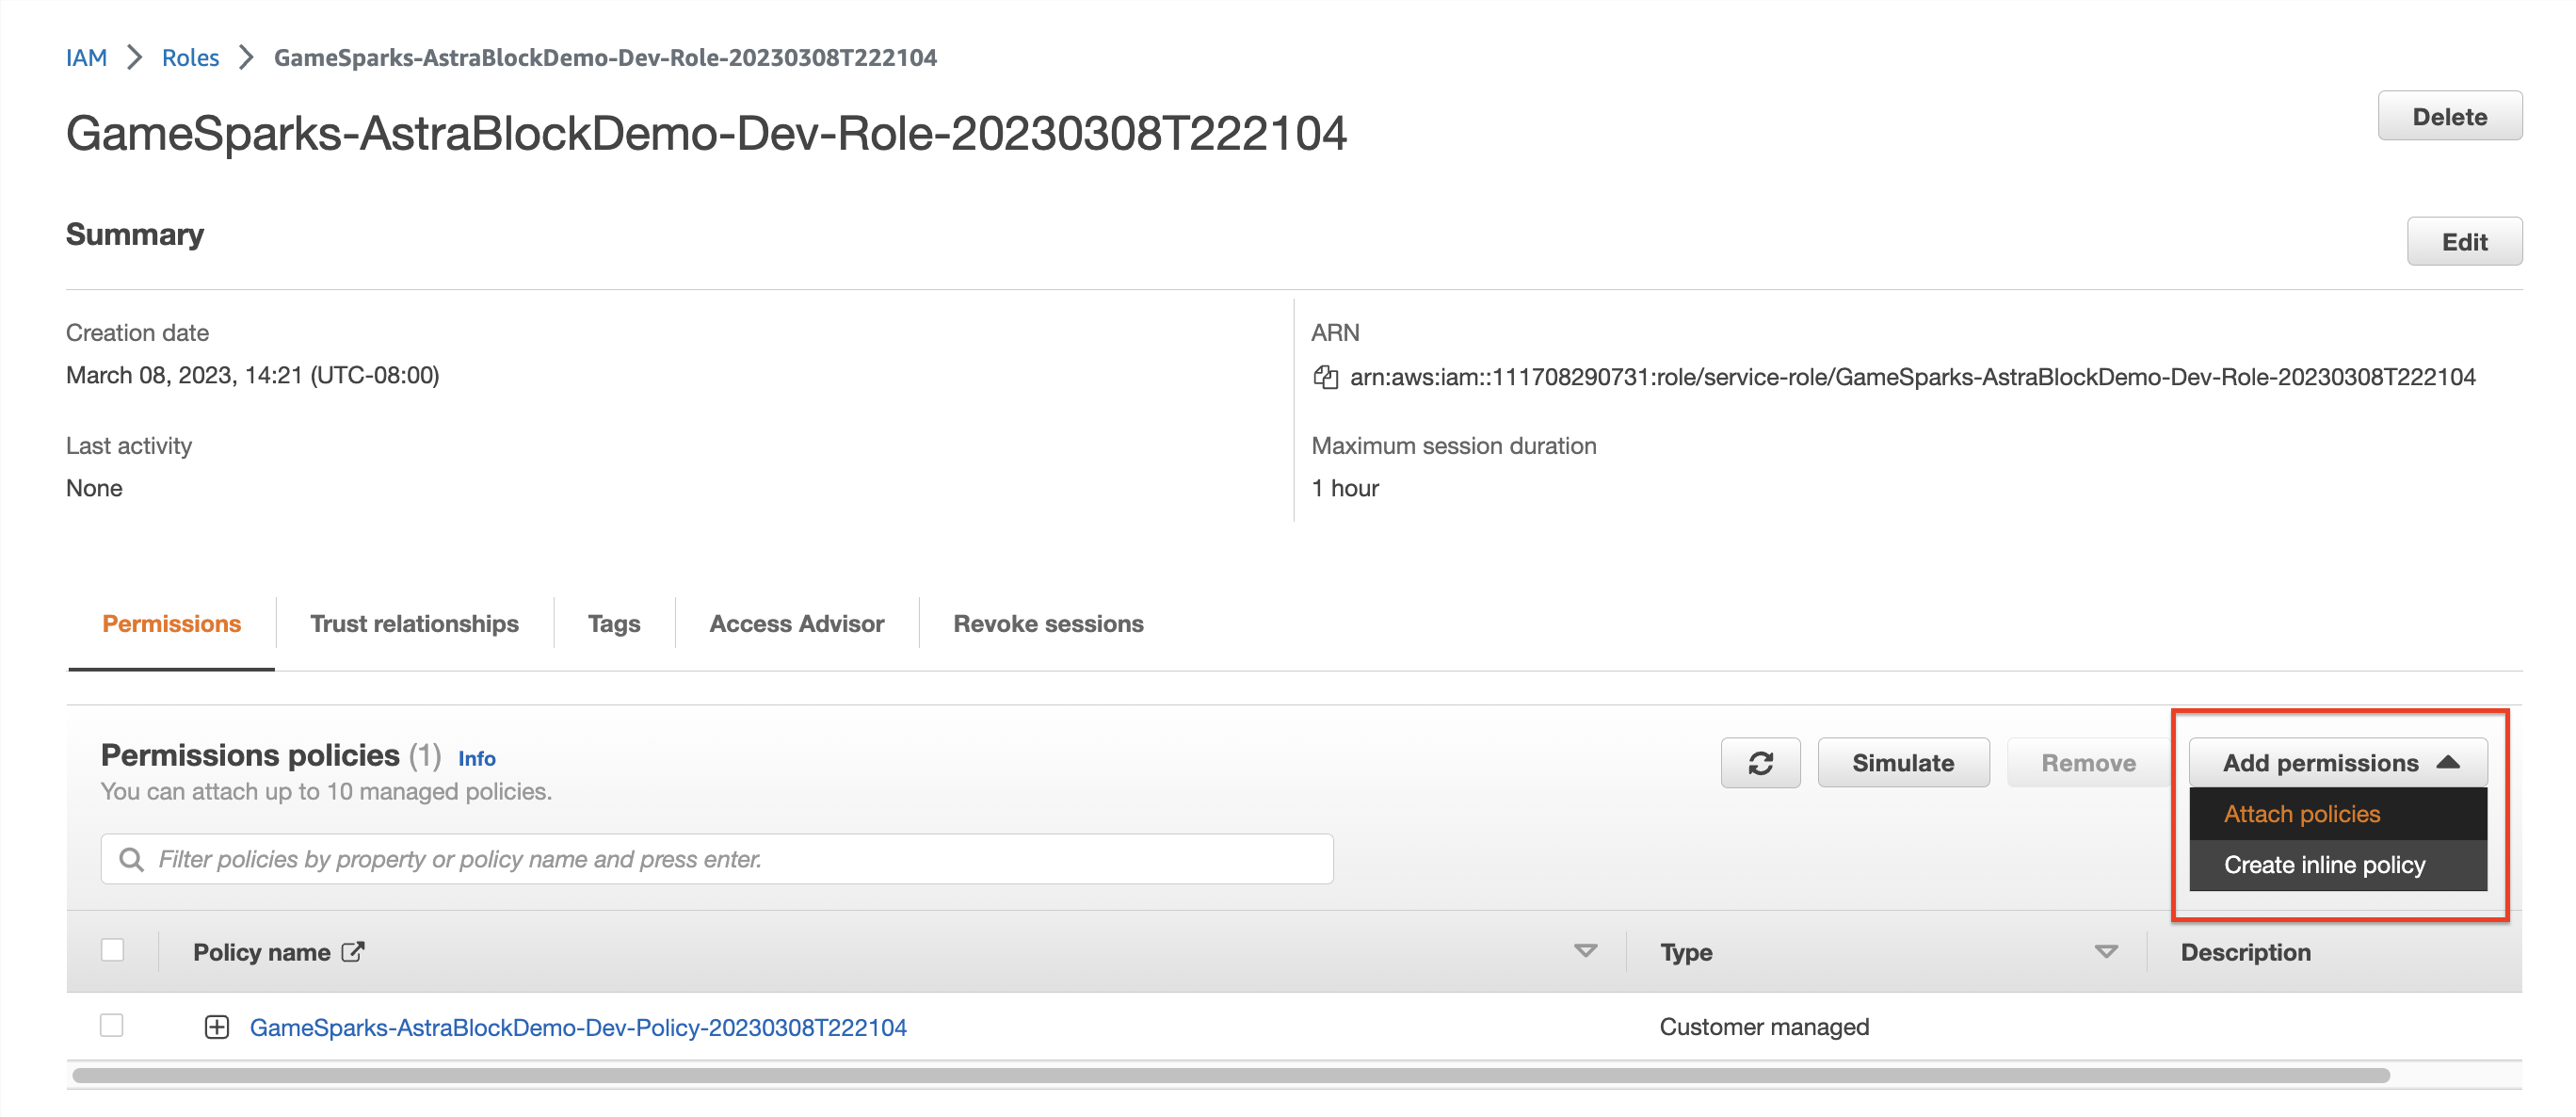
-
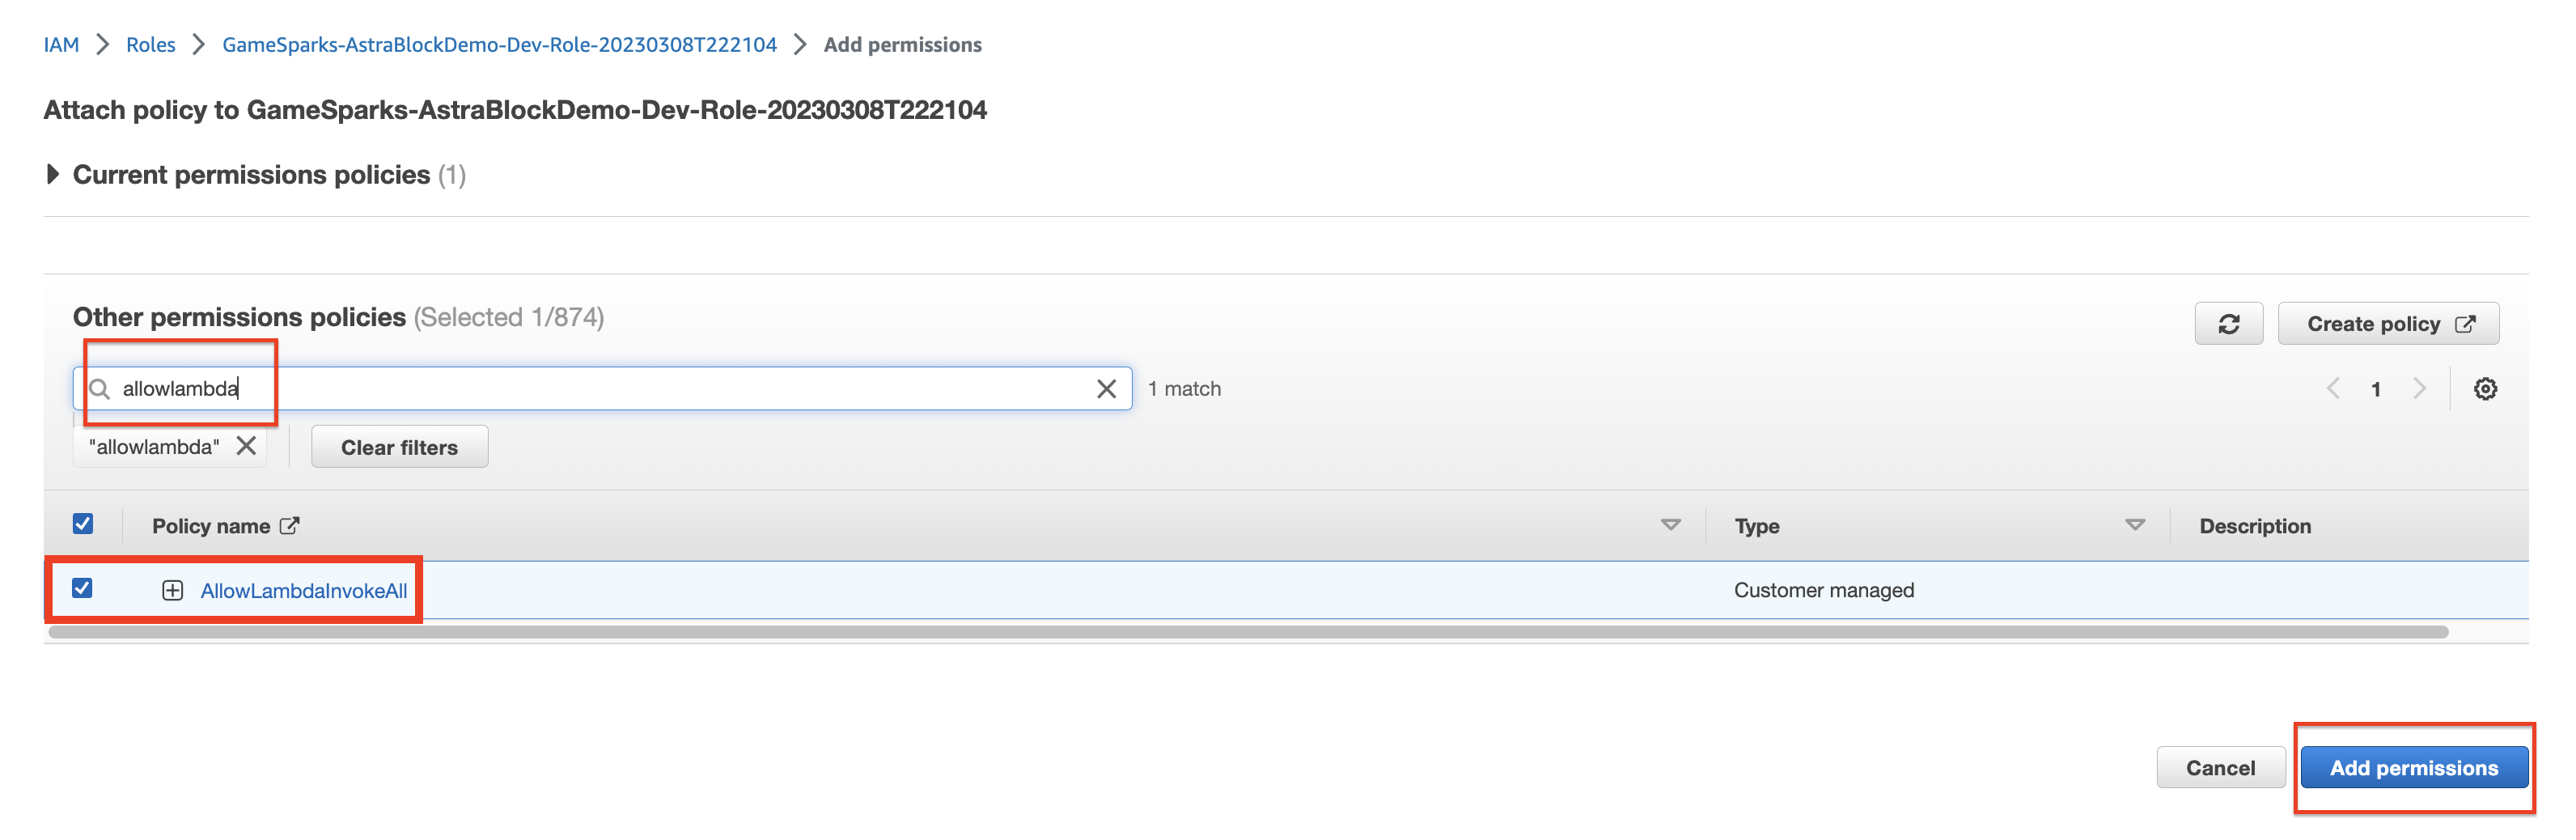
The IAM console opens to the IAM role for your Dev stage. On the Permissions tab, choose Add permissions and Attach policies:
-
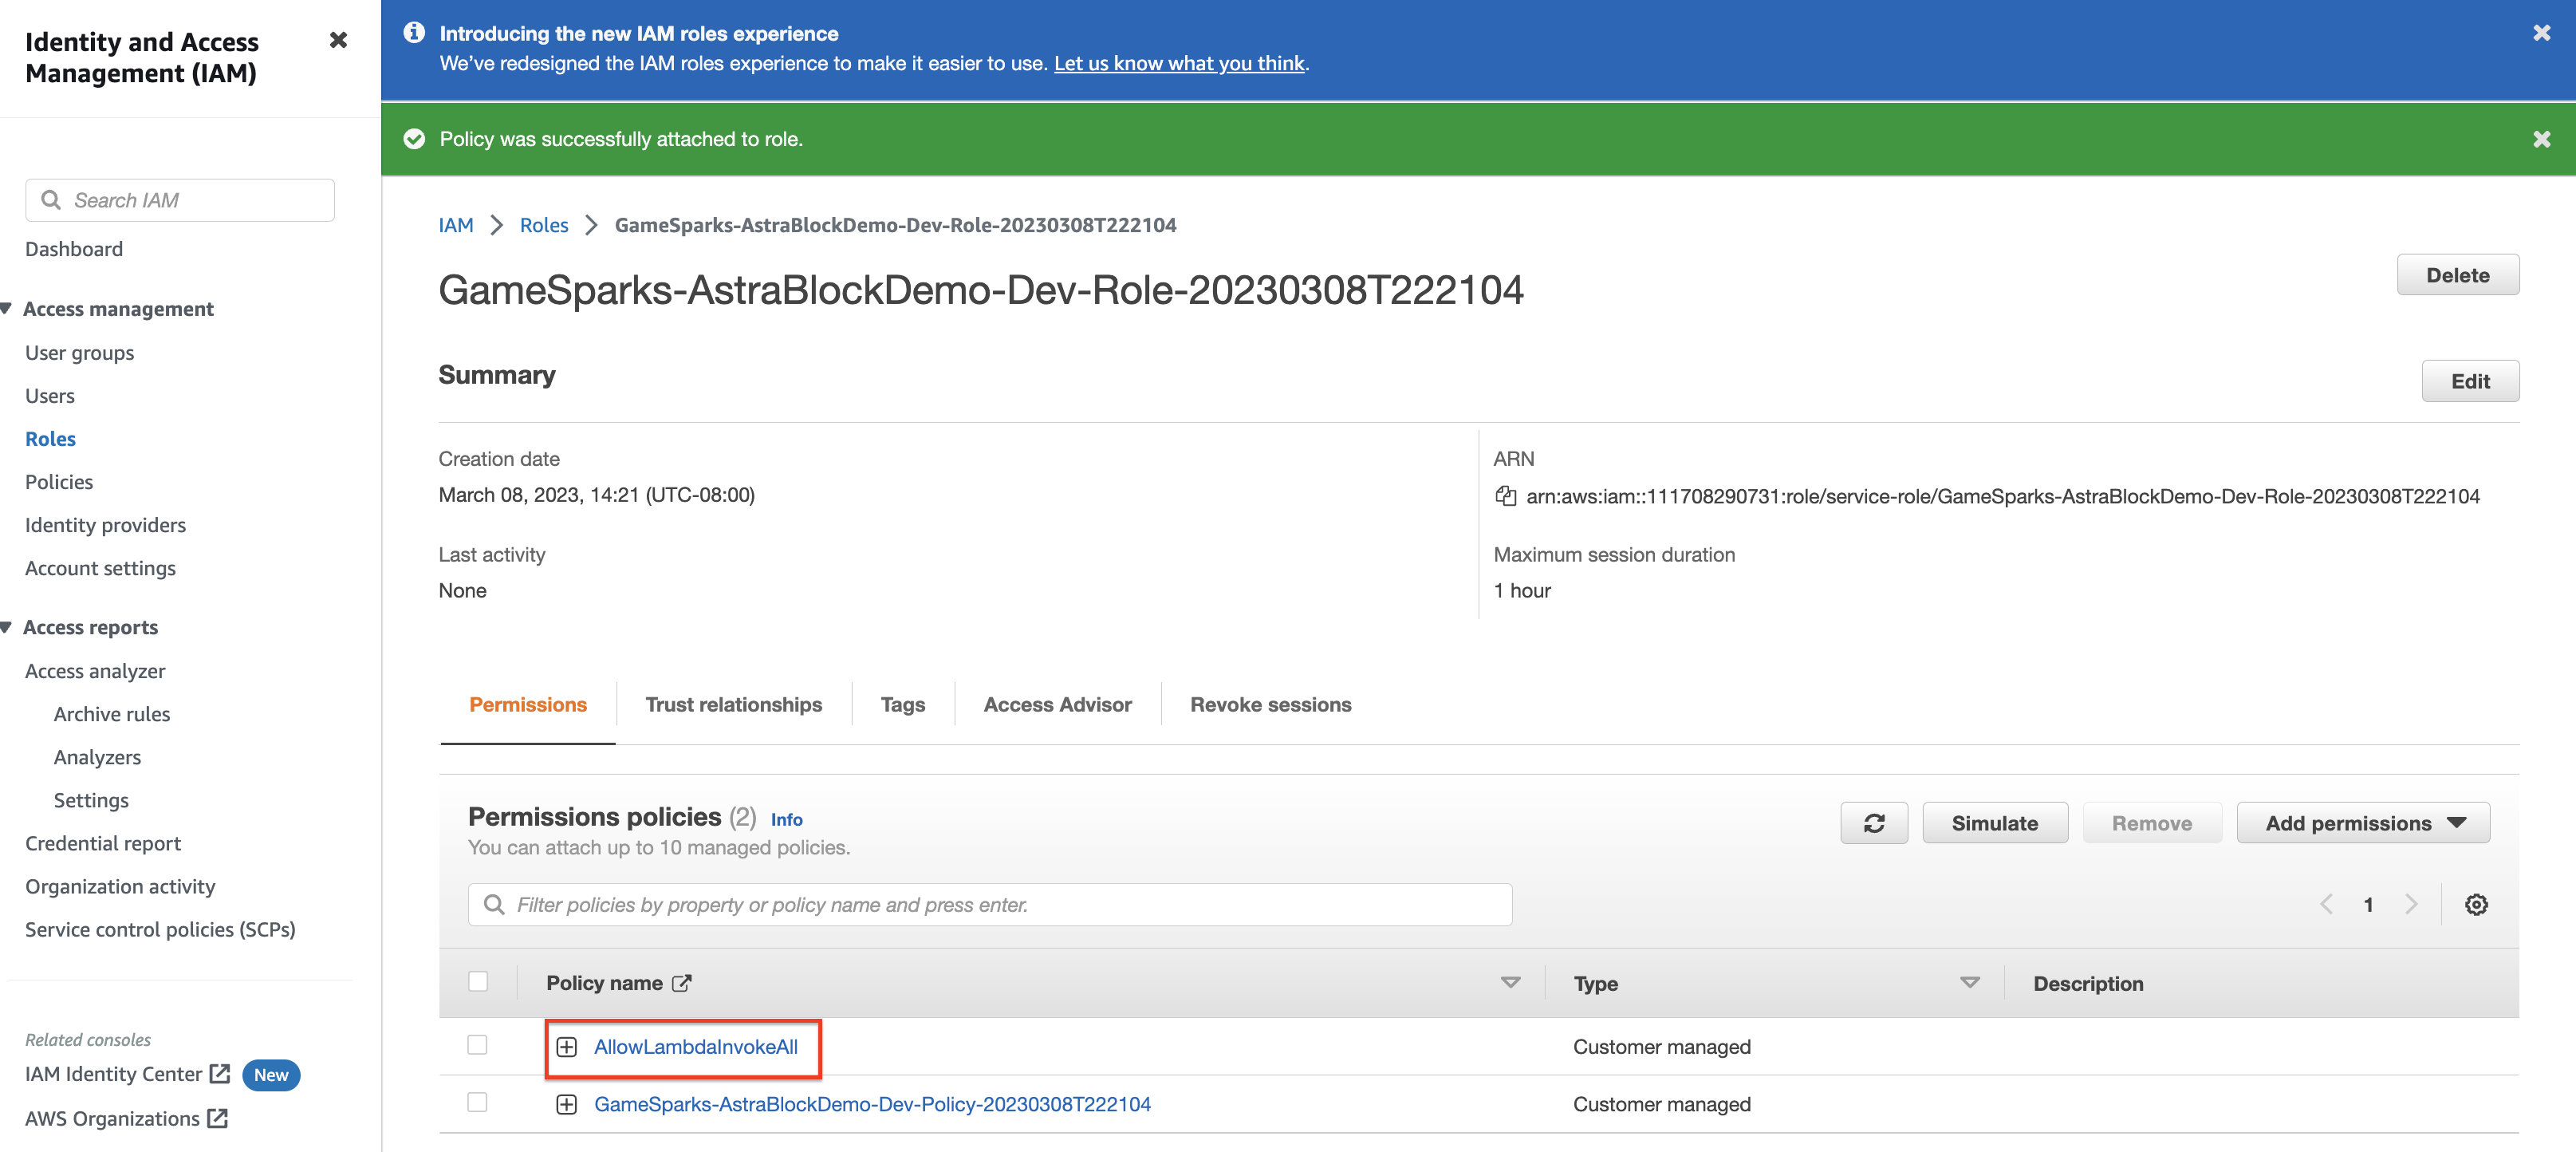
Filter for the policy name you created, select it, and press Add permissions.
-
Great! You have now given your AWS GameSparks backend permission to call to your AWS Lambda Function.
Step 3: Connecting your GameSparks backend to Lambda
How This Works?
To invoke Lambda functions from Amazon GameSparks you need to create a Message inside the game backend. There are 3 types of messages: Events, Requests, and Notifications. Once created, you can call a Lambda function from there. Learn more here.
For this example, we will be using Request so that our front end client (Unity) can get data from our Amazon GameSparks backend. This request will internally call the Lambda function we previously set up and return a response.
Create GetSortedNFT request
-
Return to your GameSparks backend, and select Cloud code from the navigation bar. Once you are there, select Create Message.
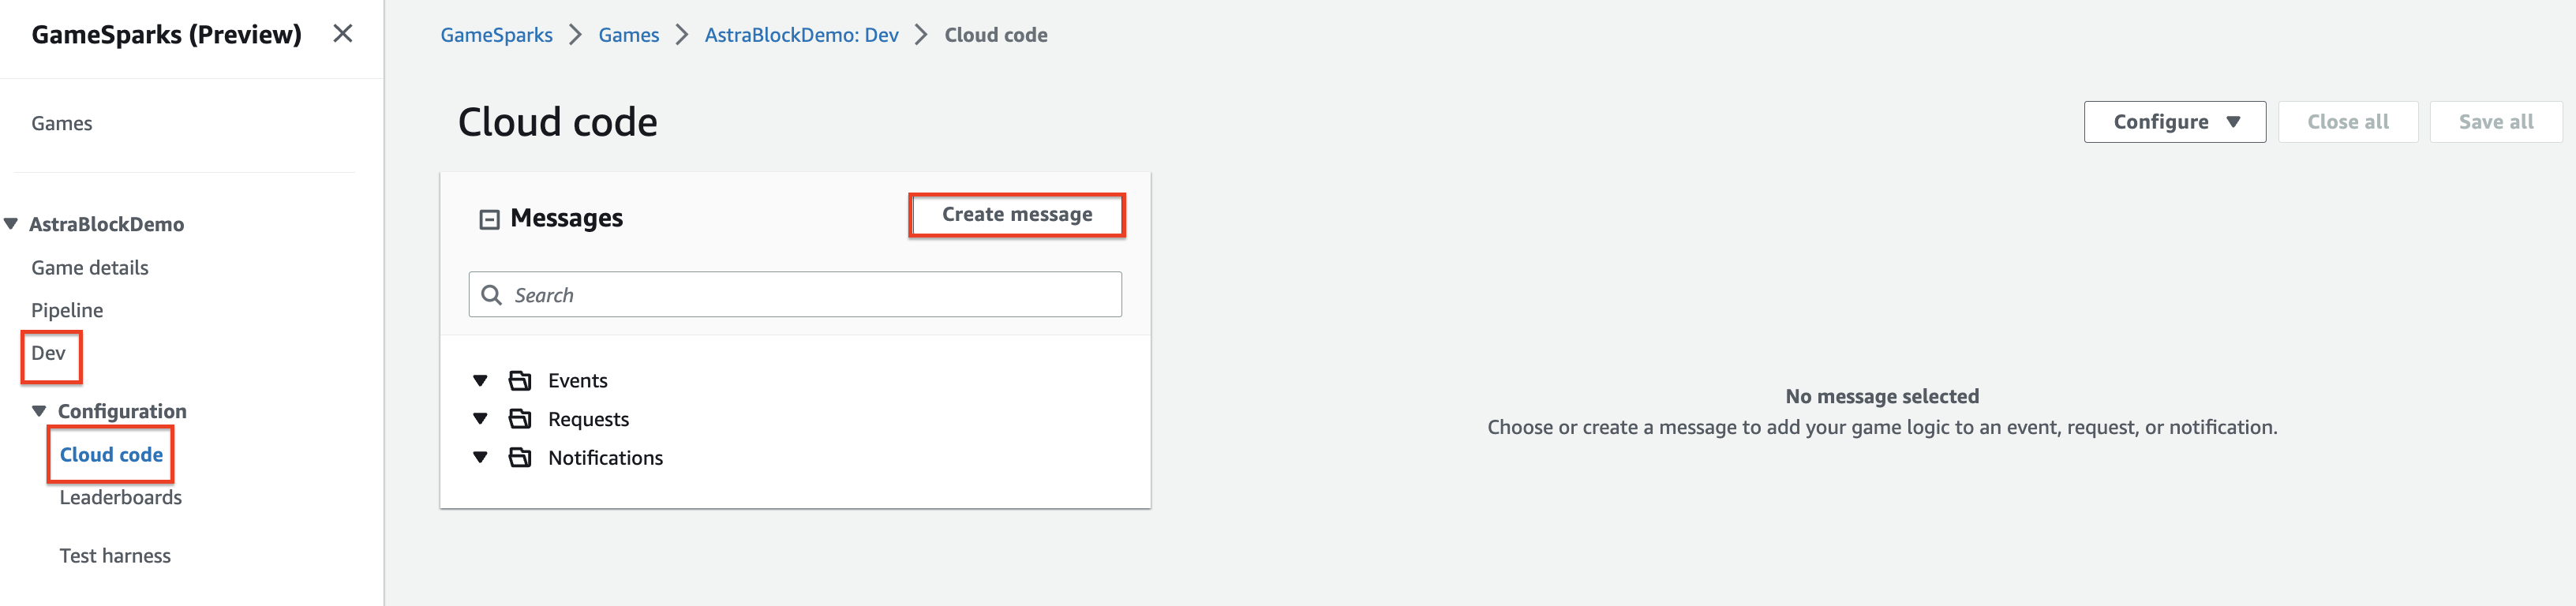
-
Select Request and give it a name. For this example, we will name it GetSortedNFT based on our Lambda function. Then click, Create

-
Here, you will configure the Request fields. Recall the AWS Lambda function that we created. There were 2 input fields that were needed to retrieve a response:
You will configure a Request field for each input value needed in the Lambda function and a Response field. We will call these fieldsinput1andinput2.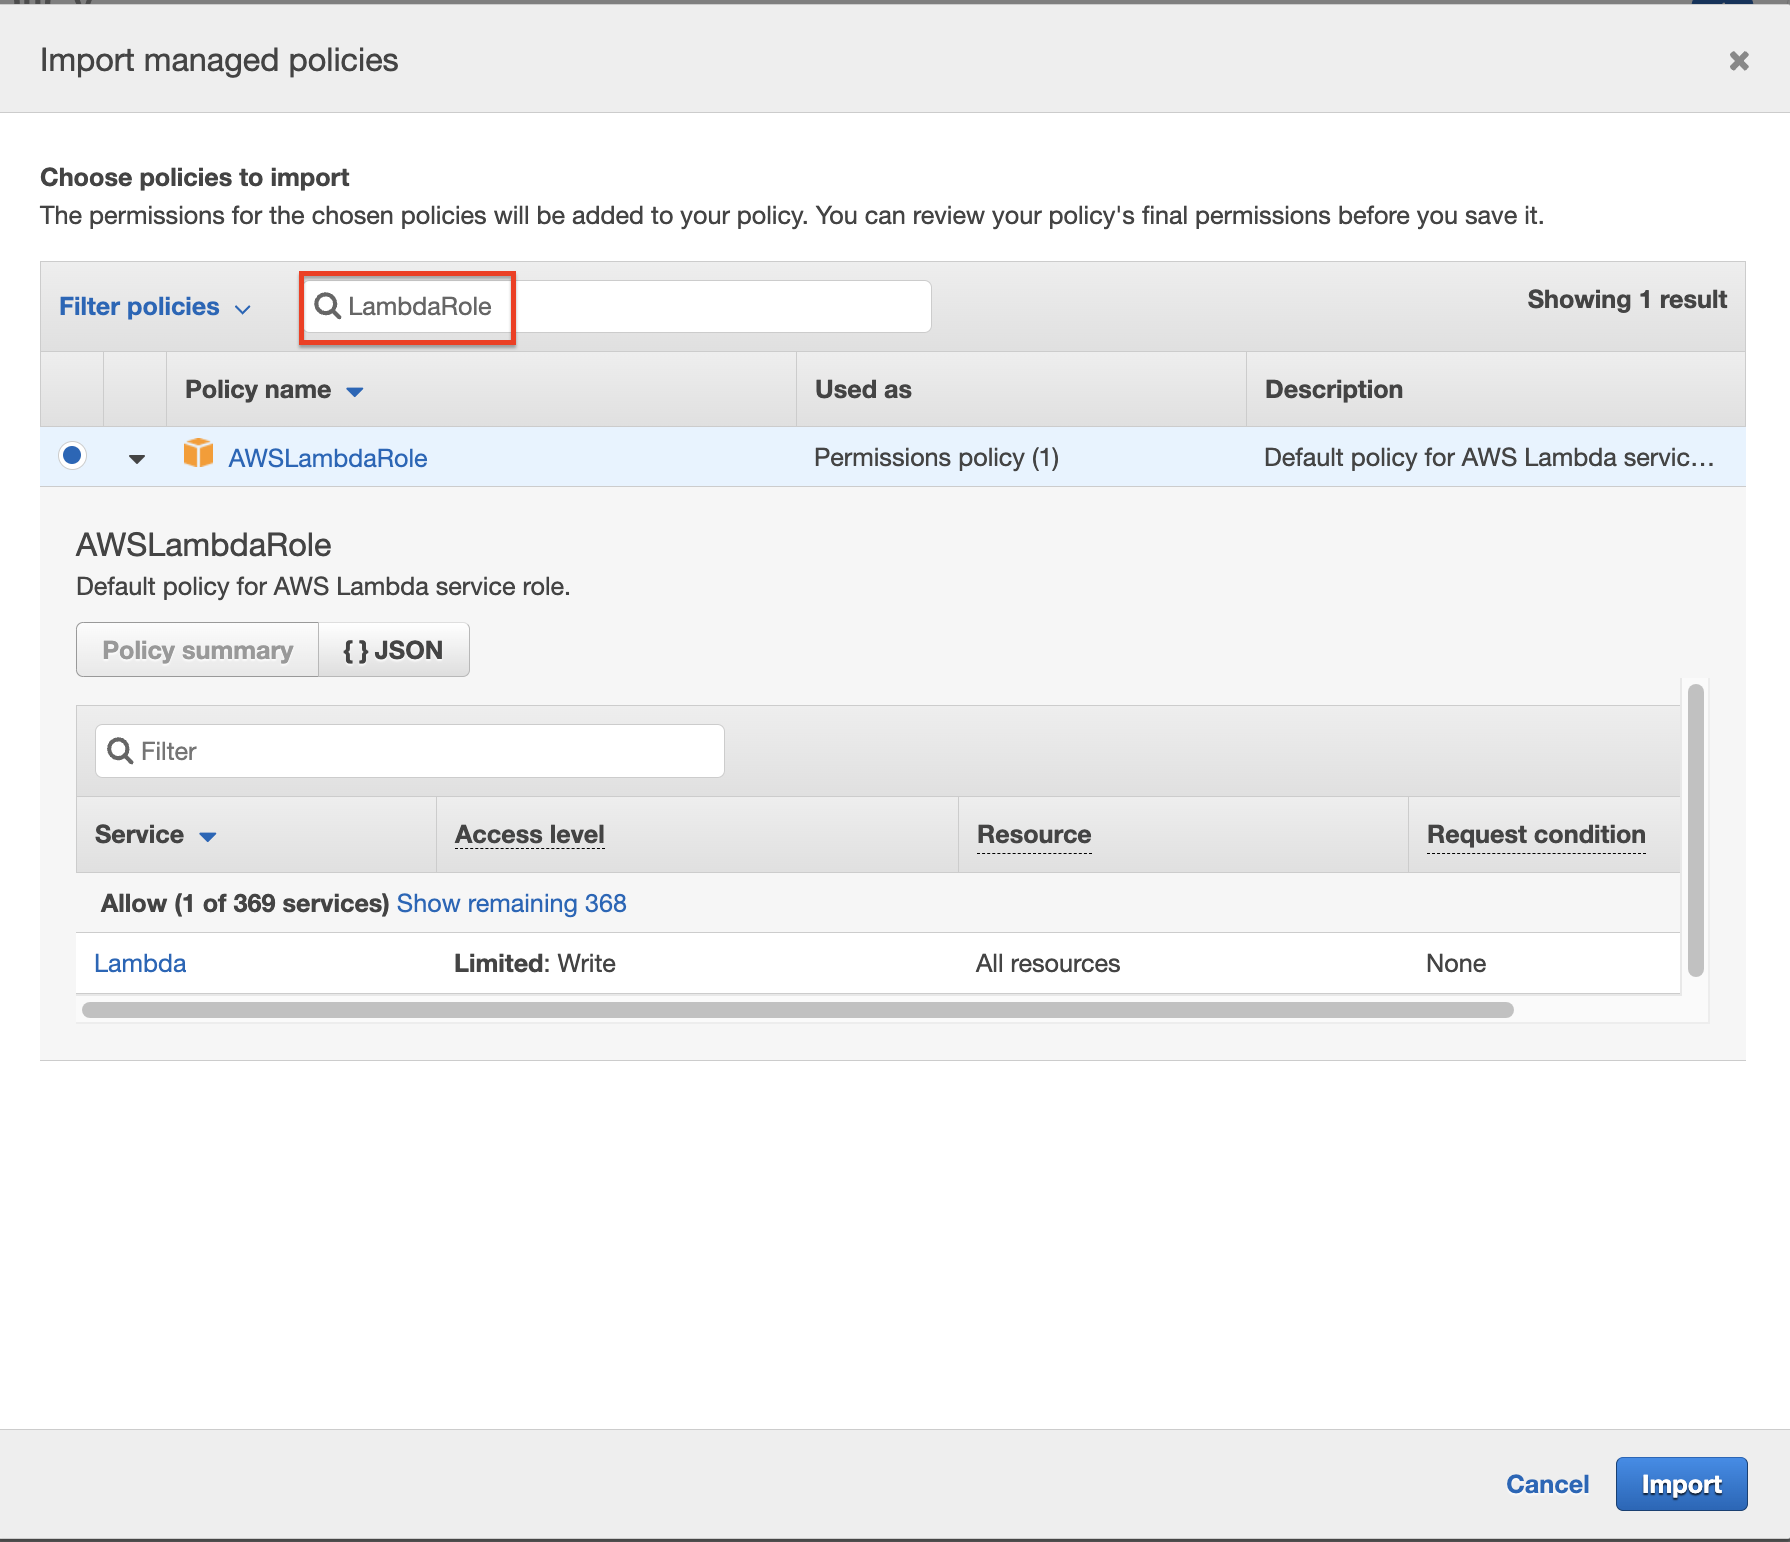
Make sure to also take note of the Shape so that it matches the type of your Response field. -
Update the Request handle code with the following:
Then click Save.GameSparks().Logging().Debug("In lambdaAstraDBTest request handler"); const response = GameSparks().Lambda("lambdaAstraDBTest").Invoke( { "num1": message.input1, "num2": message.input2 } ); GameSparks().Logging().Debug("Result from Lambda is:"); GameSparks().Logging().Debug(JSON.stringify(response.Payload)); return GameSparks().Messaging().Response({"result": JSON.stringify(response.Payload.result)}); -
Test your Request in the Cloud Console by clicking Test.
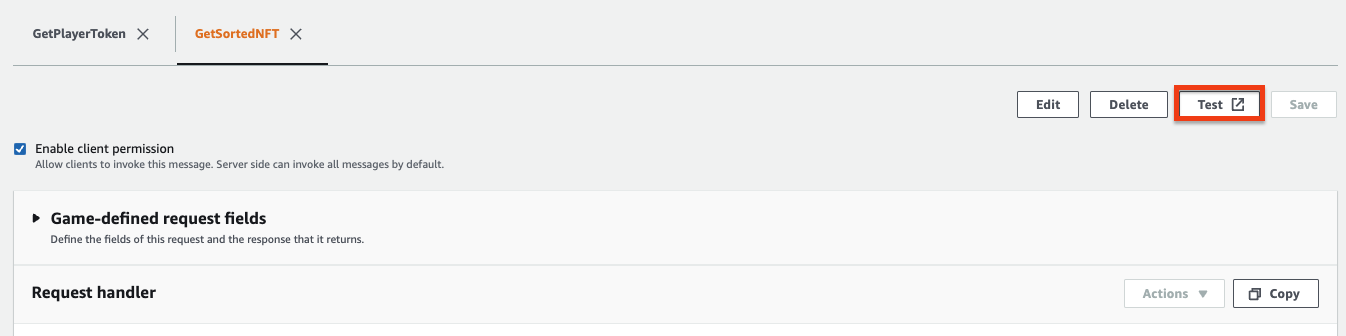
-
Make sure your Player is connected and that you deploy a new snapshot by clicking the banner. You should always deploy a new snapshot between changes.
-
Once Step 6 is done, select Populate example which will allow you to give input to the Request Body. Here, you can populate values
input1andinput2with the same values you gave when you set up your AWS Lambda function.input1being theblock_number_hourandinput2being theblock_numberfrom yoursorted_nftstable. Remember to use valid block_number_hour and block_number values.
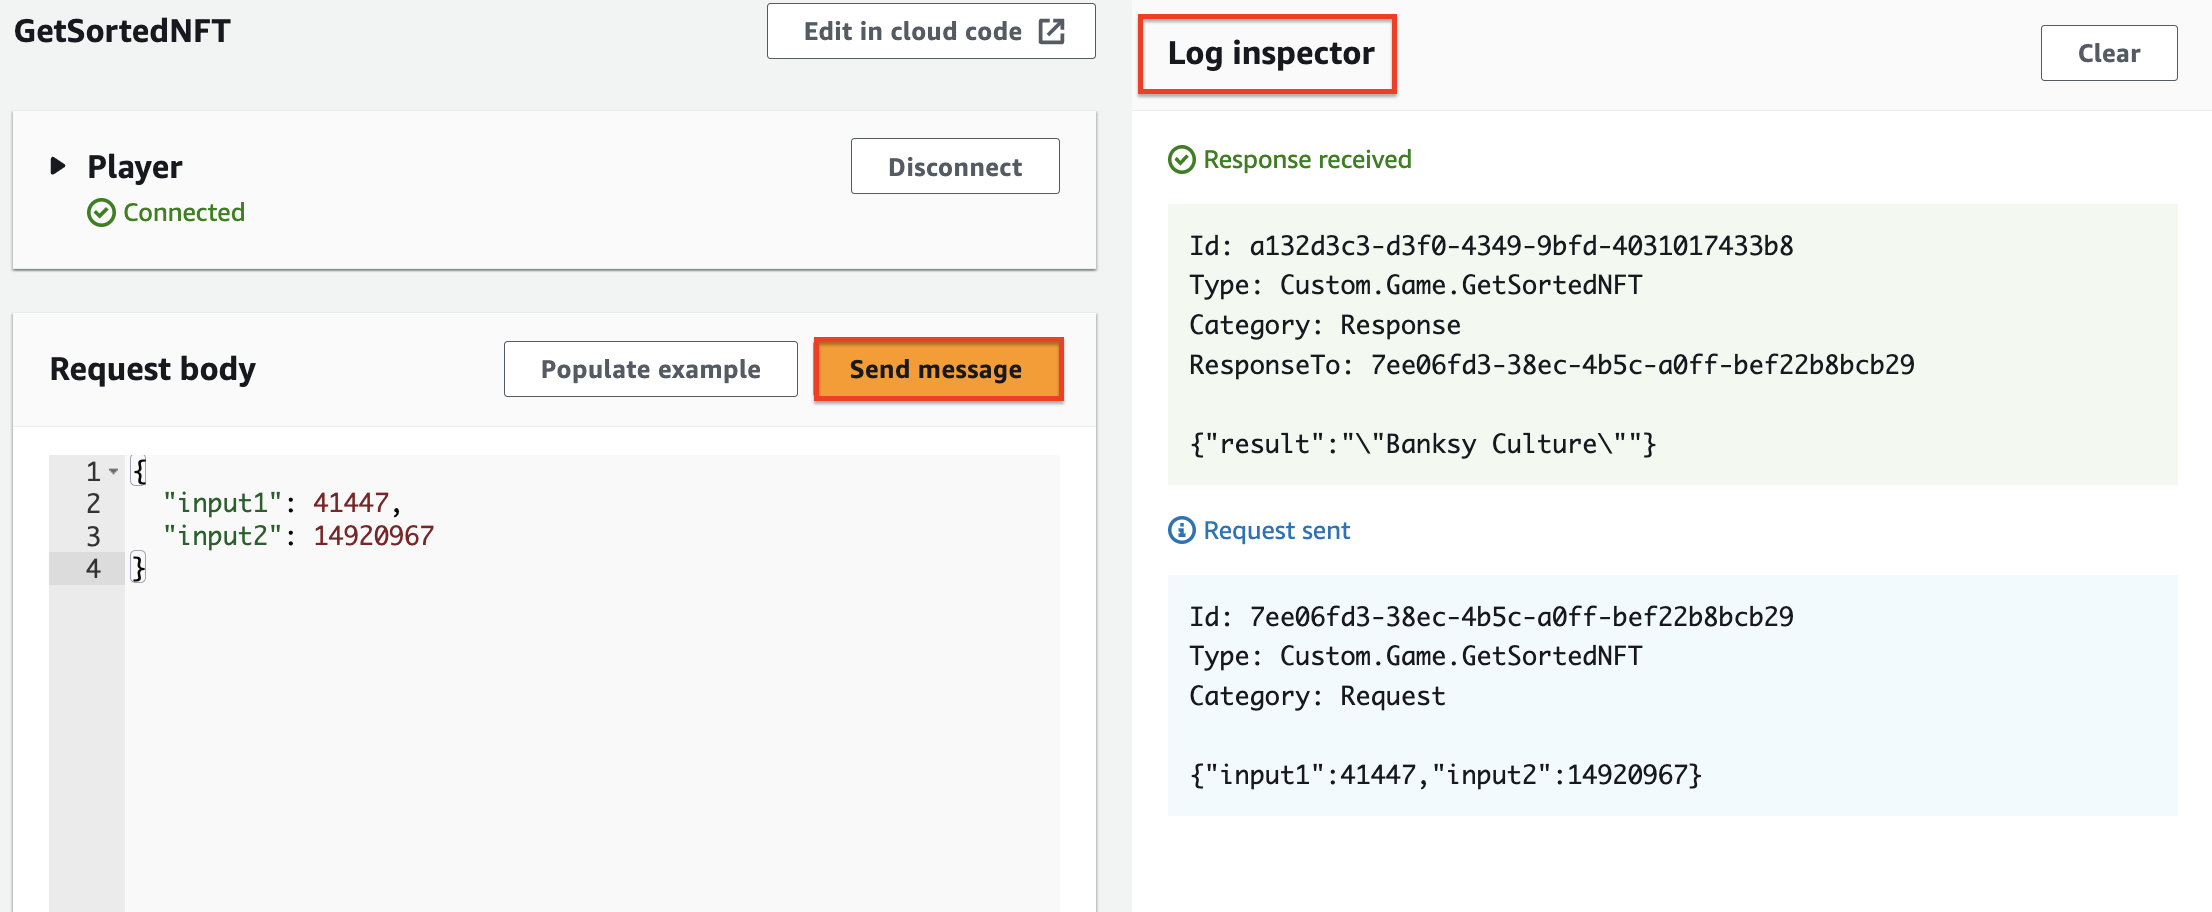
9. Congrats! You have now sent a request and received a response using AWS GameSparks and AWS Lambda.
Step 4: Connecting Unity to GameSparks backend
Now you are ready to connect your backend to our Unity front end. First, download the Unity sample project we have prepared from our Awesome Astra repo.
Note
The sample project already includes the Amazon GameSparks SDK installed, or you can follow the instructions here.
Setting Up
-
Open the project with Unity Hub
-
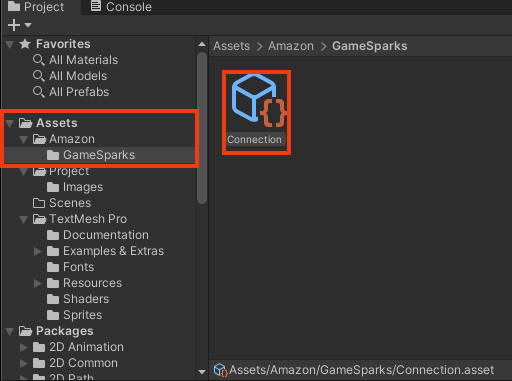
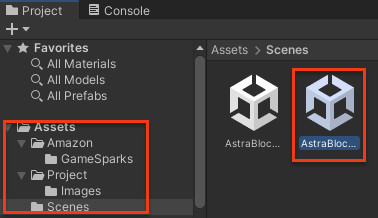
On the Project tab go to Assets -> Amazon -> GameSparks and choose the Connection.asset
-
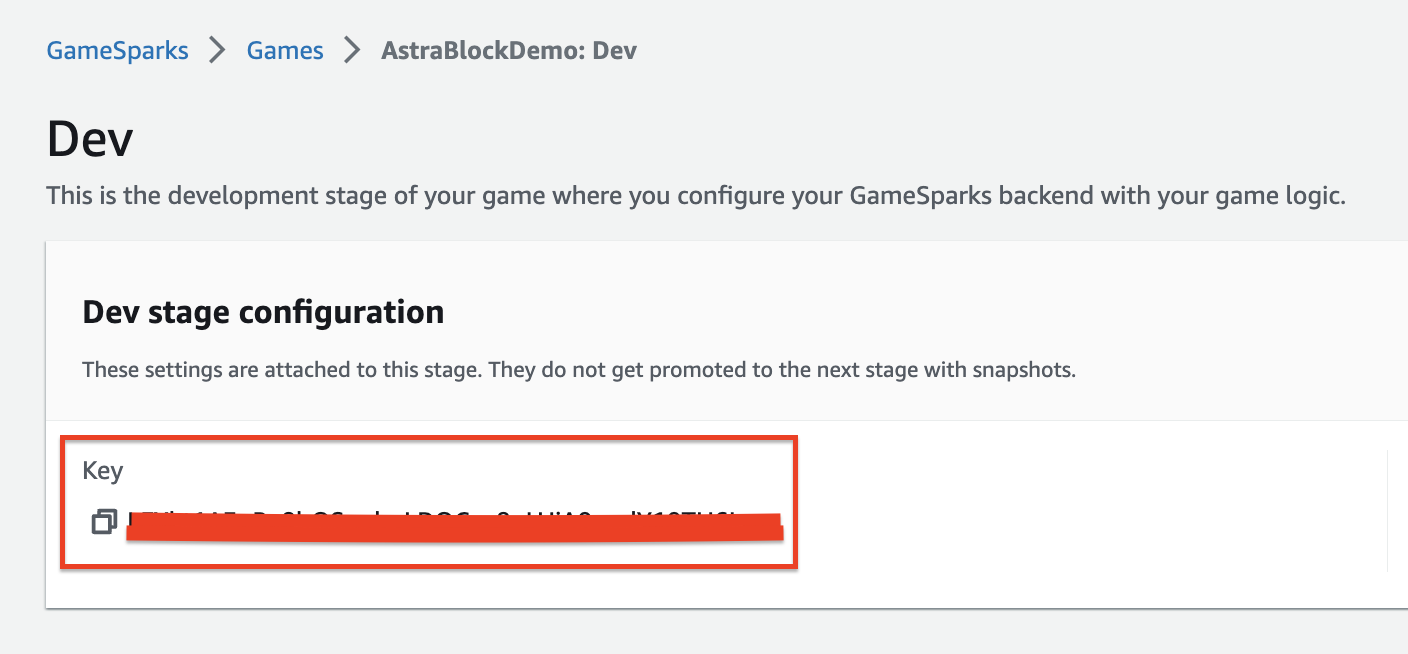
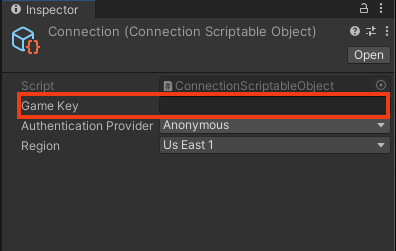
In the Insepctor tab on the right, you will see the Amazon GameSparks connection settings. As you can see currently, Game Key is blank. You will obtain this from your GameSparks Console -> Dev -> Dev stage configuration -> Under Key
-
Copy this value and paste it into Game Key back in Unity.
Great! Setup is now complete!
Running the game
-
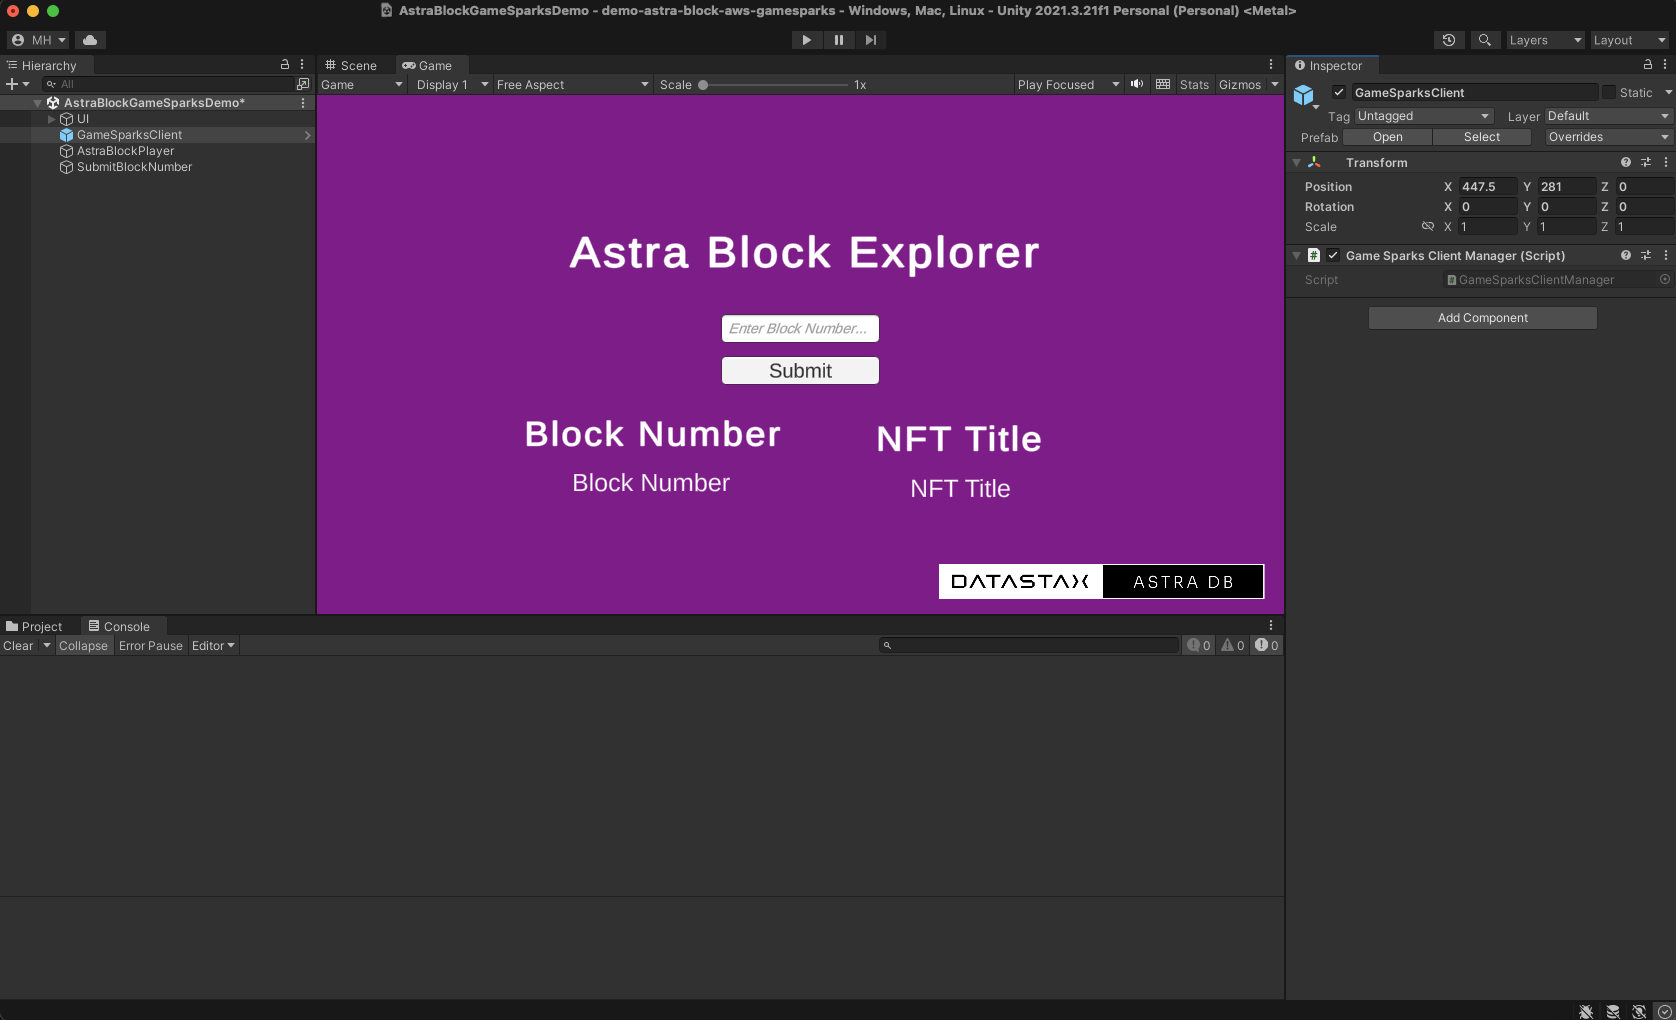
To run the game, go back to your Project tab -> Assets -> Scenes -> Select the AstraBlockGameSparksDemo Scene. This is the scene that we are going to play.
-
Click the "Play" button at the top of the screen. You should see a notification saying the scripts are rendering.

-
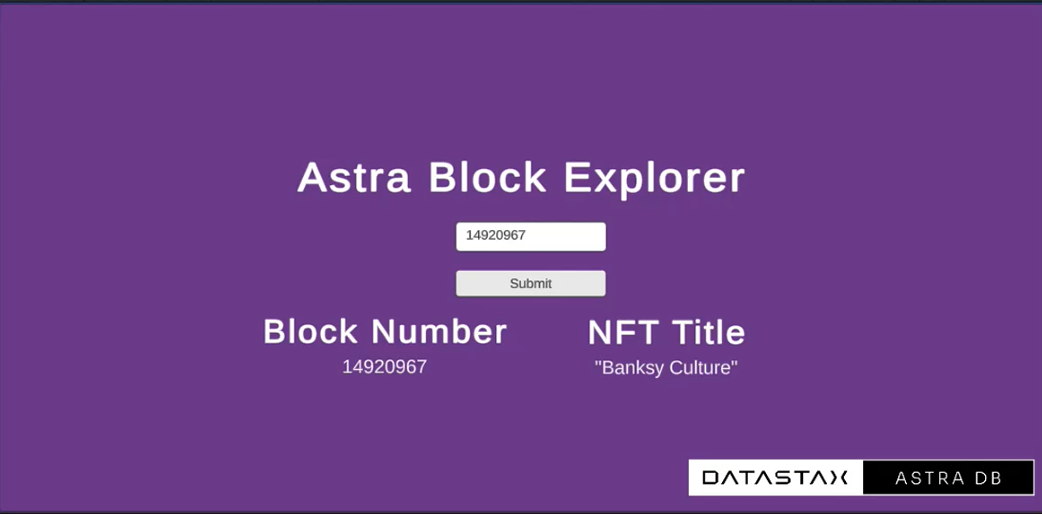
Once that is complete, you can type directly into the input box where it says Enter Block Number.... Once you click submit, you should see the Block Number populate, and shortly after, the NFT Title will return the name of the NFT at that given block number.
-
Try submitting different Block Numbers to see the different results you get back for your NFTs!
Finish
Congratulations! You have completed the Astra Block with AWS GameSparks, AWS Lambda, and Unity tutorial! This is only the beginning as you can connect your AWS Lambda to any table given within Astra Block, query for different values, etc.