‣ DBSchema
📖 Reference Documentations and resources
Overview
DbSchema is a universal database designer for out-of-the-box schema management and documentation, sharing the schema in the team, and deploying on different databases. Visual tools can help developers, database administrators, and decision-makers to query, explore and manage the data.
DBSchema uses the Astra JDBC Driver to connect to Cassandra as the storage backend. The Java driver itself supports connections to Astra DB natively.
Prerequisites
- You should have an Astra account
- You should Create an Astra Database
- You should Have an Astra Token
- You should Download your Secure bundle
This article assumes you have installed the latest version of DBSchema on your laptop or PC.
Installation and Setup
✅ Step 1: JDBC Driver
Download Astra JDBC connector jar from Github
✅ Step 2: Establish the Connection
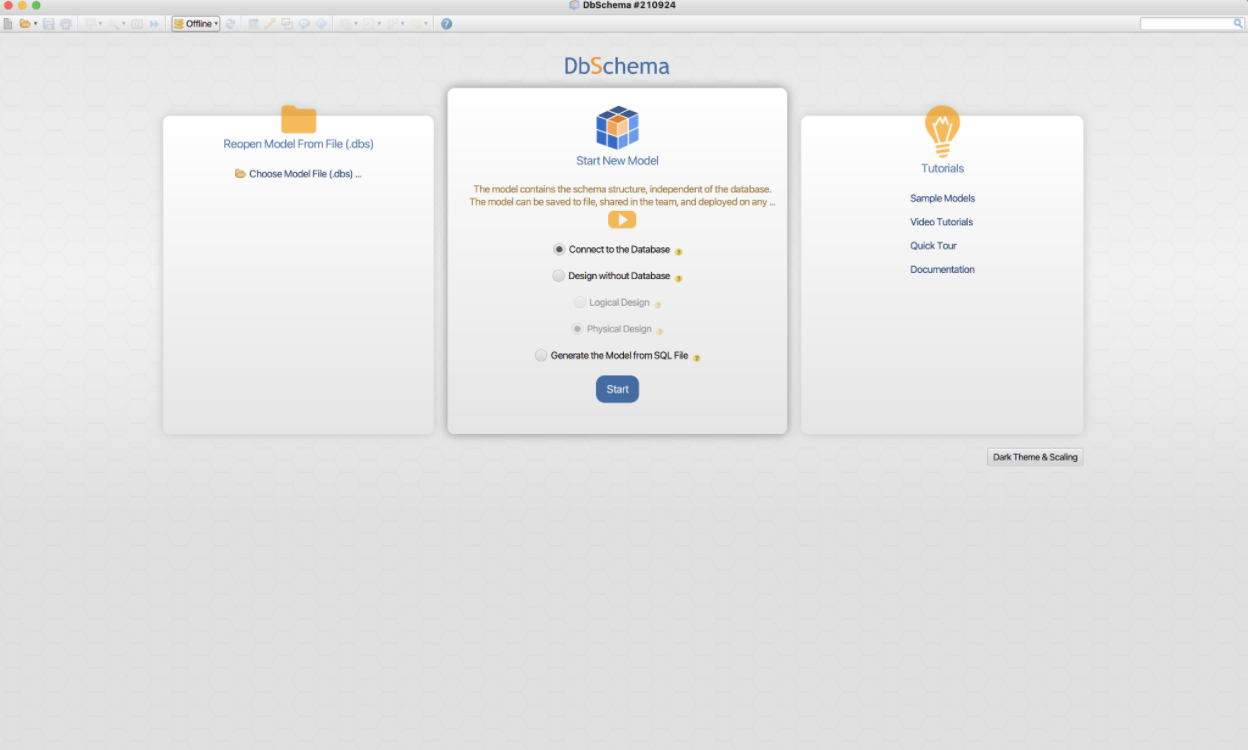
- Open DB Schema
- Select Connect to the Database
-
Select Start
-
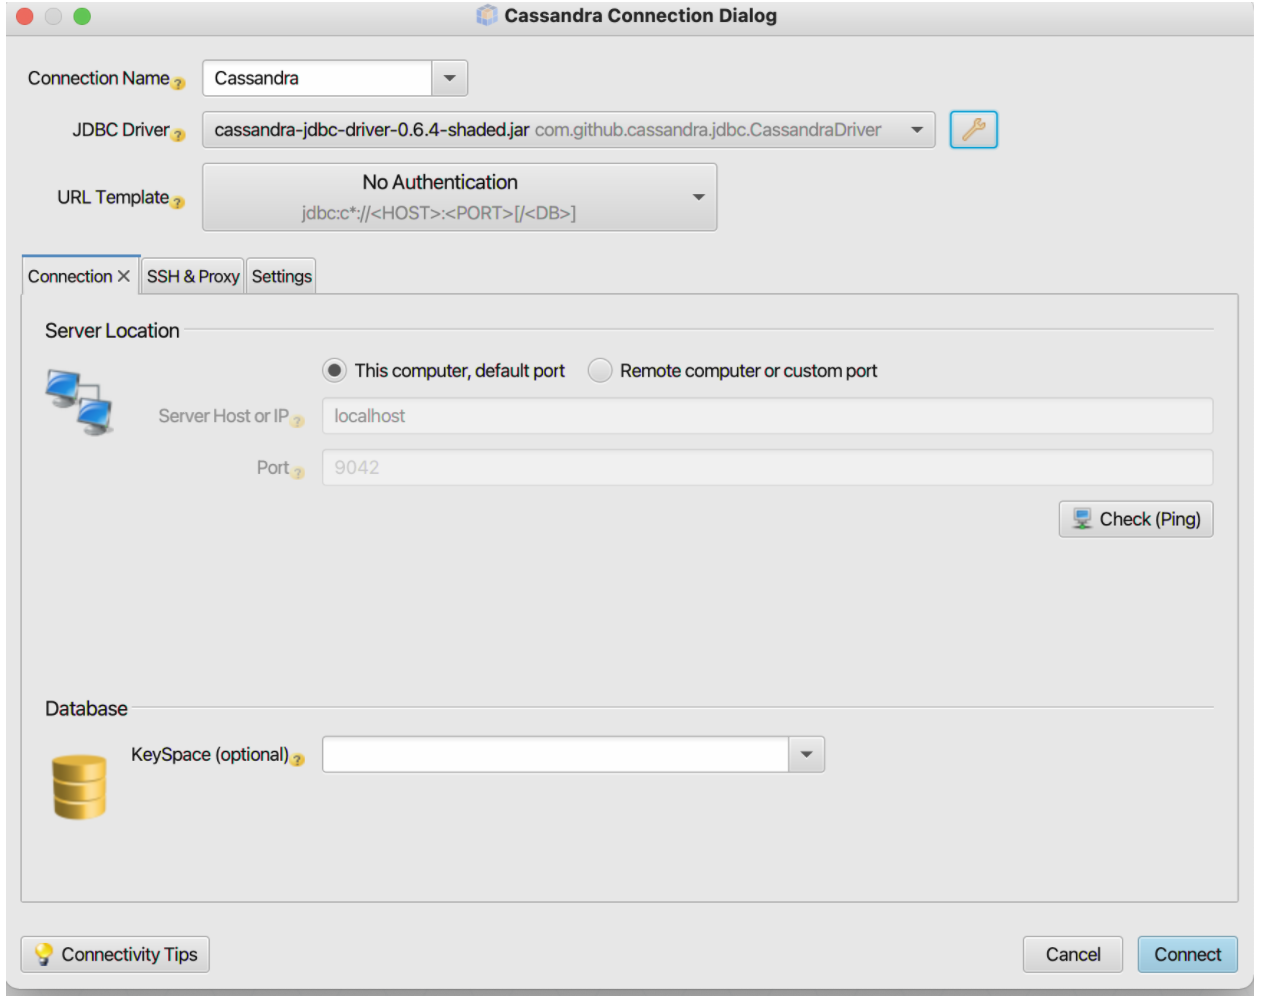
In the Choose your database menu, select Cassandra.
-
Select Next.

-
Select JDBC Driver edit option. This is the button on the right hand side of the JDBC driver line, with the key icon.
-
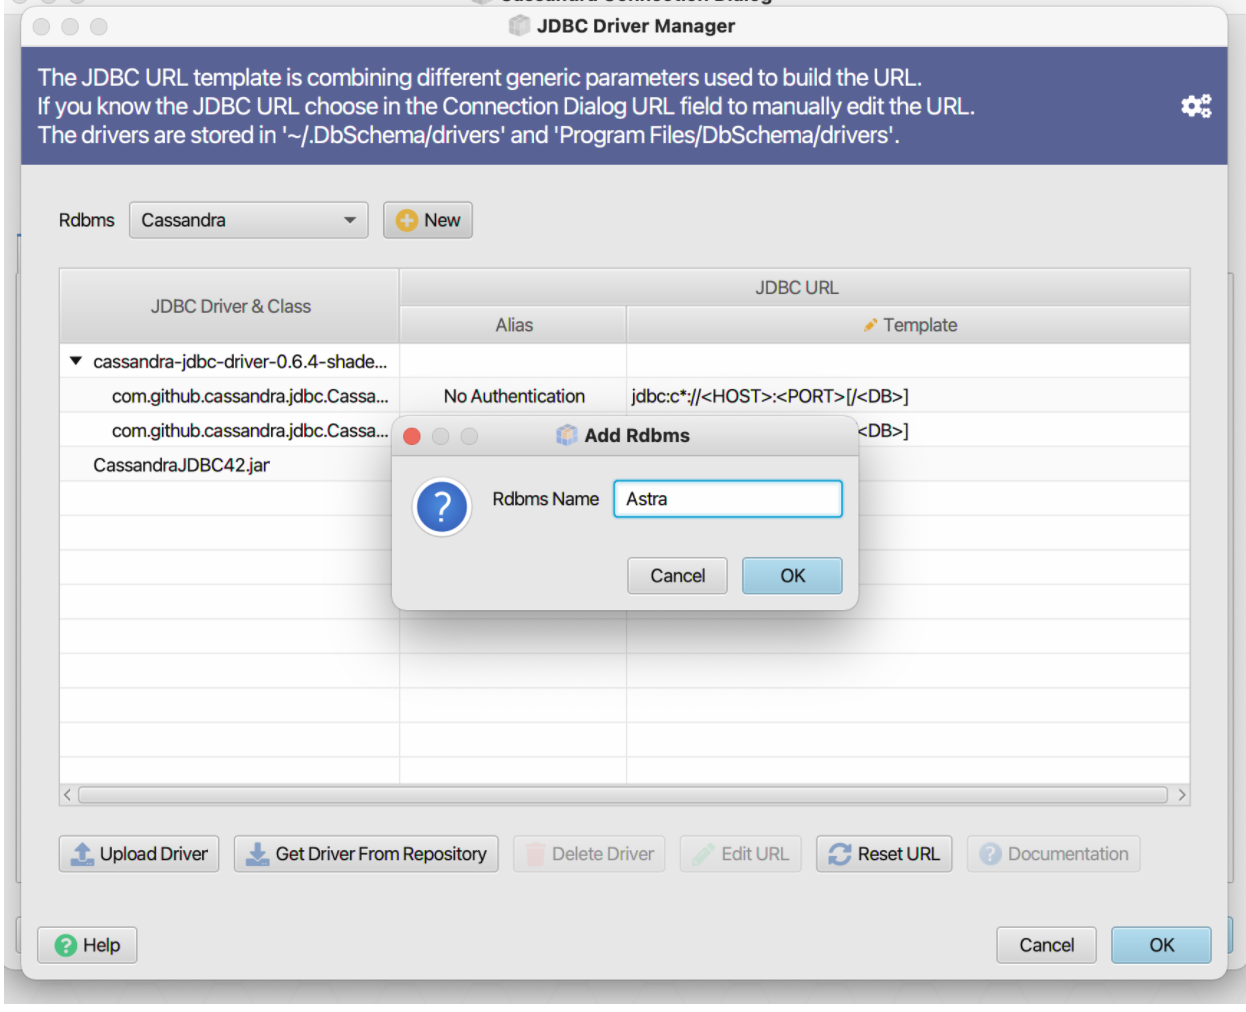
In the JDBC Driver Manager, select New.
-
In the Add RDBMS window, enter Astra and select OK
-
Select OK in the confirmation message.
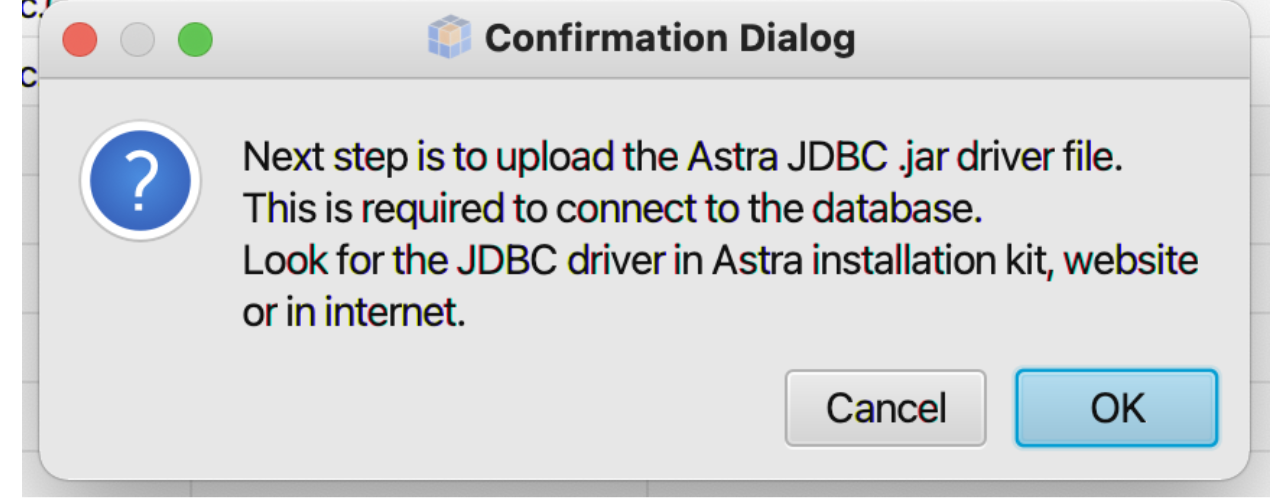
-
Upload the Astra JDBC Driver.
- Select Open
- Once you upload the Astra JDBC Driver, you will see Astra in the Choose your Database window. Select Next.
-
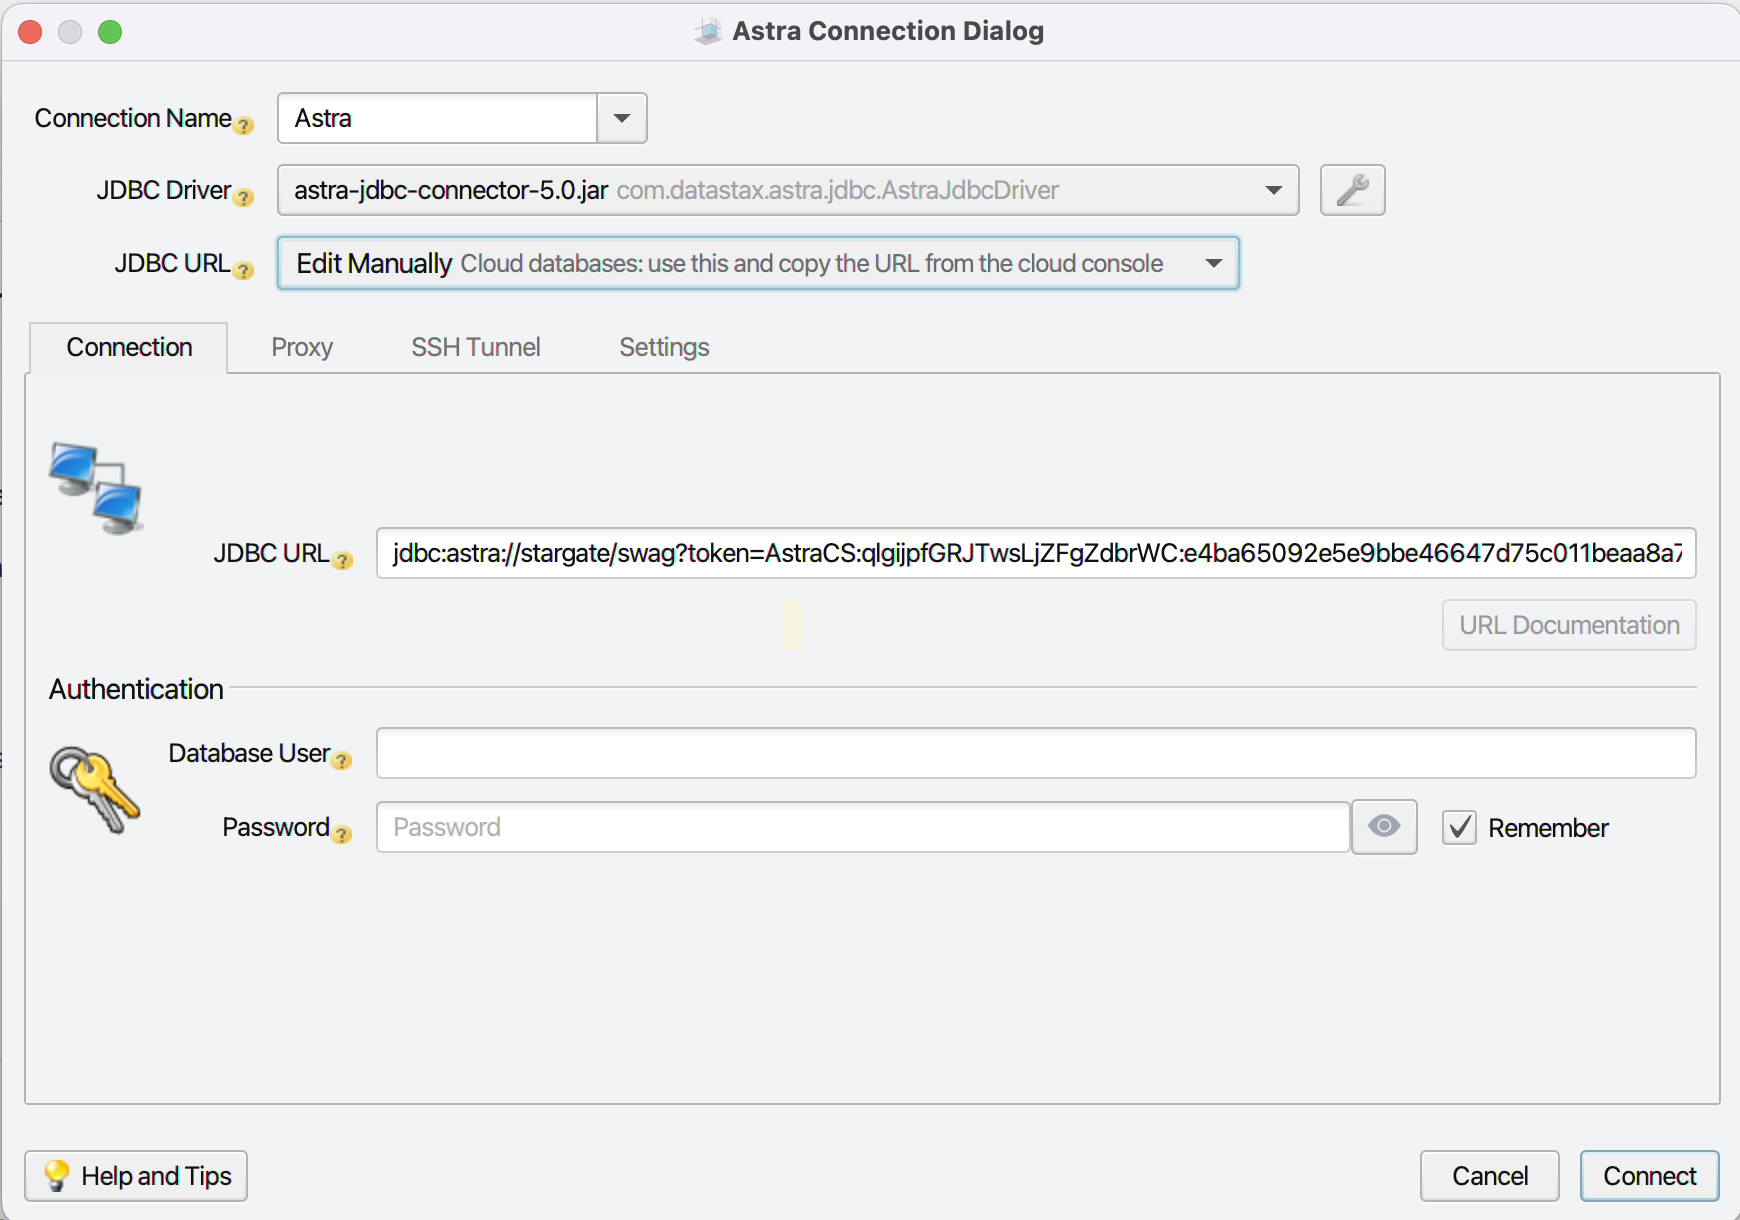
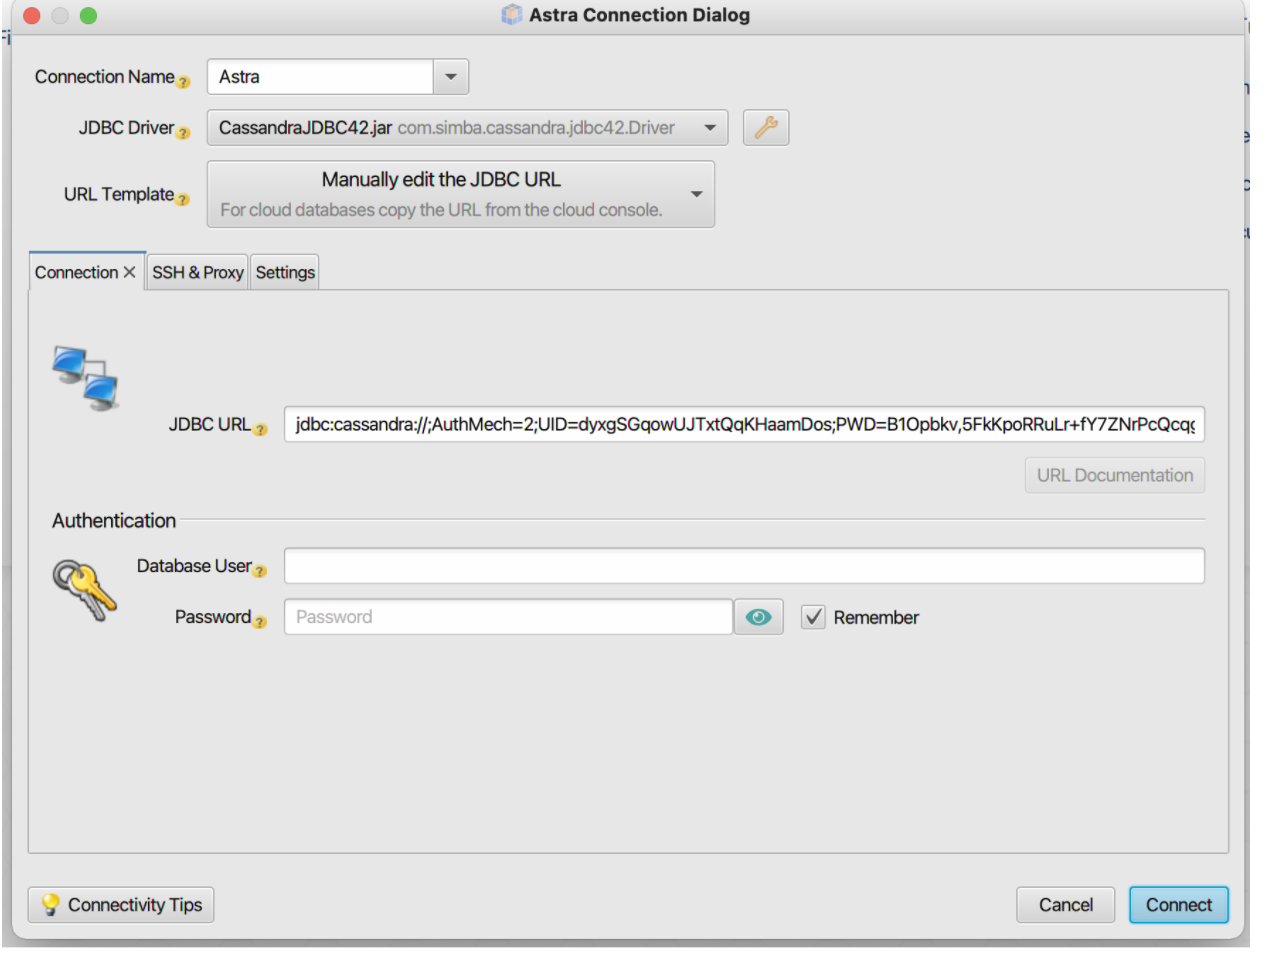
In the connection window, select the JDBC Driver "astra-jdbc-connector-5.0.jar com.datastax.astra.jdbc.AstraJdbcDriver. Under JDBC URL select "Edit Manually".
-
In the Astra Connection Dialog, add JDBC URL as
with the following variables:- database_name: The name or ID for the database you want to connect to
- keyspace_name: The keyspace you want to use
- application_token: Generated from Astra DB console. See Manage application tokens.
-
Select Connect
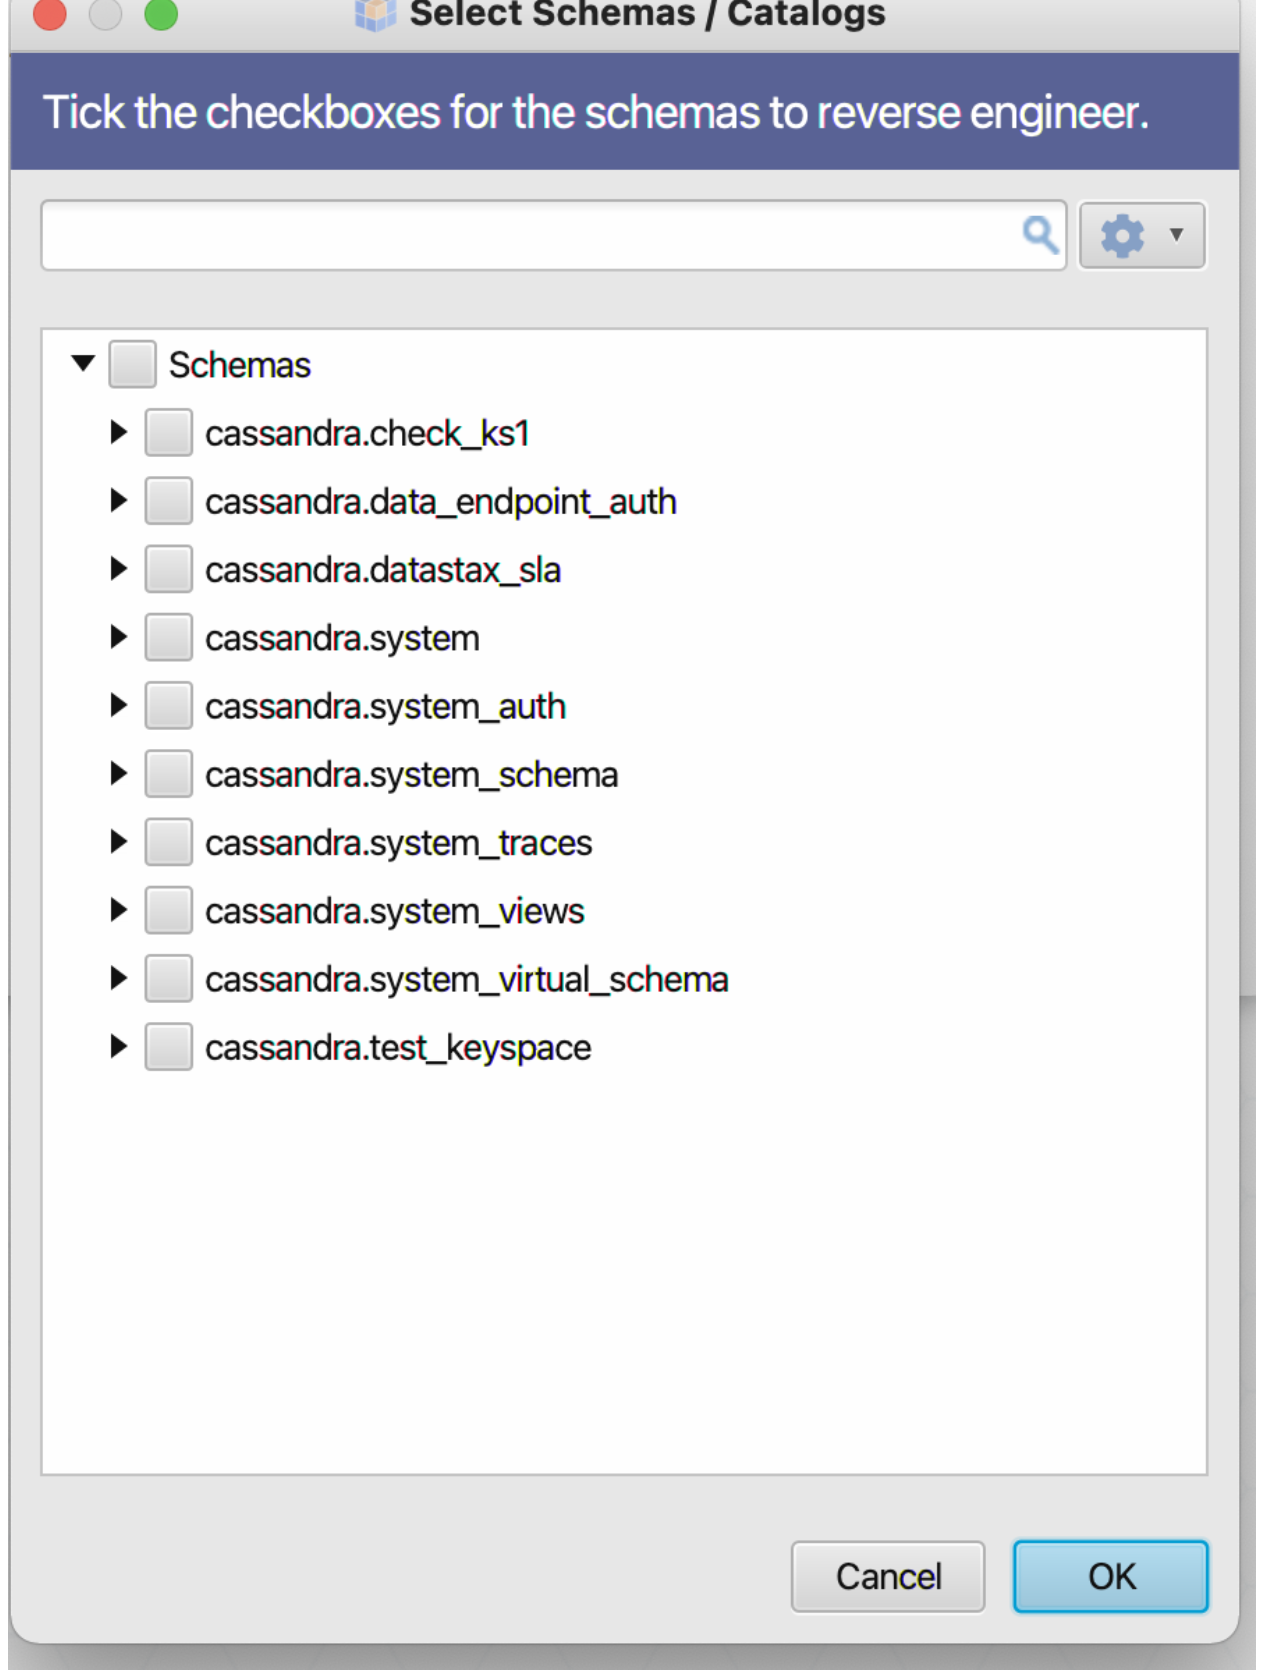
-
In the Select Schemas/Catalogs, select the keyspace to which you want to connect.
- Select OK.
✅ Step 3: Final Test
Now that your connection is working, you can create tables, introspect your keyspaces, view your data in the DBSchema GUI, and more.
To learn more about DBSchema, see Quick start with DBSchema